We make paintings for the interior with our own hands
Since ancient times, people decorate their home with paintings. They are ordered from artists, purchased at exhibitions, in stores. And to do it yourself is not at all difficult, because there are so many ideas. A little inspiration, patience, materials and your own masterpiece, reflecting the mood, personality, is ready.
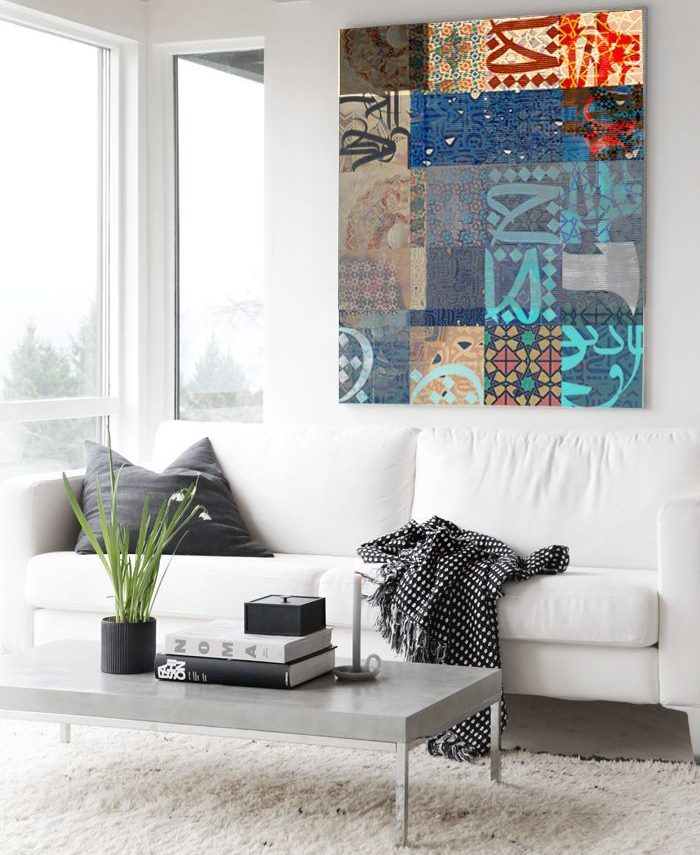
Do-it-yourself paintings will make any interior original
Content
- 1 DIY paintings: draw with paints
- 2 Abstract paintings. Master Class
- 3 Picture frame
- 4 Modular pictures
- 5 Images for the kitchen
- 6 Textile paintings
- 7 Thread picture
- 8 Quilling. Master Class
- 9 Illuminated paintings
- 10 Semiprecious stones paintings
- 11 Black color
- 12 Geometric patterns
- 13 Video: Three Simple Wall Decor Ideas
- 14 DIY paintings: photo ideas
DIY paintings: draw with paints
The classic way to create paintings for the interior with your own hands is to paint them with paints. It only takes a piece of paper, your imagination and colors. It is most convenient for a beginner to work with gouache and watercolor, leaving oil and acrylic to more experienced artists.
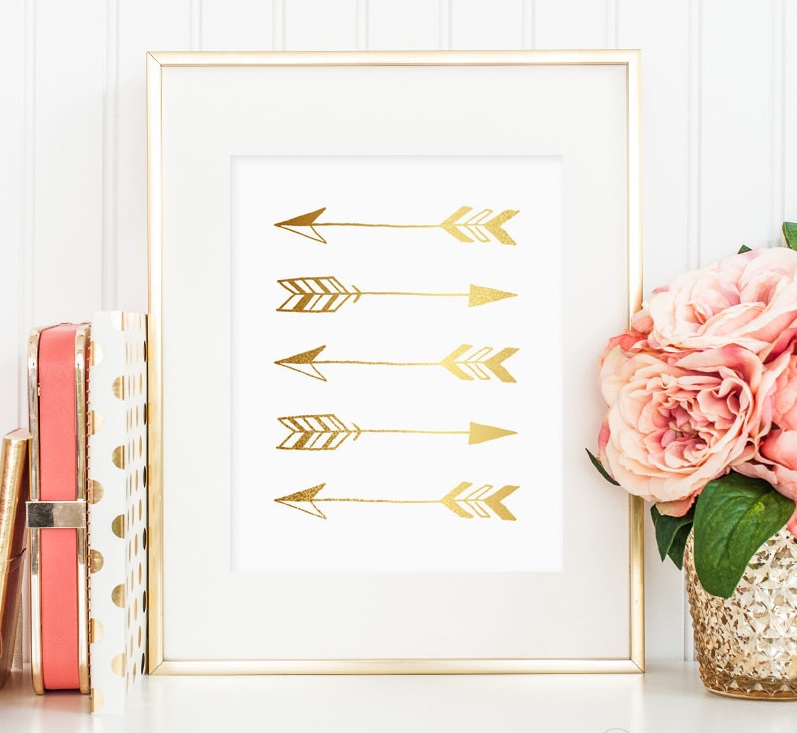
The author’s canvas can be very simple
The question arises: how to draw, if you do not know how? It's okay, now the Internet is full of master classes for beginners, step by step outlining actions and steps. You can start by drawing simple watercolor flowers.
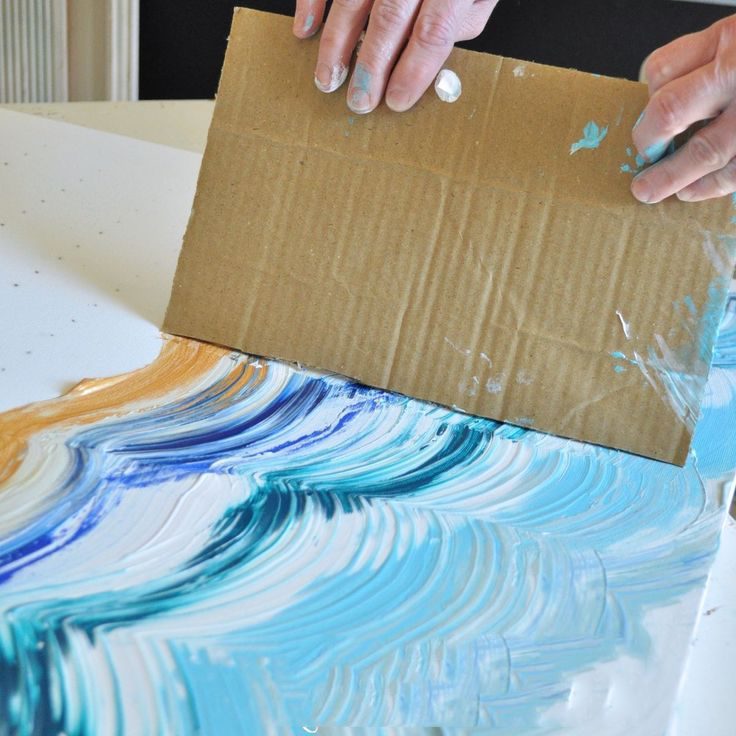
Interesting drawings can be created using improvised means, for example, paints and a piece of corrugated cardboard
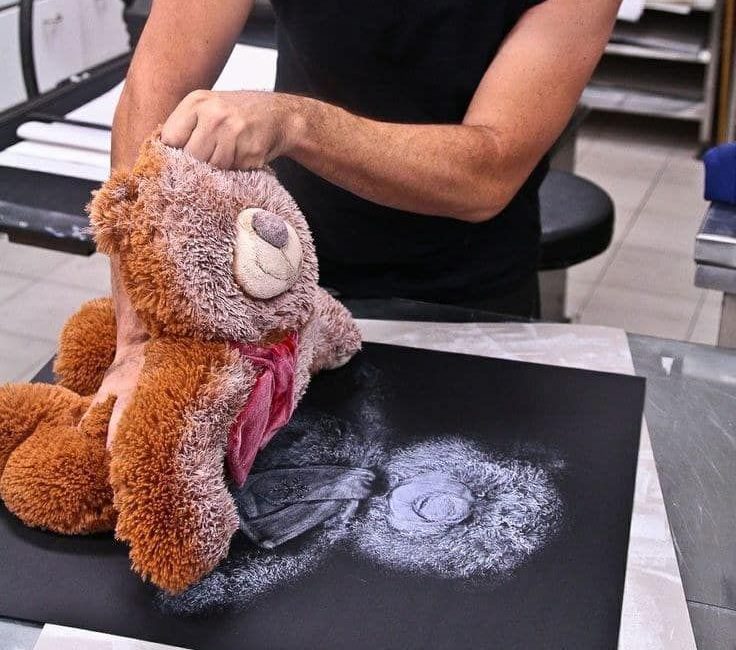
Or a plush toy and flour
There are also ready-made drawings, diagrams that need only to be painted. The principle is similar to coloring, where each number has its own color.
It’s quite simple to draw a birch grove. With a pencil, draw the contour of the trunks, leave them white, and paint only the background with a light blue tint. On the trunks, using a dense piece of cardboard, add ragged black strokes. Your winter birches are ready.
Abstract paintings. Master Class
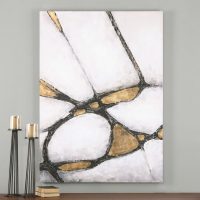
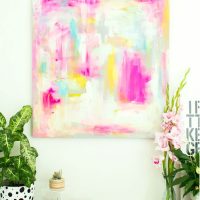
Abstract art is not just blots, erratic strokes, it reflects: inner feelings, spiritual reality, non-figurative image of objects, phenomena. Let's look at a few examples:
- Ombre - a smooth transition between the tones of one or more colors. Using a brush, draw a line of bright color on the canvas, followed by a line of the same color, only lighter in tone (add a little white) and so on, gradually increasing the concentration of white.
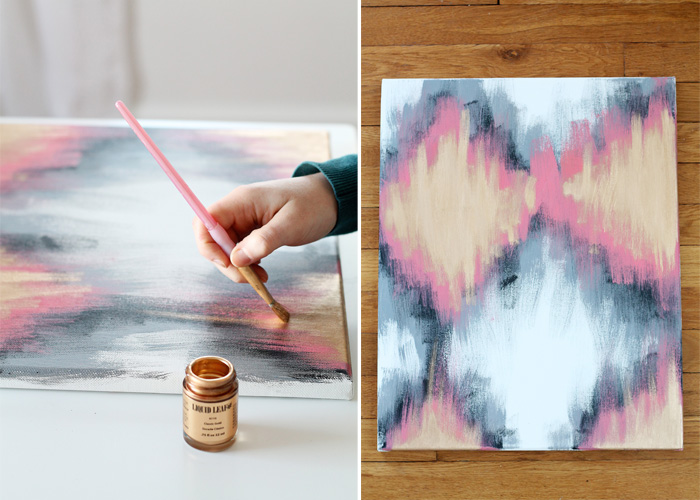
Abstraction is always in fashion
- Stencil. Pieces of masking tape are pasted onto a clean canvas, like a stencil, in different directions, shapes. They are painted on top with any colors, and after drying, the ribbon comes off.
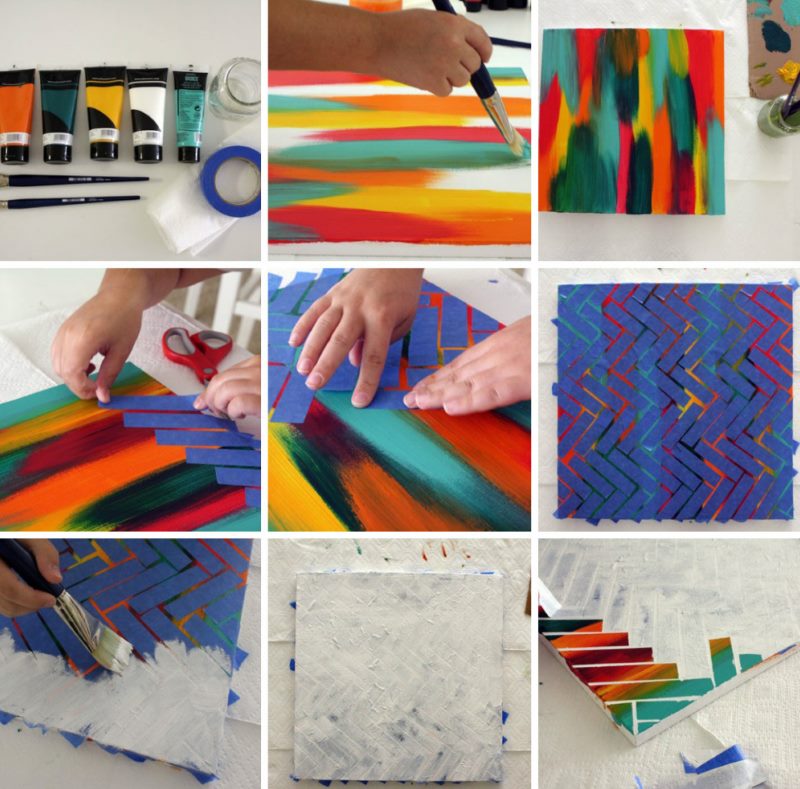
To create such a picture, minimal skills in painting work are needed.
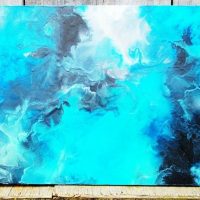
- Blot. Paint is poured on the canvas, then, taking into account the inclination, it spreads, forming a blot. To obtain a similar effect, you can use the tube, the air blown through it will disperse the paint.
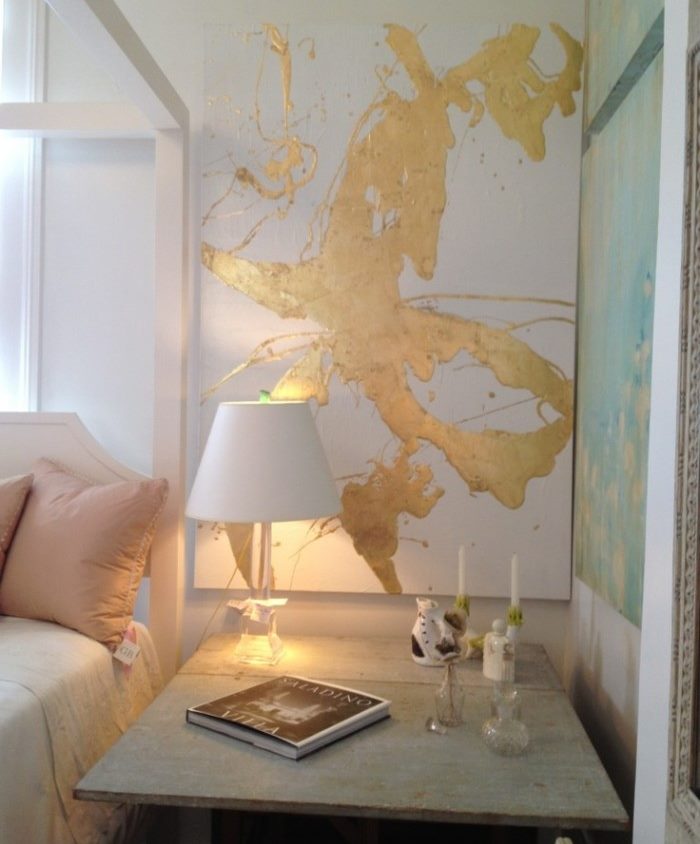
Blot painting on the bedroom wall
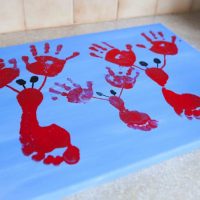
- Hand prints. Painted palms are applied to the canvas, leaving an imprint. Capture your family in this way, or the stages of growing up a child.
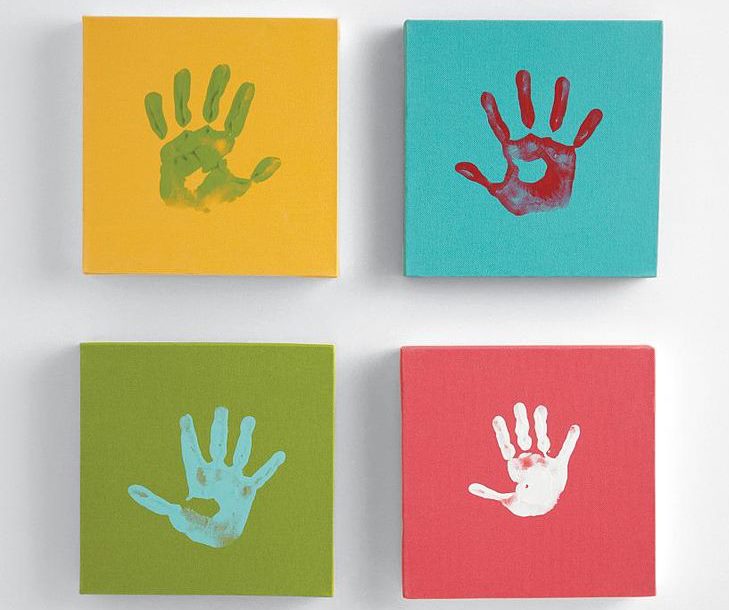
Stylish color panel with contrasting handprints
- Geology. Stripes on the vertical canvas, different in color and thickness, like a cut of a mountain mineral, dawn above the relief terrain.
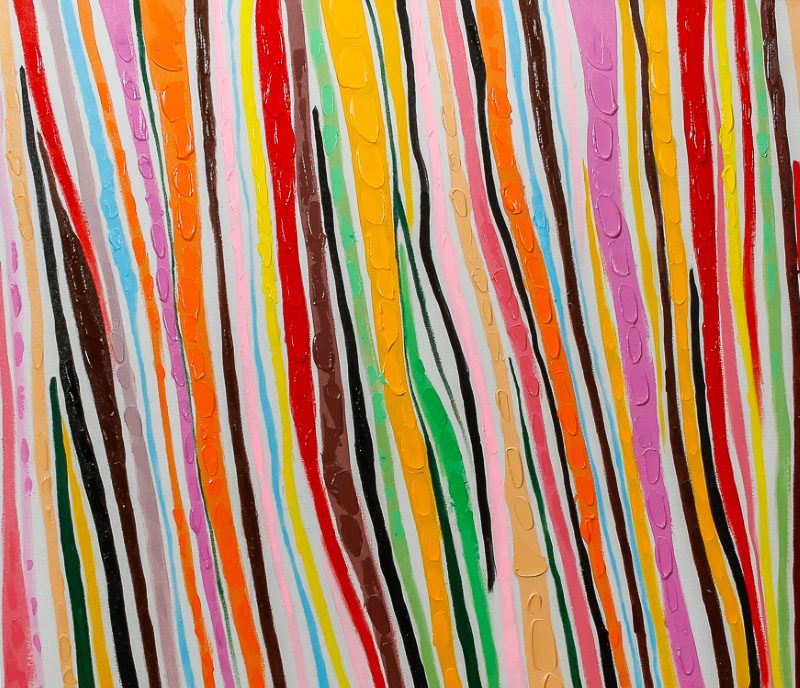
Just draw colorful stripes as your fantasy tells you.
Picture frame
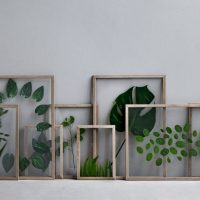
For the image you created, you need a frame.Of course, you can buy or order a finished one, but it’s more interesting to do it yourself.
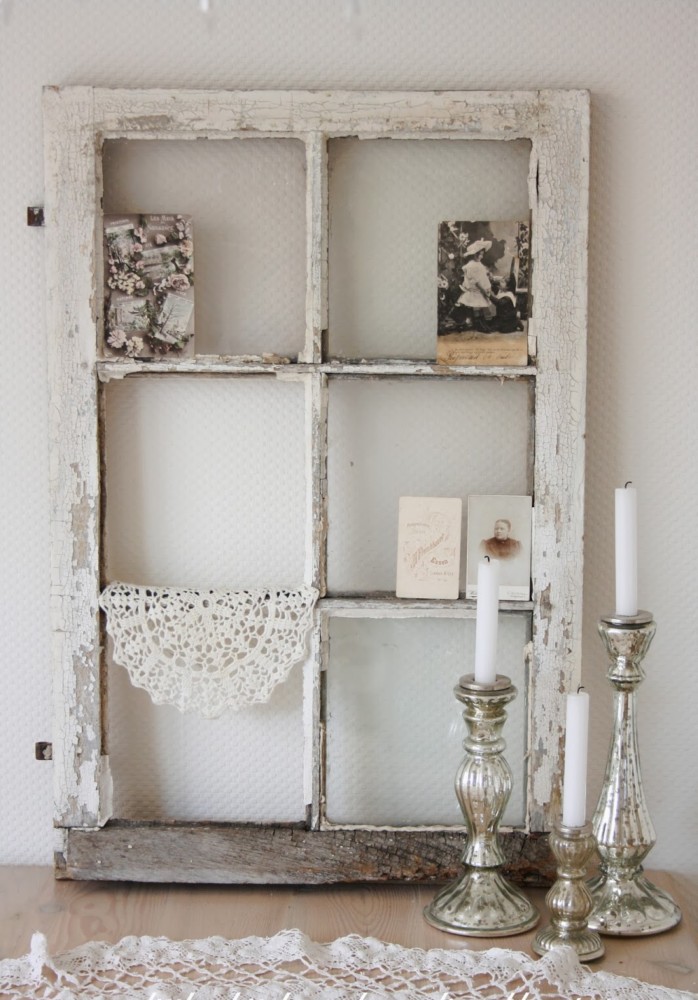
An interesting composition based on an old window frame
A variety of materials are suitable for the frames:
- the cloth;
- tree;
- plastic;
- cardboard and others.
As a decor for the frame, use any improvised materials, for example: coffee, stones, shells, metal fittings, twigs, buttons.
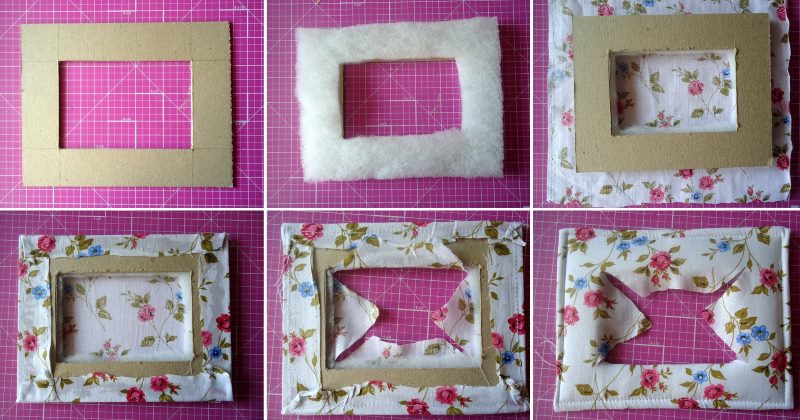
The process of creating a cardboard frame
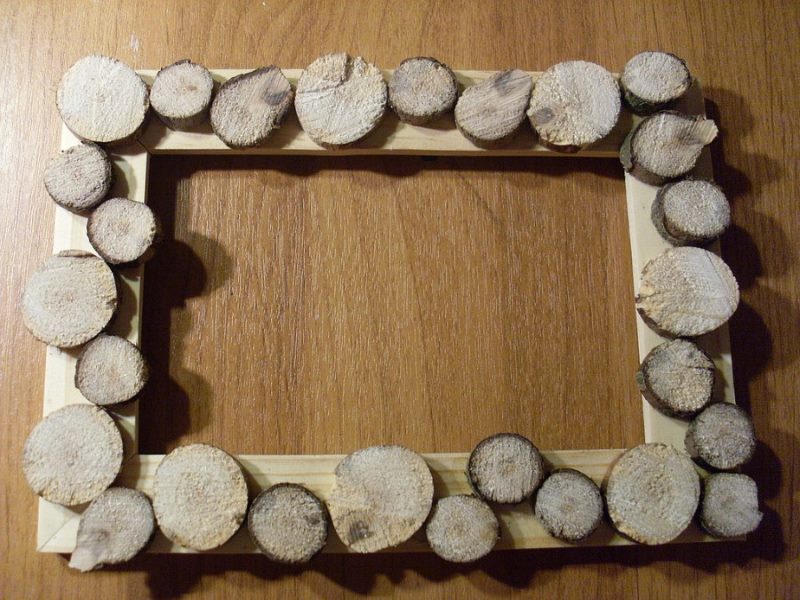
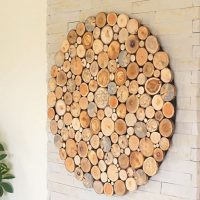
Simple frame made of wood cuts
Using decoupage, apply ornate patterns on a wooden frame, or wrap the frame with a decorative cord, stick pieces of multi-colored shells.
Modular pictures
Modular paintings became quite popular, where a single composition is divided into segments located approximately two centimeters apart.
Models are distinguished by size, direction, number of parts. A composition consisting of two images is called a diptych, of three - a triptych and so on.
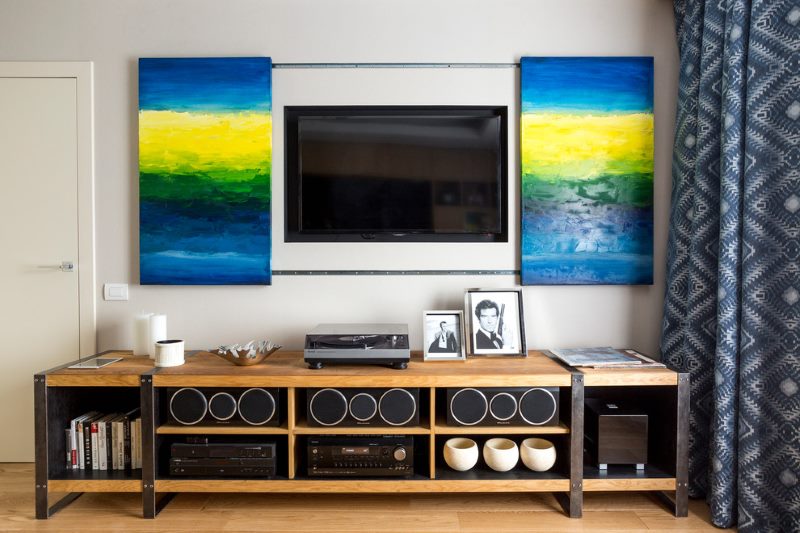
Diptych successfully “masked” the television panel
Image choose the appropriate focus of your interior. It can be a bright addition to the calm atmosphere of the living room, done in pastel colors, a relaxing background with a view of sea sunset for the bedroom, a juicy accent for the kitchen.
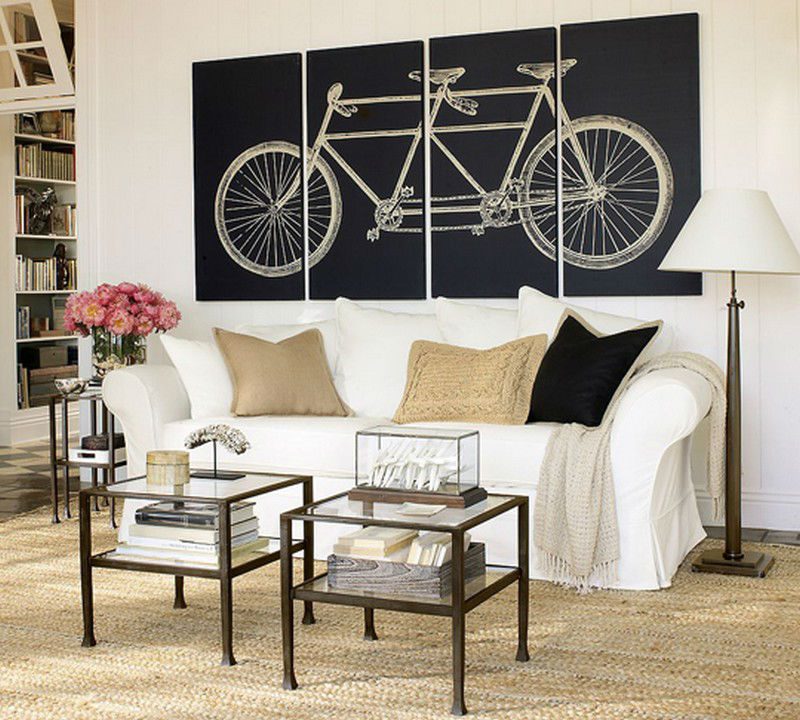
You can take the finished image, print it on paper or fabric, and then cut it into fragments and fix it on the basis of
Try to make modular paintings yourself. Prepare a few wooden frames or foam sheets. Suitable for decoration: fabric, knitted fabric, photo wallpaper. Cut them into pieces, then paste, or pull on the frame. Voila, your masterpiece is ready.
Images for the kitchen
The priority is the use of bright, rich colors, natural materials. Properly selected shades awaken appetite. You can create a panel for the kitchen from the following materials:
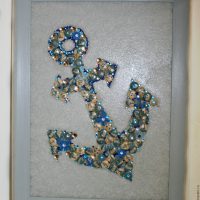
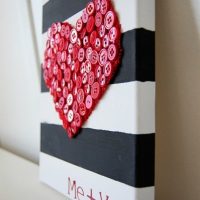
- Buttons. Stick them like leaflets to a painted tree. Spread in the form of anchors, for a marine-style kitchen, fruit or intricate patterns.
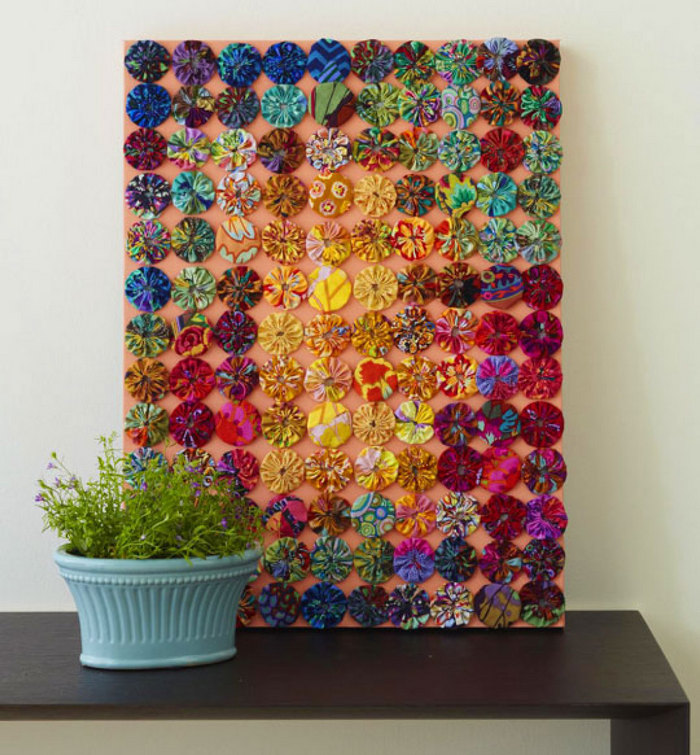
Beautiful pattern of motley buttons
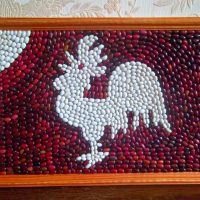
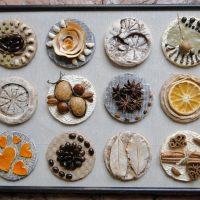
- Croup, dried flowers, spices. Stars, star anise, pasta, cinnamon sticks, dried leaves, coffee, lavender will be used.
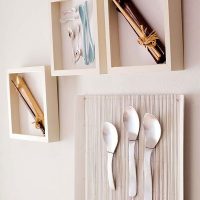
- Cutlery. For example: curved, flower-shaped, forks, knives with decorative handles, a bunch of spoons.
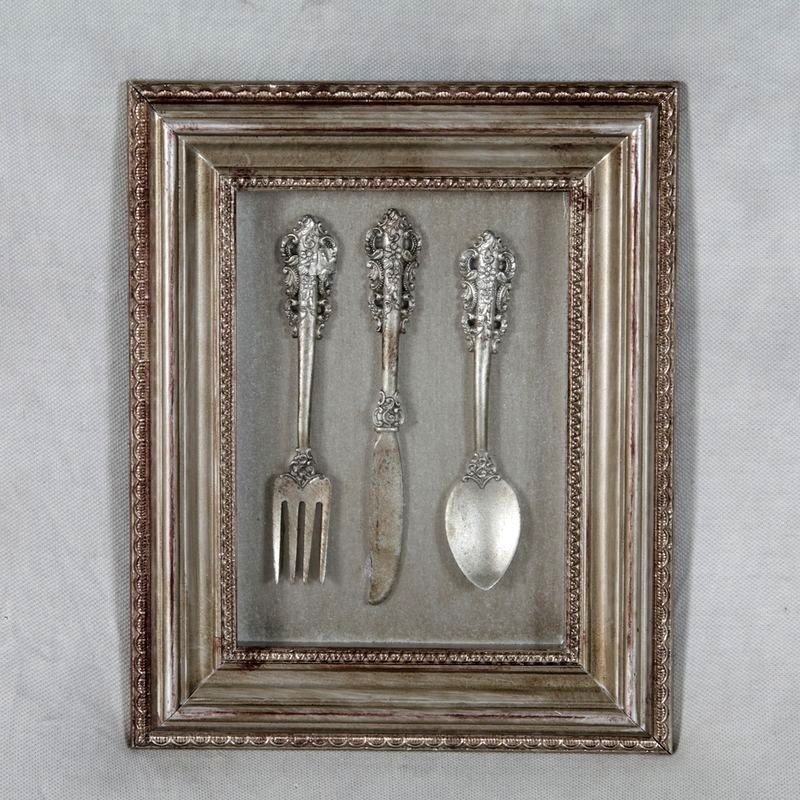
For a beautiful frame of composition, use a baguette for paintings
- Print still life. The easiest way is to choose a finished, attractive photo, print it and put it under the frame.
Textile paintings
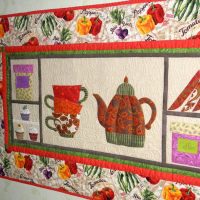
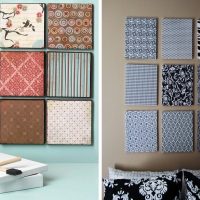
Any housewife, without difficulty, will make paintings for the interior with their own hands using textiles. It is not difficult to create an application from the fabric, and many have the skill of embroidery. It is not necessary to immediately grab onto complex embroidery, start with a simple one.
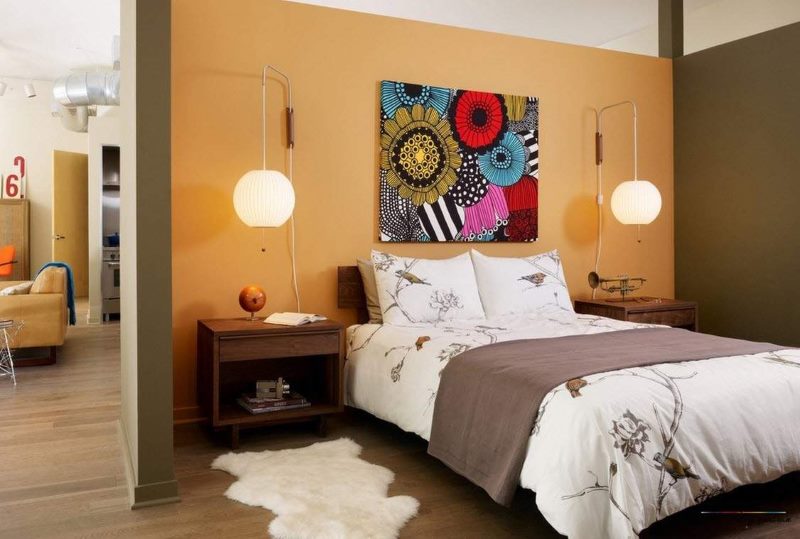
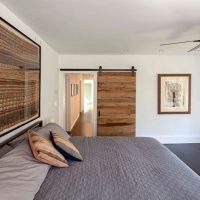
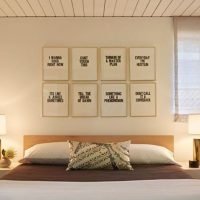
Original bedroom wall decoration with a textile picture
Try to make a composition of wool, for this there are already ready-made sets. To a sticky felt surface, pieces of wool of different colors are laid out alternately. The finished canvas is placed under glass.
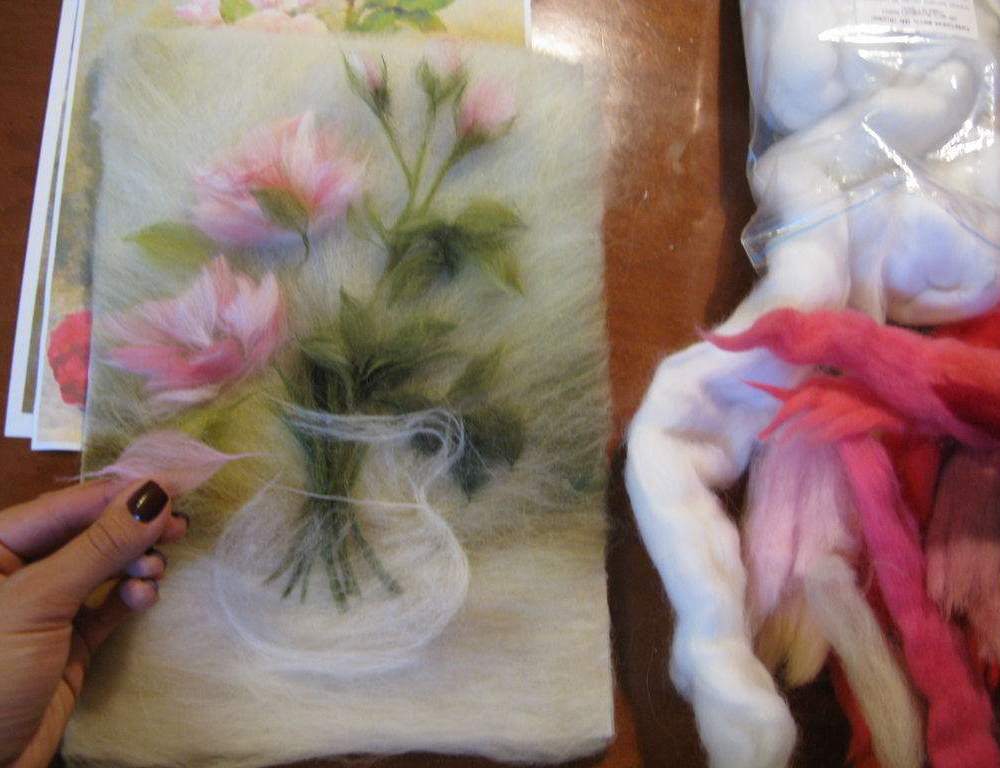
From wool you can create real masterpieces
Make bright applications for the children's, in the form of animals, birds from felt. This material is easy to use: ready-made paper stencils, attach to felt and cut out blanks. We fix them to the base with glue or sew them with threads.
Thread picture
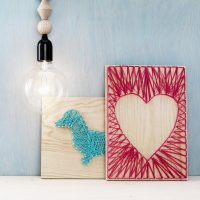
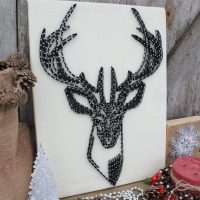
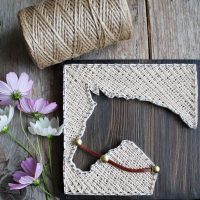
The interweaving of colored threads creates a gradient and bulk. For work you will need: small cloves, a hammer, plywood, threads.
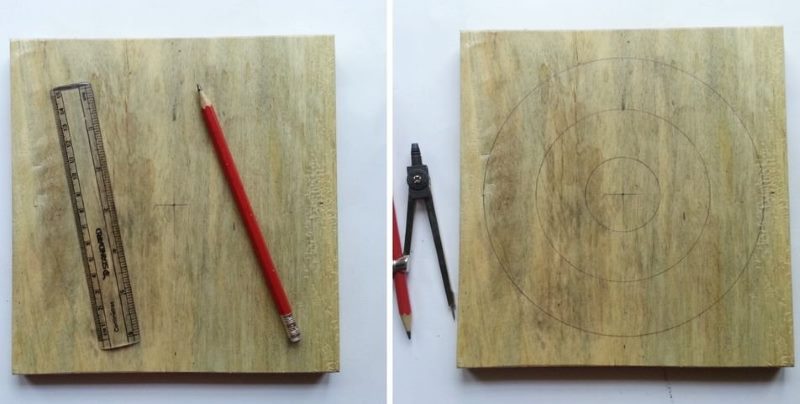
Plywood or board must be sanded
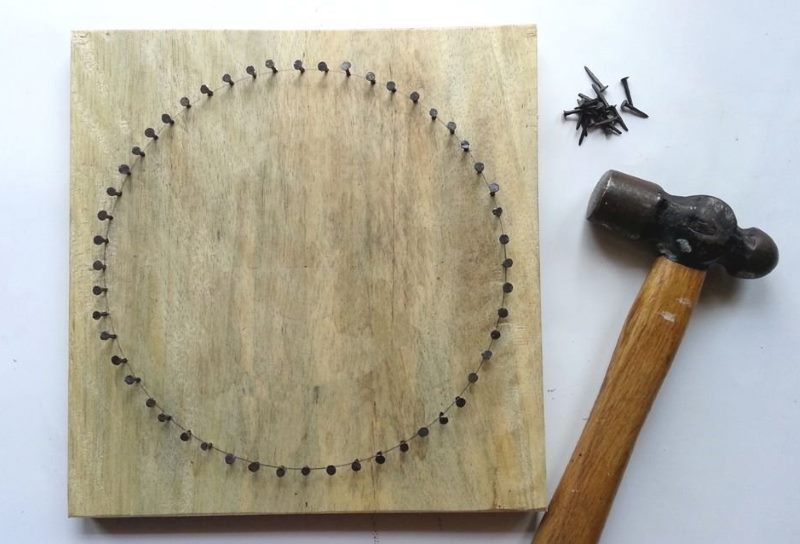
The nails are hammered so that the caps protrude above the surface and are flush
On plywood, you need to draw a contour of the future image, carnations are stuffed around the perimeter. Between them stretch threads that look like a light spider web.
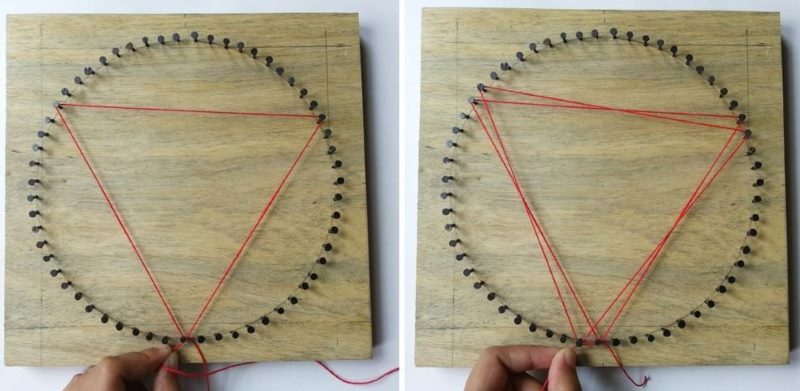
Threads are pulled between carnations, forming an original ornament
Threads can be sewn patches of fabric, forming a pattern.They can be used to “colorize” the picture as felt-tip pens, pasting over the contours.
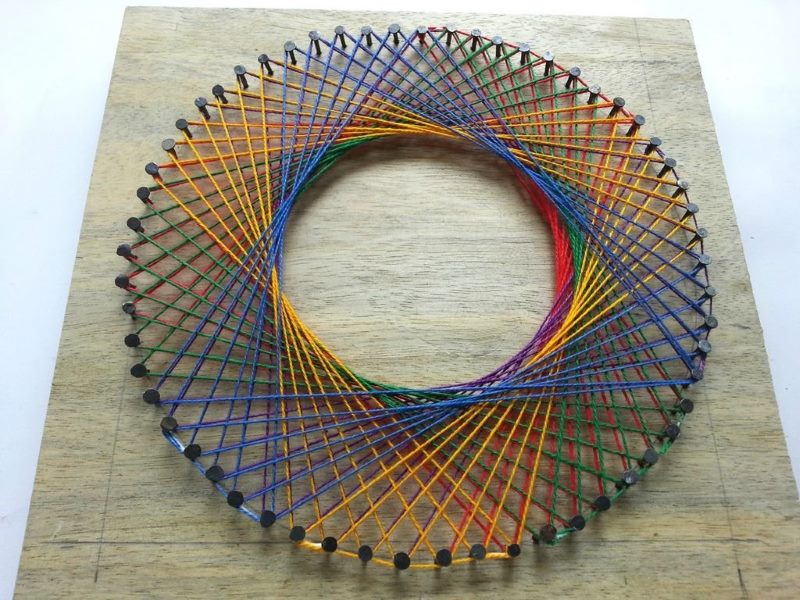
You can experiment with patterns in the form of various geometric shapes.
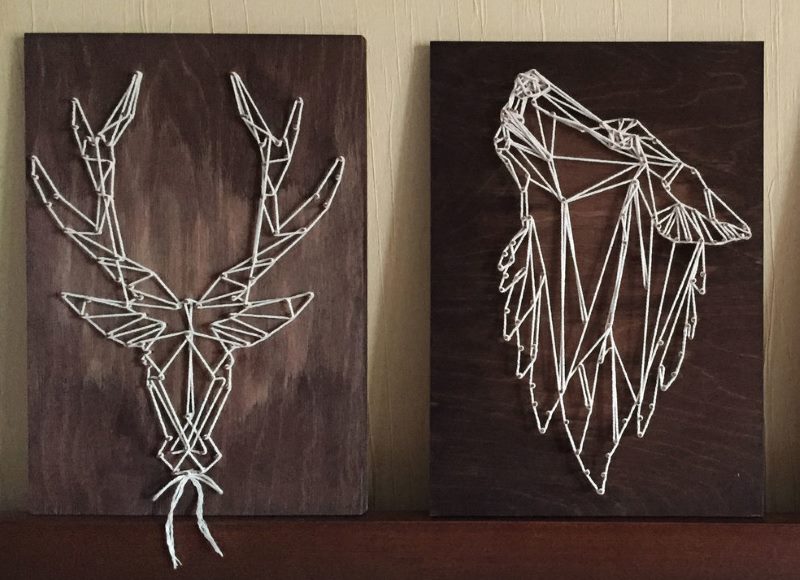
There are tons of options, you can create simple compositions
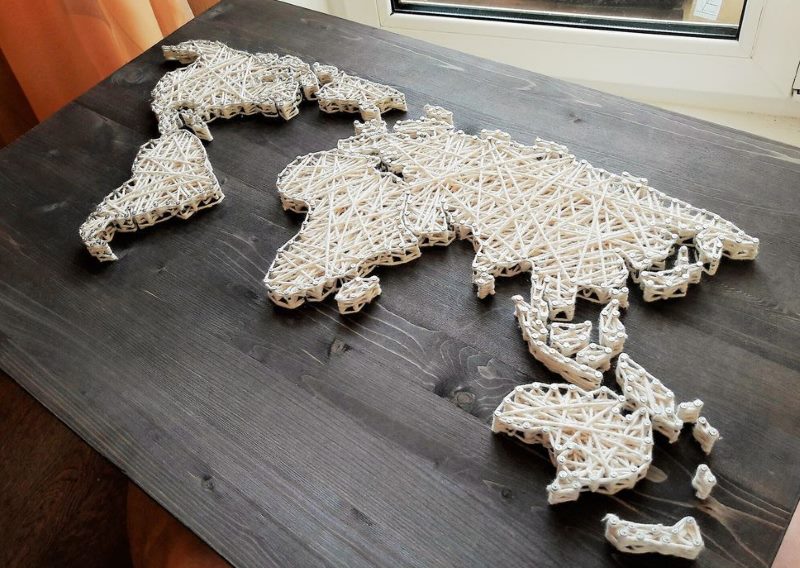
Or make a whole world of threads and nails
Quilling. Master Class
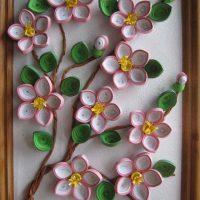
Fancy shapes, carved leaves and flowers - this is quilling. Work in this technique is fascinating, but requires perseverance.
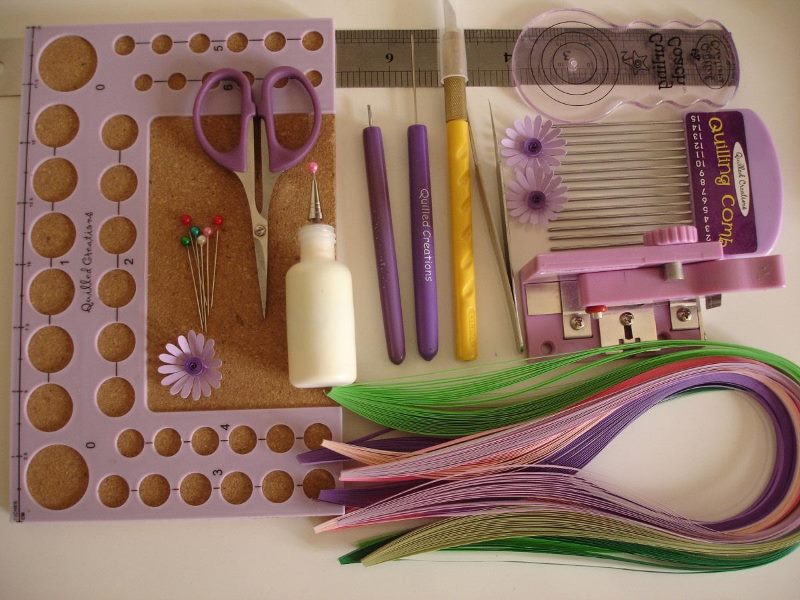
All quilling materials can be purchased at the craft store.
It will be required:
- thin strips of paper;
- paper tools: needles, scissors, sticks;
glue; - canvas.
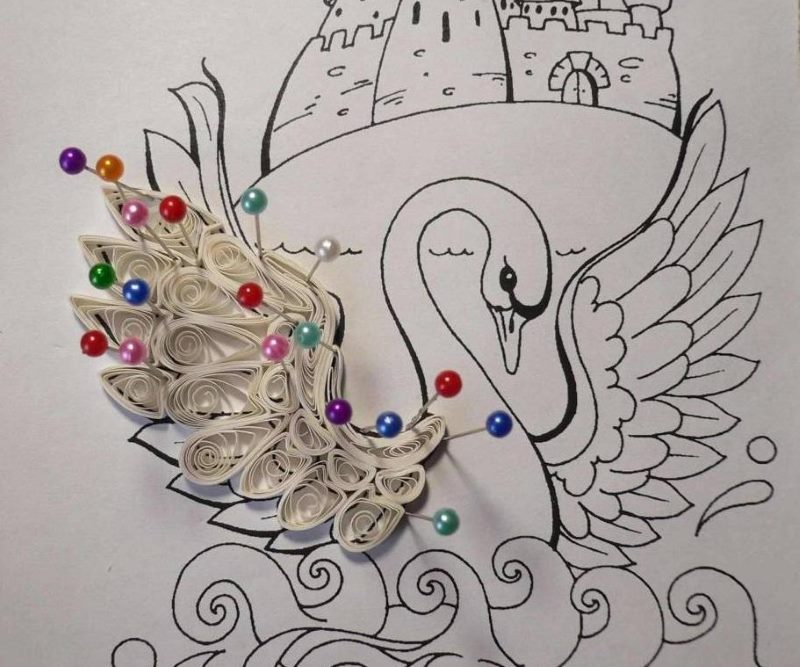
The picture for the picture can be printed on a printer
Strips of paper are folded in a variety of shapes: curls, spirals and stick to the base, making up the composition.
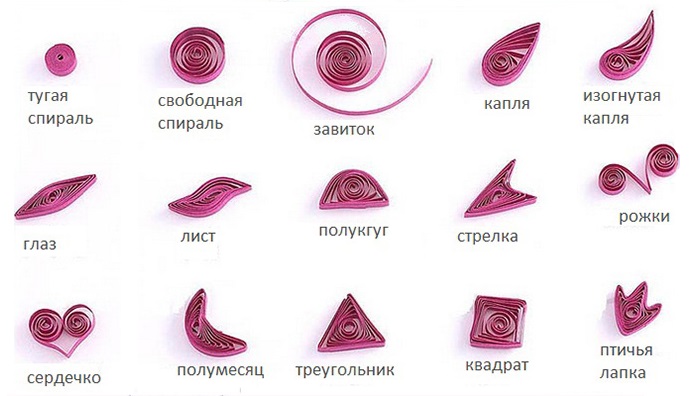
Any composition using quilling technique consists of separate figures
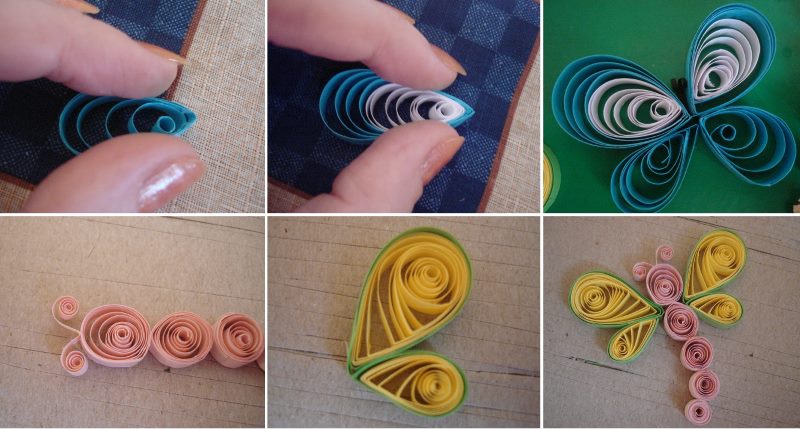
An example of creating butterflies using the technology of paper rolling
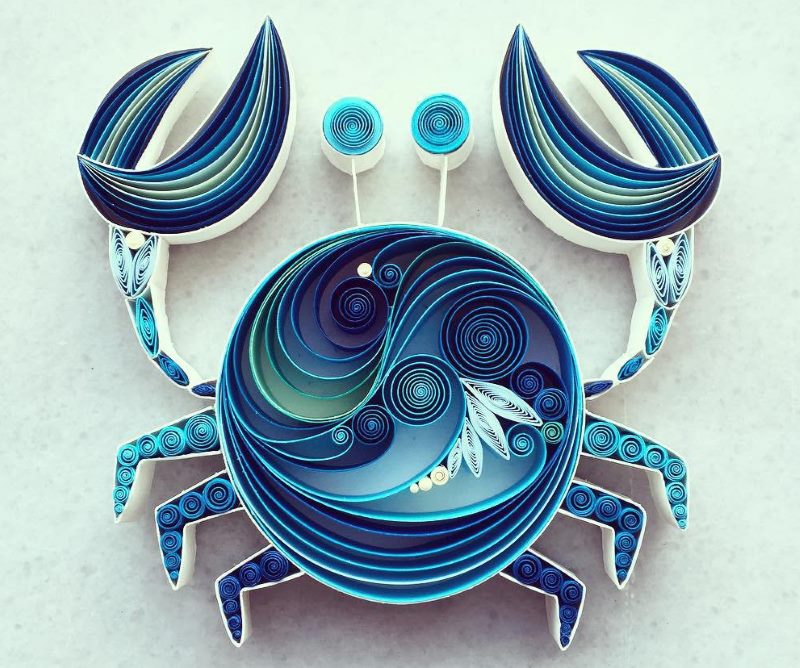
A similar picture is suitable for decorating a children's room.
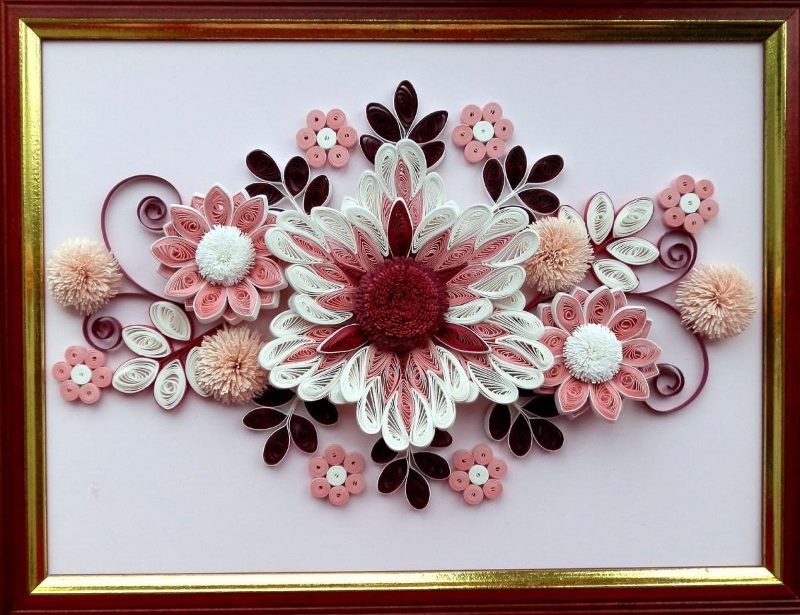
The picture of the author's work will decorate any room in your home
Illuminated paintings
Flickering lights in the night create an atmosphere of mystery. They are created using LED strips and interior lights attached to the frame. Adding highlighting is easy. Fix the LEDs around the perimeter of the canvas, along one of the faces, or along the contour of the image. In addition to the decorative function, the backlight helps to highlight the picture against the general background, to present it in a more favorable light.
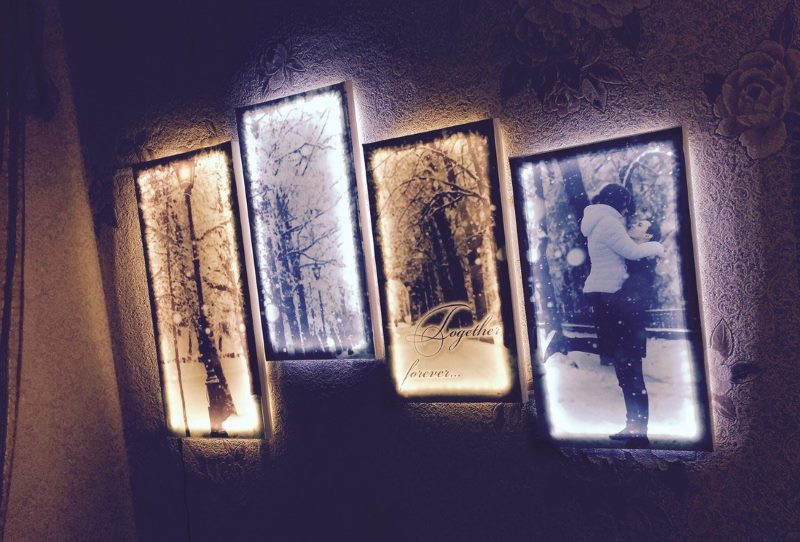
A simple idea is to stick your favorite photos on the glass, insert into the frame and highlight the perimeter with an LED strip
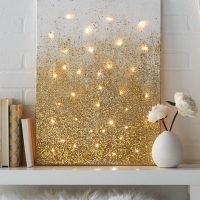
Designs with mirrors mounted at an angle, with LED-backlight, imitate the effect of infinity and futuristic, like a bottomless well. And the scattering of light bulbs on the canvas, like a night starry sky.
Semiprecious stones paintings
Stone is a natural material often used in creativity. Colored stone chips add relief to the picture. Decorating with amber will fill the image with warmth and soft glow, comfort. Semi-precious stones will be fascinatingly shimmer in the sun, adding luxury and chic to the interior.
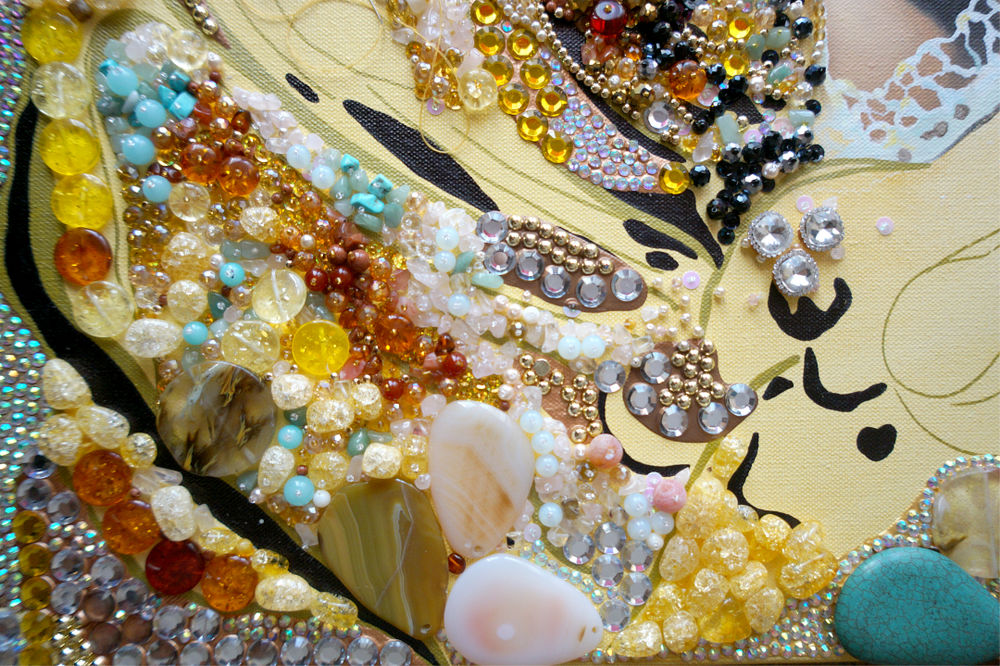
First, a canvas is painted with oil paints, and then each pebble is sewn manually
Black color
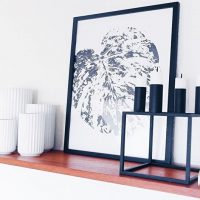
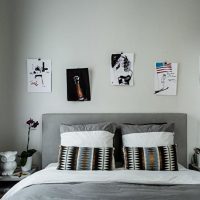
It seems that black and white photographs, monochrome abstractions, decorative graphics convey a gloomy mood. However, it is not. In the interior, they can be a win-win solution, filling the void of sterile white walls or diluting colorful patterns with their own rigor. Black color is universal, luxurious in any form.
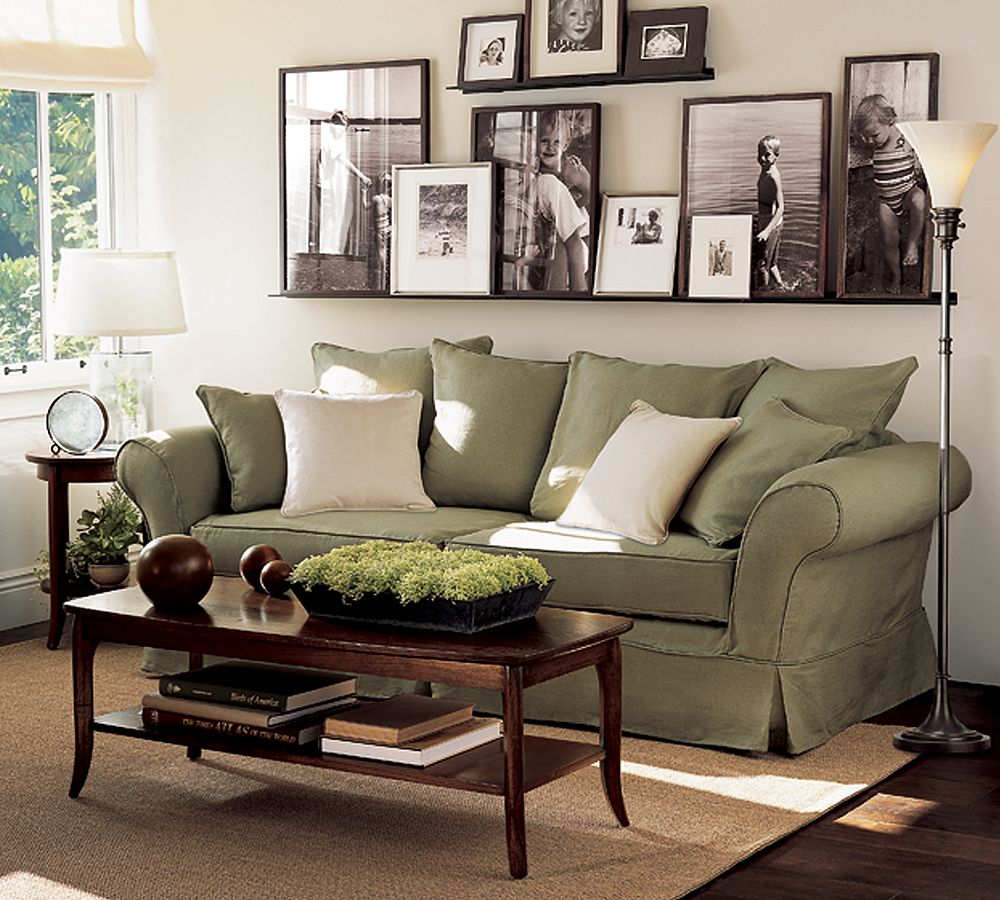
Photos can be set on wooden shelves
Geometric patterns
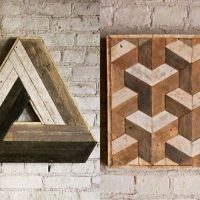
Stylish patterns attract the eye, transform boring plain walls, dilute the Scandinavian or minimalist style. Geometric prints are indispensable in kitsch and pop art.
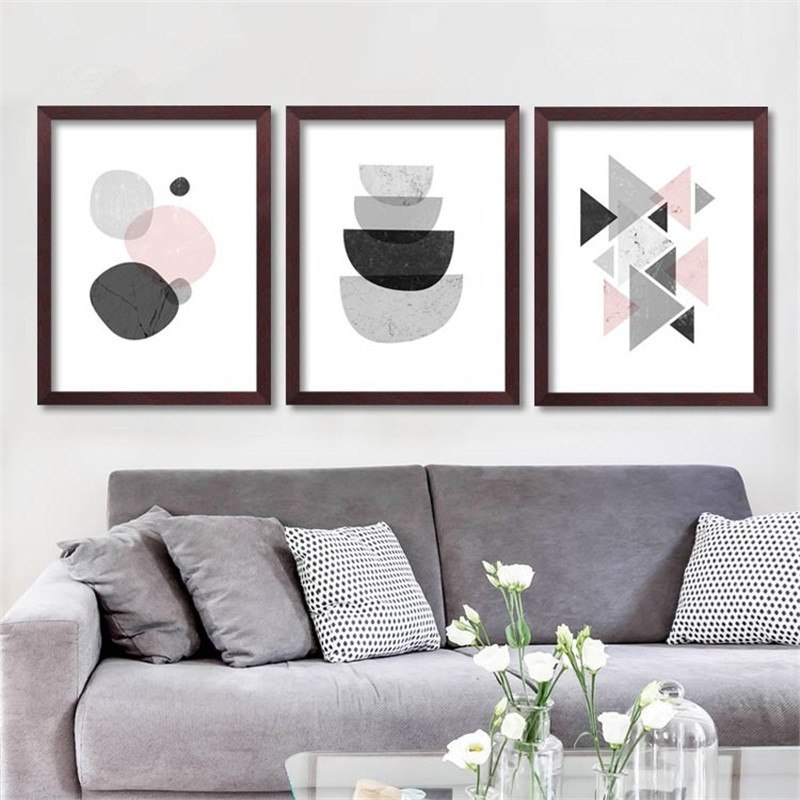
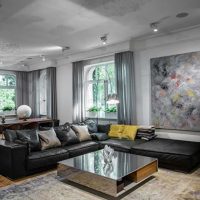
Suitable for a minimalist living room
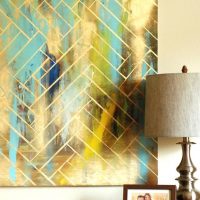
Again, it all depends on your imagination. By means of a ruler (masking tape) we precisely outline horizontal / vertical stripes, intersections, geometric shapes, then colorize. Light, calm patterns are good for decorating a bathroom or bedroom, and flashy, bright for the decor of the hallway.
Do not be afraid to put your ideas into practice. Draw ideas, fantasize, collect materials for creativity. Give your home a unique style, invest your soul with the help of creations made with your own hands.
Video: Three Simple Wall Decor Ideas
