Do-it-yourself arches from drywall to the room: photos and detailed instructions
17
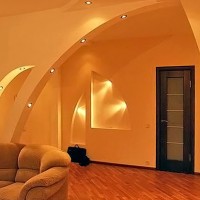
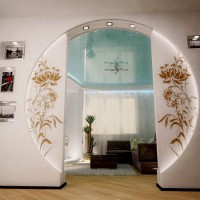
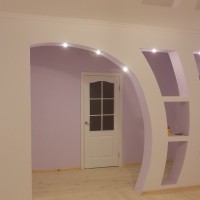
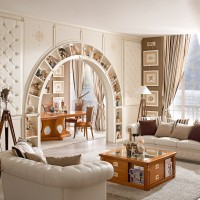
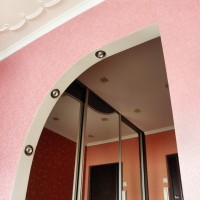
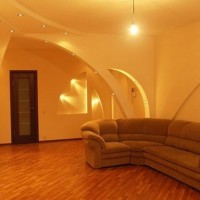
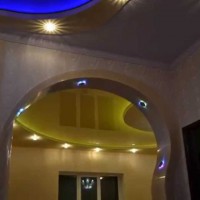
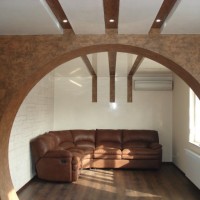
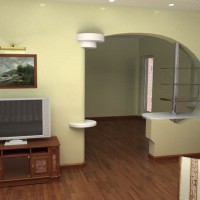
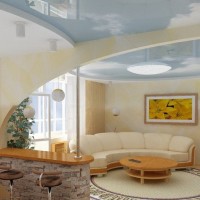
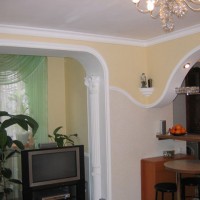
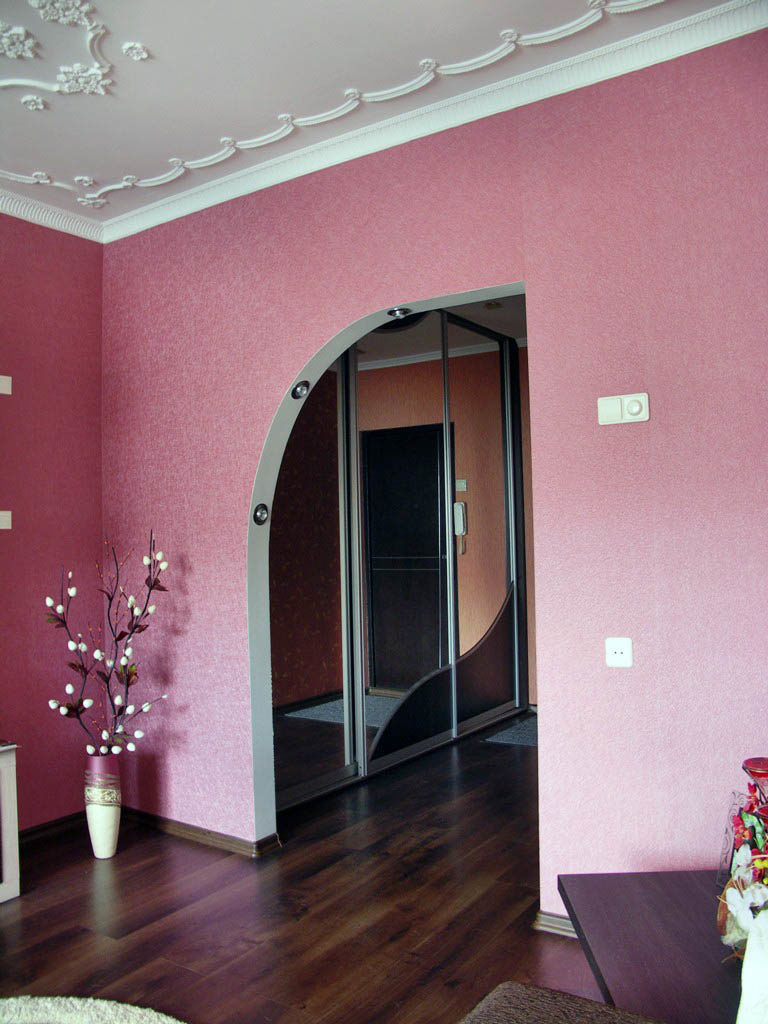
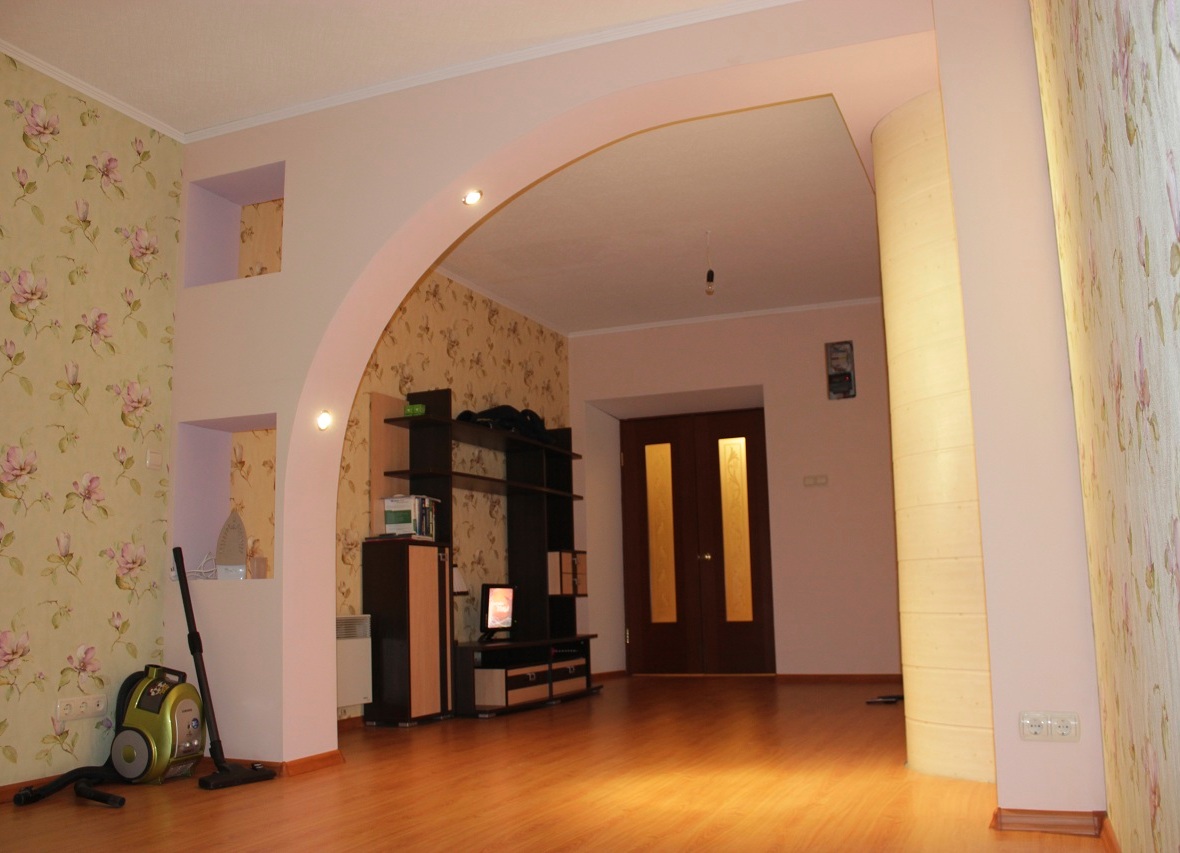
Each of us tries to make our home comfortable, stylish and original. Particular attention is paid to doorways. If you make a fantasy, a standard doorway can be designed in a rather original way, and, in addition to a purely decorative function, such a design will also be functional. We will discuss how arches from drywall look into the hall, photos of popular models of arches and the method of their manufacture are discussed below.
Content
Types of arches and their structural features
Modern arches came to us from Asia, where they trimmed doorways without doors.
Now the types and design of arches have changed and supplemented with new varieties. From the whole variety of forms, several popular types can be distinguished:
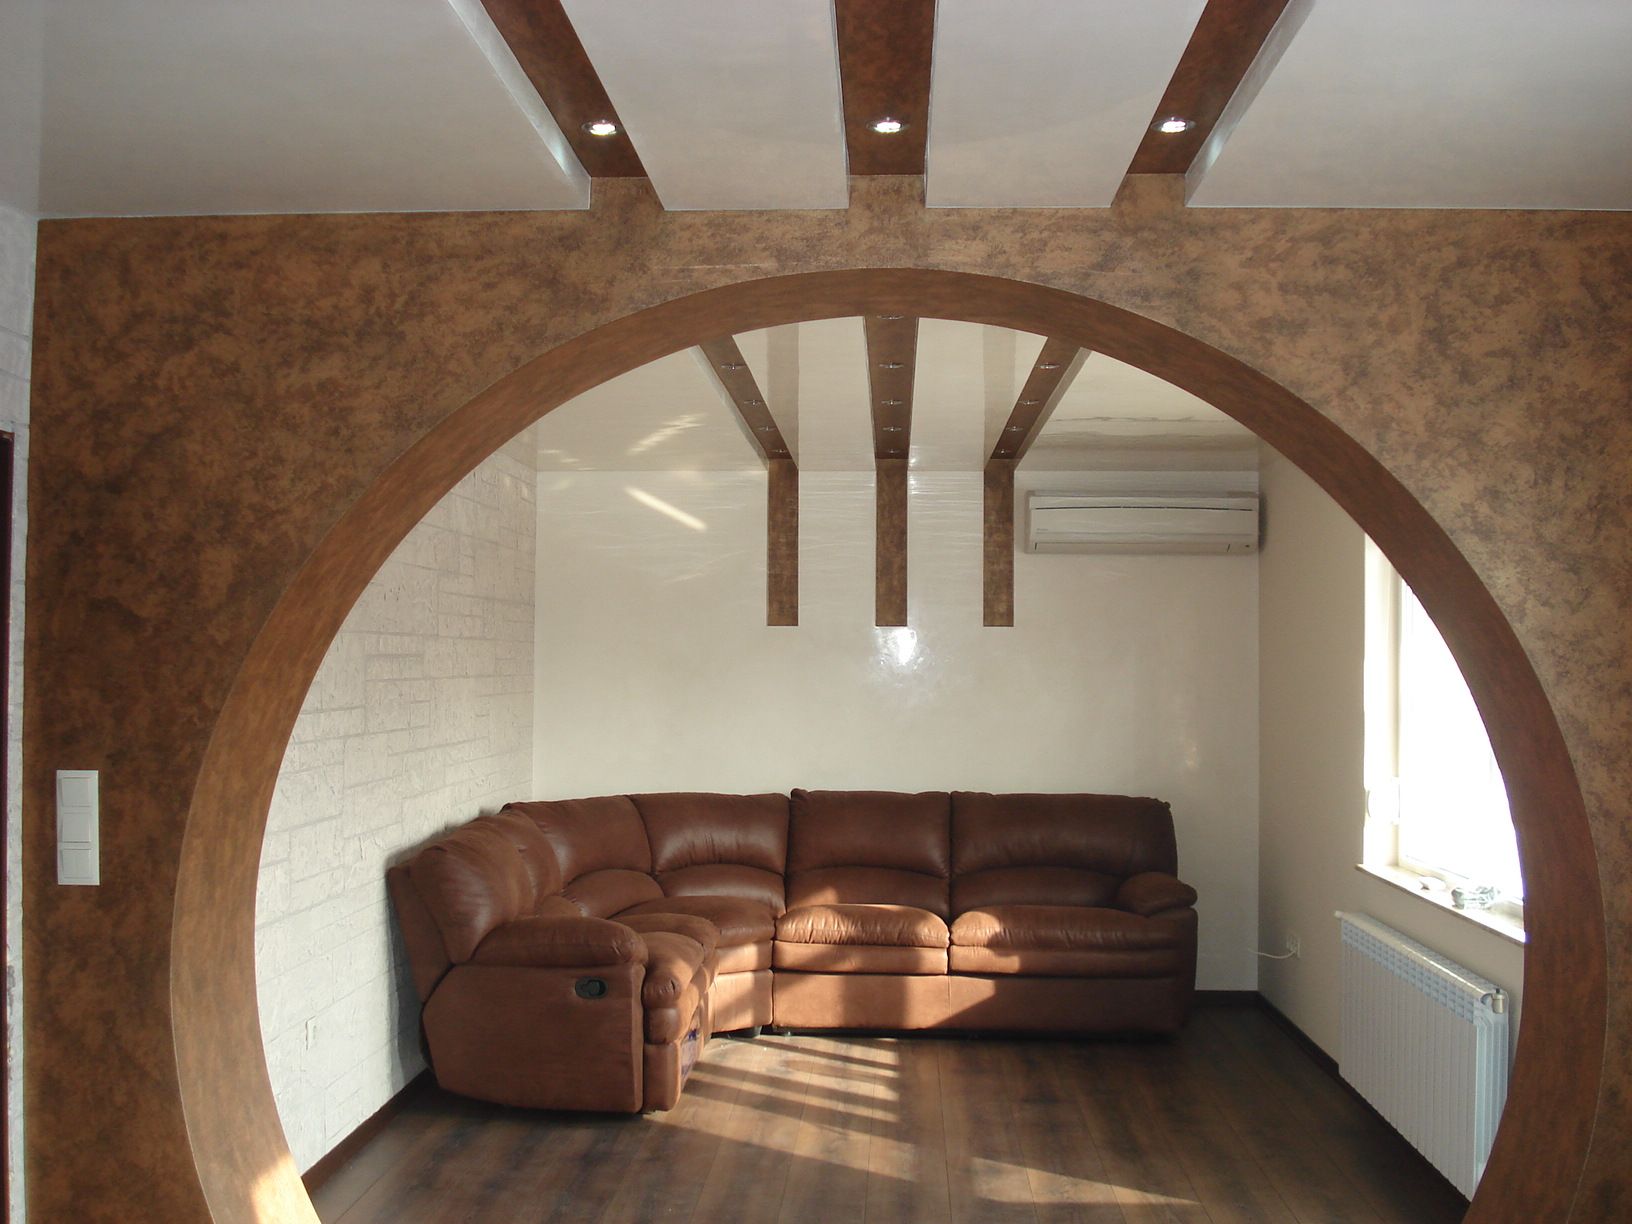
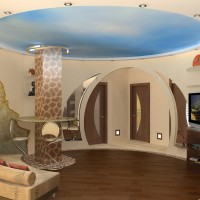
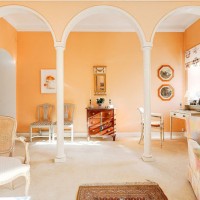
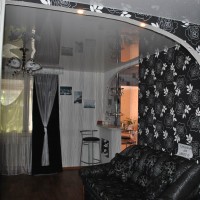
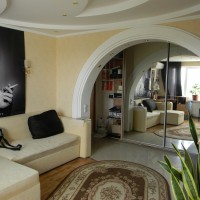
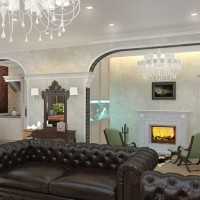
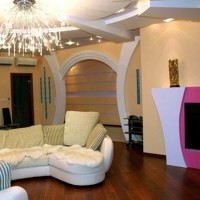
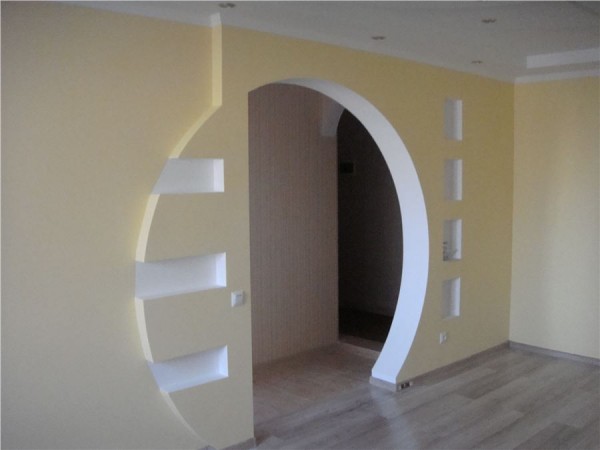
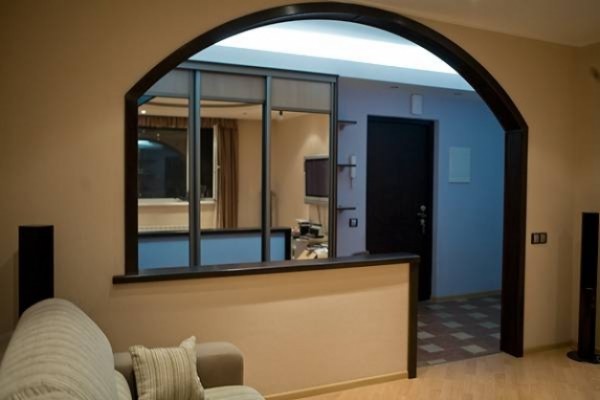
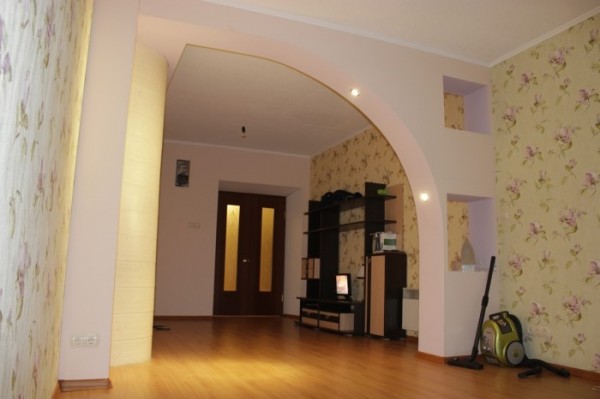
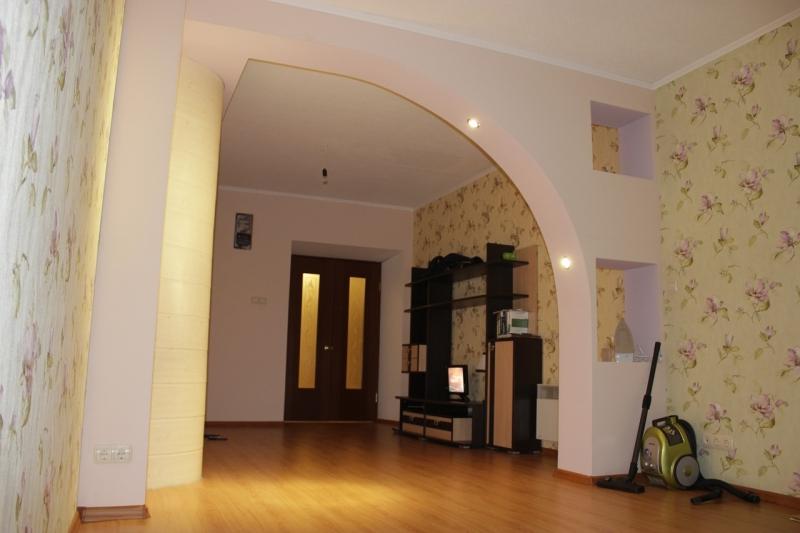
- A round or square wide arch is considered classic. It is mainly used to visually increase the space in a small room. Round constructions are used for zoning the space in the studio apartment or on the balcony. These designs fit perfectly with the classic style with high ceilings.
16
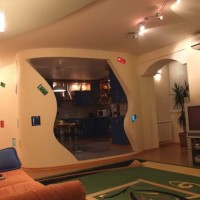
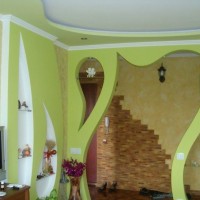
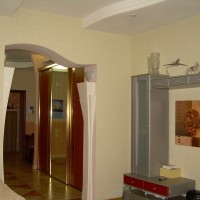
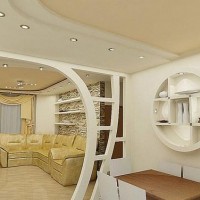
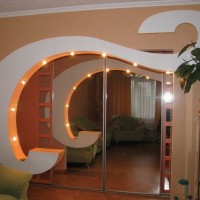
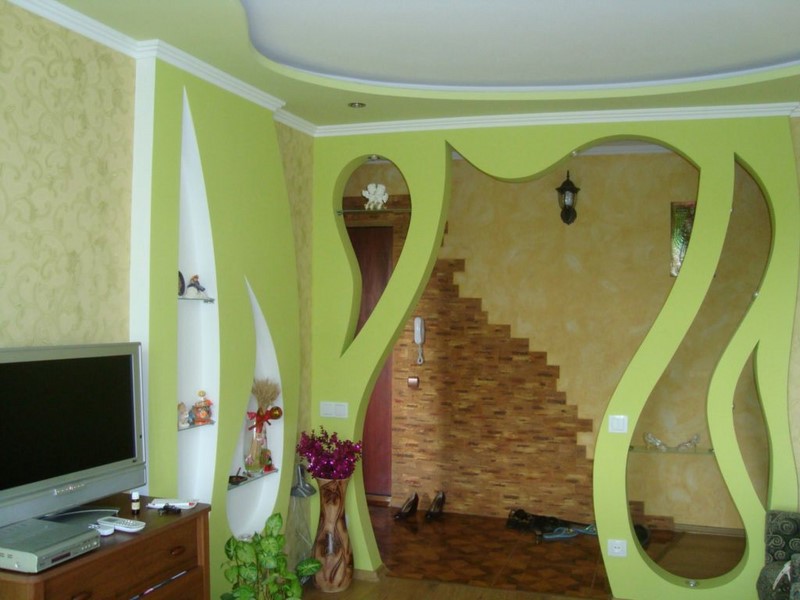
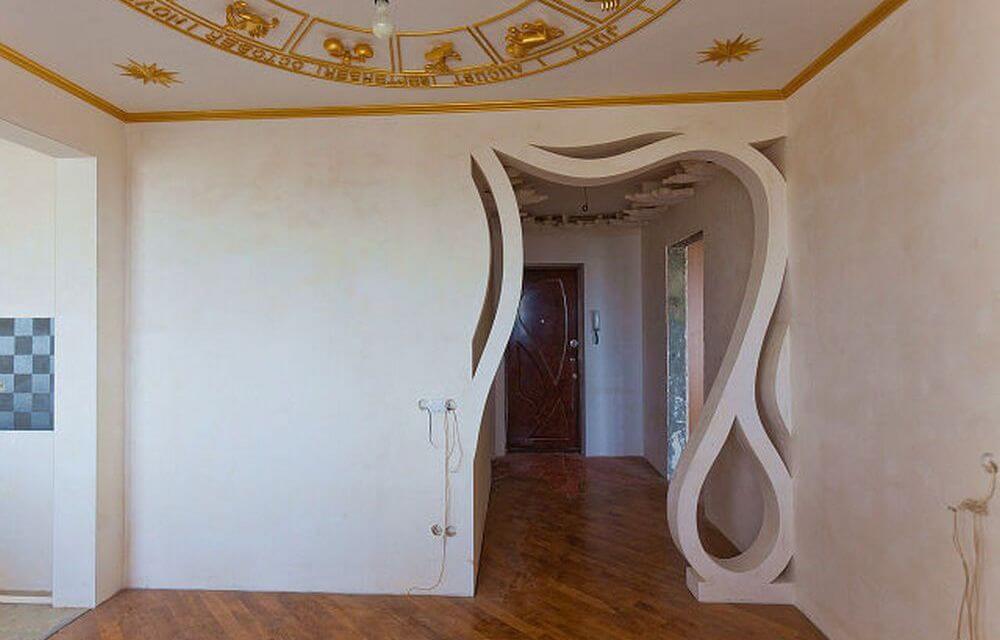
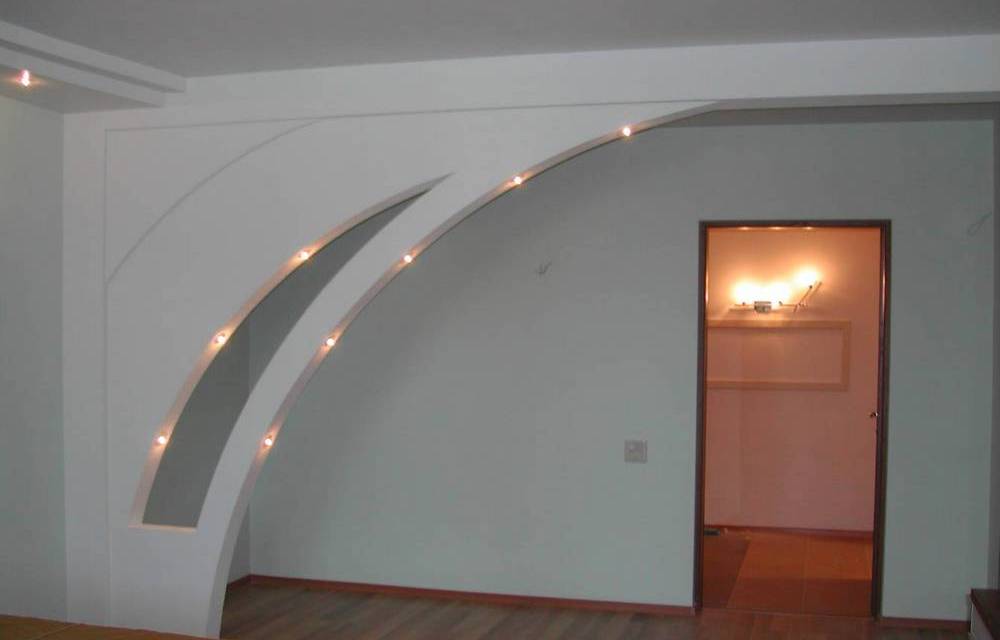
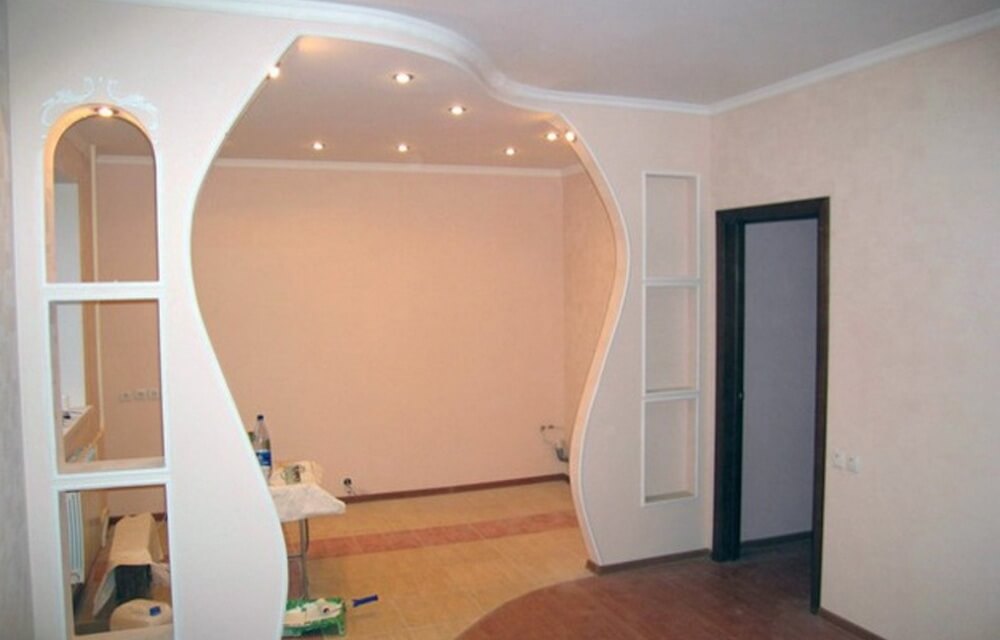
- Asymmetric arches. This type of decoration is not used as often as classic. They are used by creative, creative designers who are not afraid to experiment. In addition to the unusual design, an asymmetric arch can solve some interior problems, such as low ceilings.
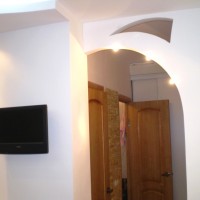
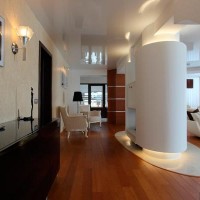
- Arches in a modern style are suitable for small rooms with low ceilings. The arch of this design is smooth, with a truncated radius, which makes the room visually wider.
15
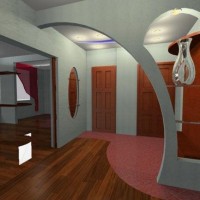
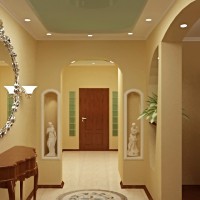
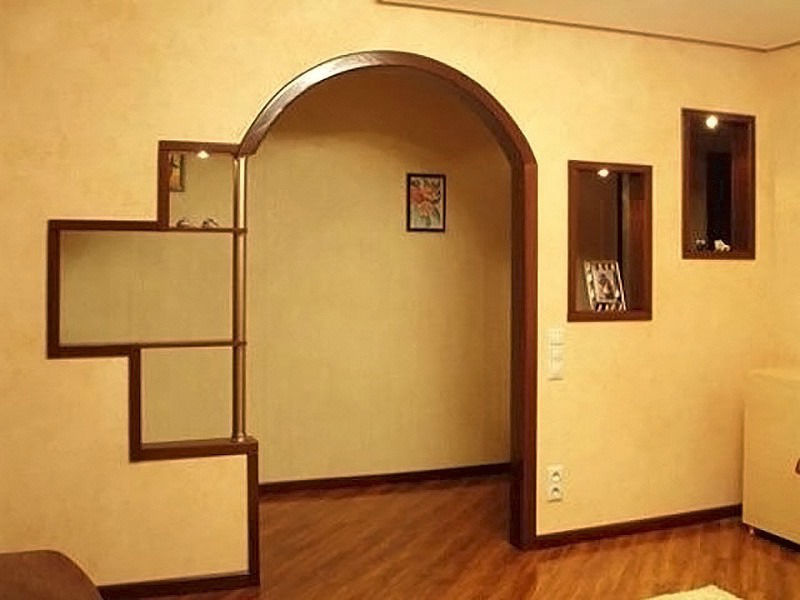
- Half-arches. Most often they are designed in the hall and complemented by decorative elements.
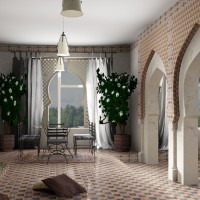
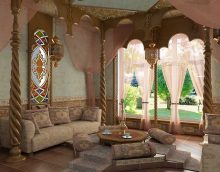
- East. Similar constructions have a dome-shaped vault, characteristic of eastern apartments.
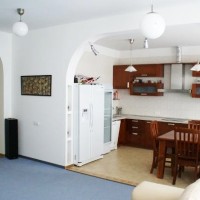
The most spectacular arches look in the kitchens and as the entrance to the hall or living room.
Arch decoration
14
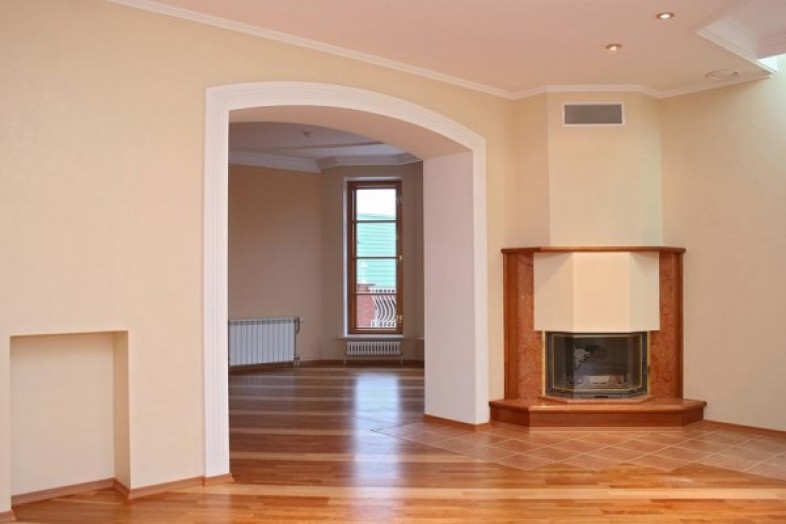
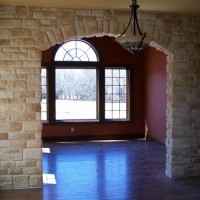
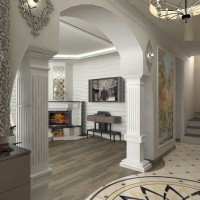
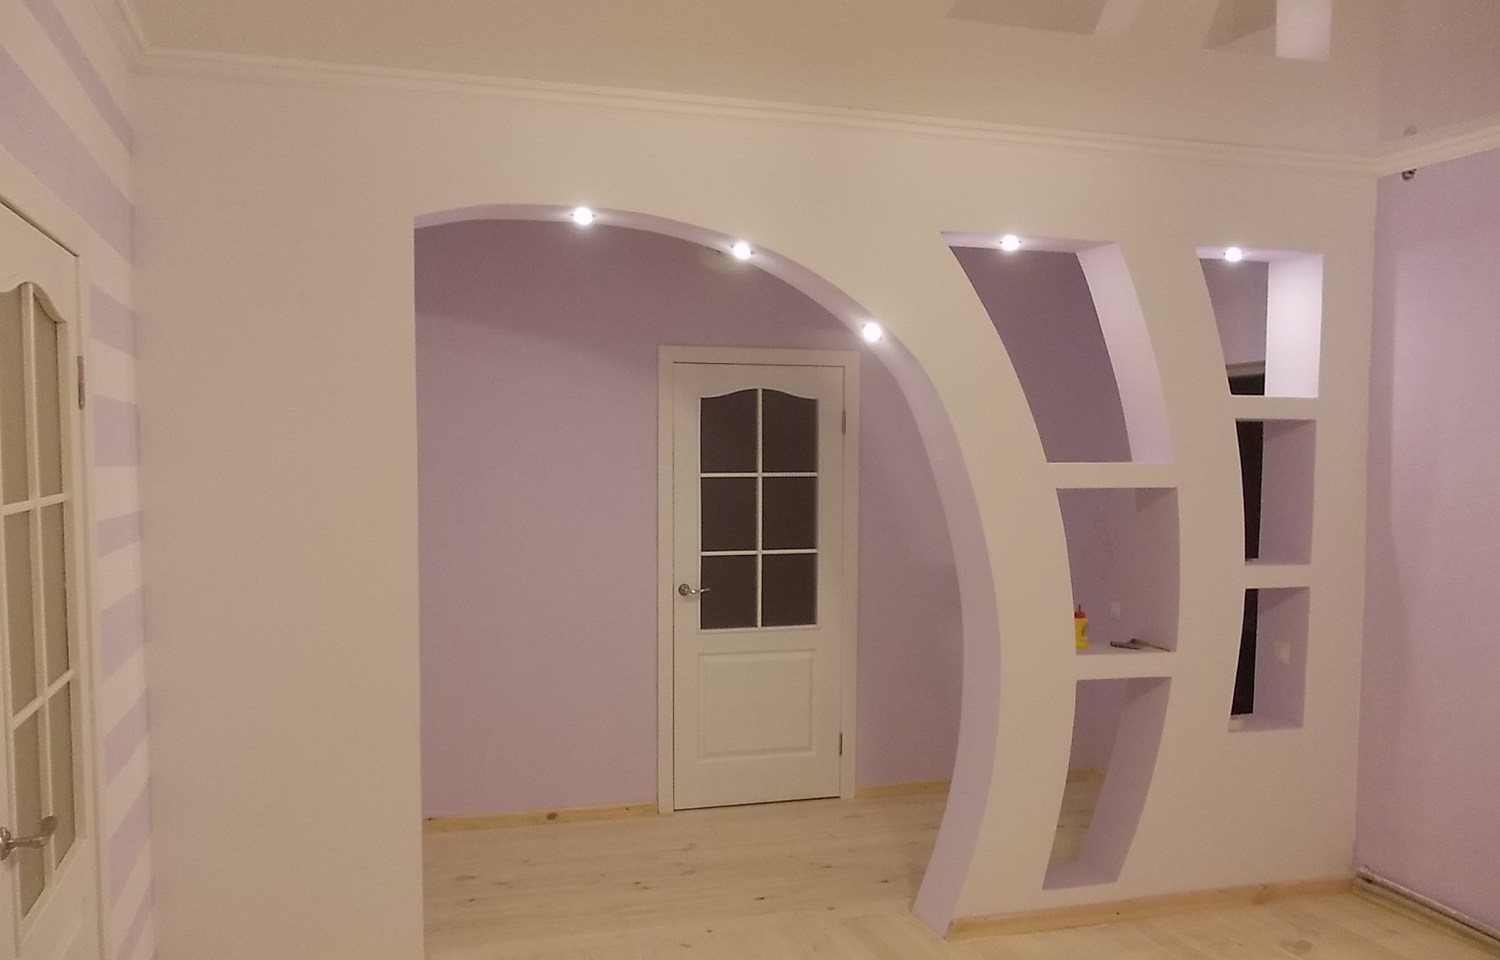
An arch will only become an apartment decoration if it is done in such a way that it complements the interior style and contains the characteristic features of the room. For example, if the design of the hall is made in the classical style, it is better to make an arched opening with a classic bend.
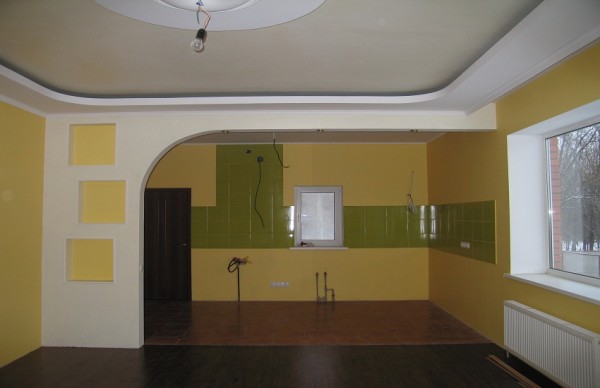
The arch in the hall should be wide, only then the effect of expanding the space is achieved and the room looks luxurious and harmonious. Since our standard openings are narrow, you will have to expand this passage to create an arch for the hall.
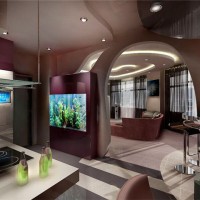
For hi-tech style, there are no prohibitions in design: openings of the most fantastic and original forms are allowed, it all depends on your desire.
Important: with oriental-style openings with domed arches, one should be careful, it is only suitable for the eastern style of the interior, otherwise such an arch will look ridiculous.
13
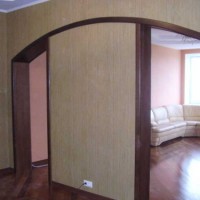
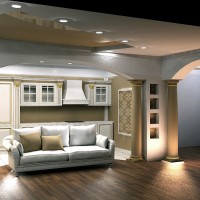
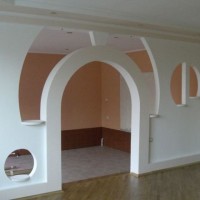
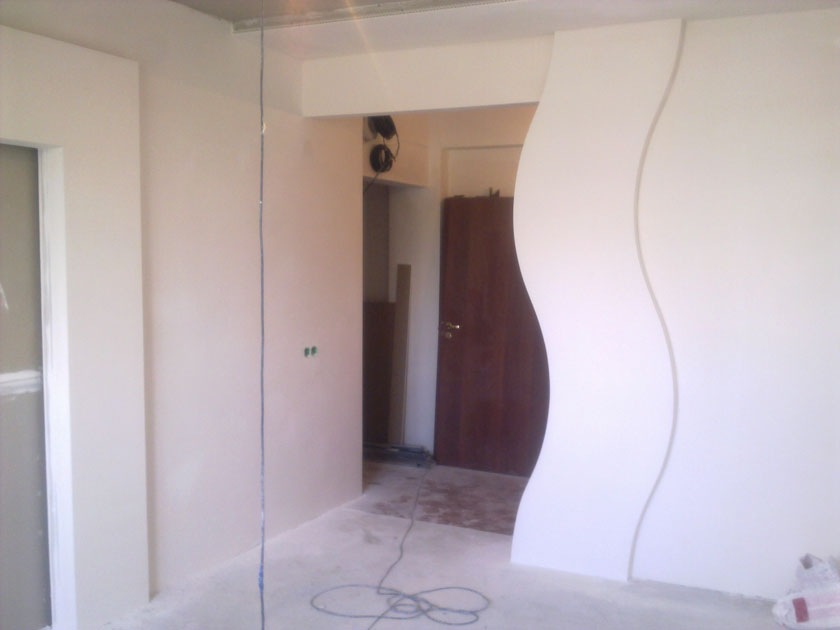
The portal arch is a very advantageous design for opening the doorway. This simple square and large arch is suitable for any interior and will look harmonious in any design, in addition, as can be seen from the photo, this arch helps to expand the space in small living rooms. Often, the portal arch is designed in the Art Nouveau interior.
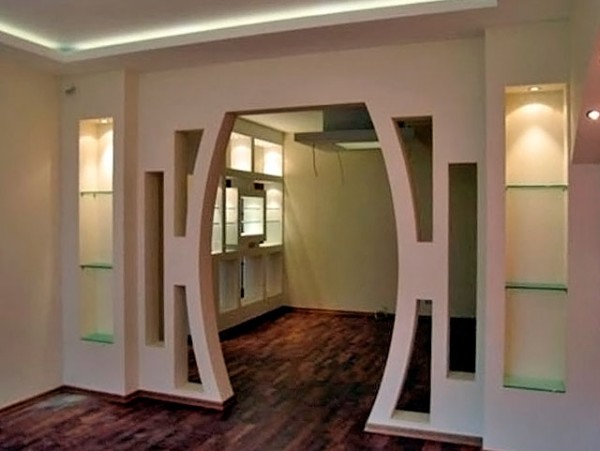
Important: the wider the arch - the narrower the gap between the rooms, which means that the design of adjacent rooms should be maximum close to each other, only in this case you can achieve harmony in the interior.
12
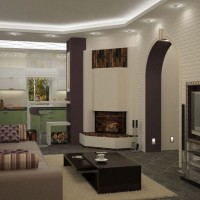
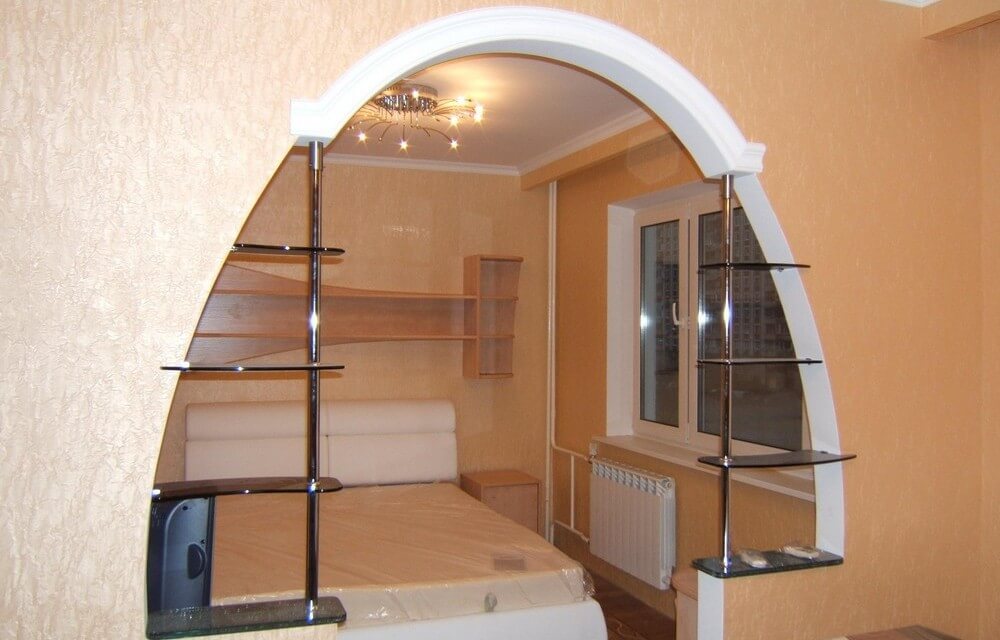
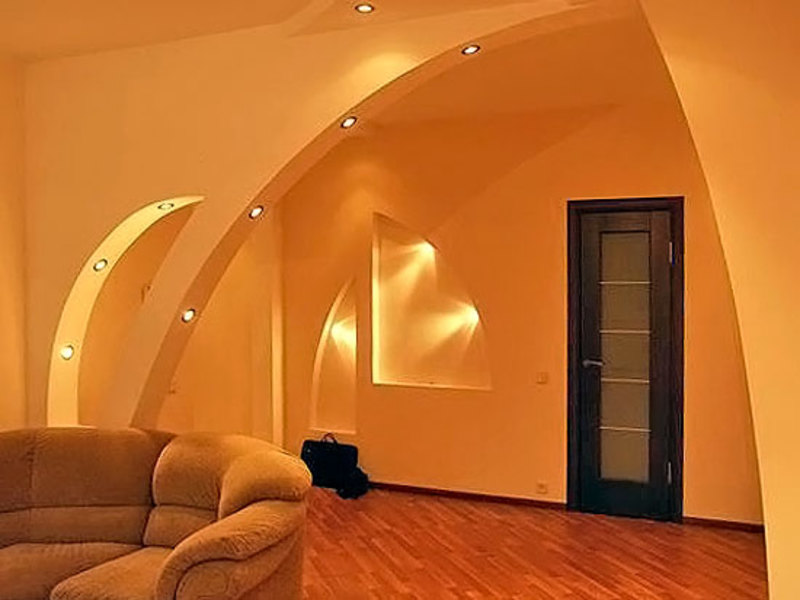
In addition to doorways with the help of arches, you can decorate the interior of the rooms.The arches look spectacular in large rooms, such as a hall or living room. Using this element, you can zoning the room or focusing on a specific area of the room. For example, you can combine the loggia zone and the hall with an arch, it looks elegant and luxurious. Using the arch, you can distinguish between the functional area of the room (cabinets, shelves) and the relaxation area. Often arches are installed above the window openings, in combination with similar arches in the doorways, a common ensemble in the design of the hall is captured.
Instructions for the manufacture of drywall arches in the hall: photo and phased description of the work
Drywall - a modern finishing material with which you can perform almost any, the most complex structures in the house. Drywall is a compressed sheet of natural material - gypsum, it is lightweight, flexible, environmentally friendly and inexpensive, which is why it is chosen from the whole variety of finishing materials.
A drywall arch on its own is a real idea, even if the landlord has never done this. If you use the right materials, tools and methods, then you can build such a structure in a few days.
11
Necessary materials and tools:
- drywall sheet;
- metal screws;
- metal profiles;
- putty bag;
- fiberglass or paper tape;
- pencil, tape measure;
- power tool;
- knives, scissors for metal:
- spatula, grater;
- personal protective equipment.
10
First you need to measure the dimensions of the area selected under the arch. Then a sheet of drywall is taken and, given the dimensions of the future arch, the desired shape of the arch is drawn. This is an important point that should be given maximum attention, because the result of work will depend on it. To make the arch circle ideal, you can draw it with a self-tapping screw screwed to a drywall with a tied thread, so you get a kind of compass. The larger the radius is assumed for the arch, the greater the length of the rope.
The drawn diagram is cut out using a jigsaw or a special hacksaw for drywall, and it is necessary to carefully fix the sheet to avoid injuries or damage.
Important: in wet rooms it is better to use a moisture-resistant type of drywall (light green sheets), so, subsequently, the shape and appearance of the arch will not change.
Frame manufacturing
9
For the manufacture of this design, you can use either a metal or wooden frame, but metal profiles are the most convenient for work, so we will use them for the frame.
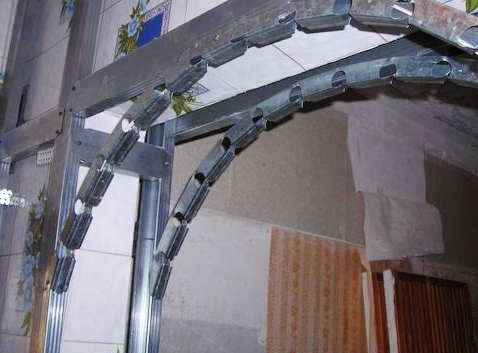
For the frame, narrow metal profiles are used, which are sold in any hardware store. To begin with, measure the dimensions of the arch, and cut the size of the profiles.
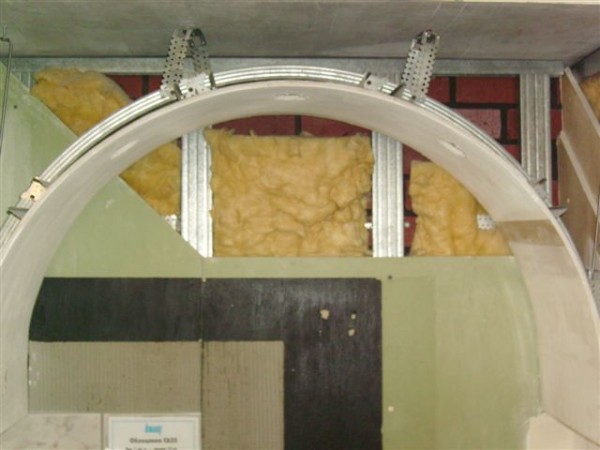
You will need two profiles along the width of the opening, which must be fixed at the top. On both sides of the wall two profiles are fastened according to the radius of the arch. To fix the frame in a concrete wall, you first need to drill holes, install dowels in them and screw in screws, and only then fasten the profiles as shown in the photo below.
1
Panel Mount
8
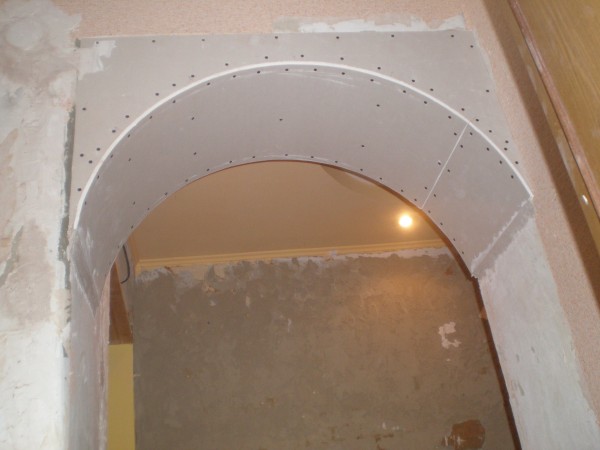
After installing the metal profile to the wall, you can attach the first section of drywall. For this, a screwdriver with adjustable torque is suitable. For sheets with a thickness of 12.5 mm, it is recommended to choose 3.5x35 screws, for thin sheets, the corresponding screws are selected. In the same way, the other side of the arch is installed. Screws are better screwed in such a way that their caps remain flush with the wall, to avoid unnecessary recesses or humps. This stage is shown in the photo below.
2
Important: for the reliability of the construction of drywall, it is better to screw the screws at a distance of not more than 15 cm. From each otherbut.
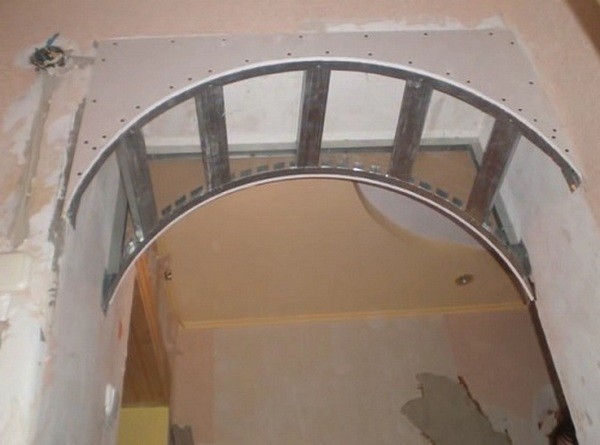
The next step is to mount the curved profile to the arch arch. To do this, you need to accurately measure the length of the arc and cut the metal profile to size. Then the segment is bent.For this: incomplete cuts are made with metal scissors along the entire length of the side faces of the segment, as shown in the photo. The distance between the incisions is 10-13 cm. If there is a need to give the profile a more curved shape, more incisions are made.
7
Next, you need to give the profile an arched shape and attach it to the lower zone of the metal frame with screws. If the arcuate profile is correctly adjacent to the circumference of the arch - it is fixed with self-tapping screws along the entire length. Do the same with the other side.
6
Now it remains to fix the curved structural element. For this: the dimensions of this section are measured and cut out of drywall. To make the sheet curved, we suggest using the following trick: at a distance of 8-10 cm, notches are made on the sheet, cutting the paper layer, so the element can bend.
3
Important: notches must be made perfectly straight and perpendicular to the side edge so that the bend is correct.
Then the notched rectangle is applied to the bend of the arch and gradually pressed against it. In this case, it is better to move in small steps so that the bend shape is correct.
After this, you should make sure that the design is smooth and that there are no bumps or extra pieces anywhere. Then the sheet is fixed with screws at the top, after which they advance to the edges. The arched arc is fastened with self-tapping screws at a distance of 8-10 cm from each other.

5
After work, everything is carefully checked, since it happens that the edge of the arc segment extends beyond the edges of the arch, if this happens, the excess of drywall is cut with a sharp construction knife.
Finish
4
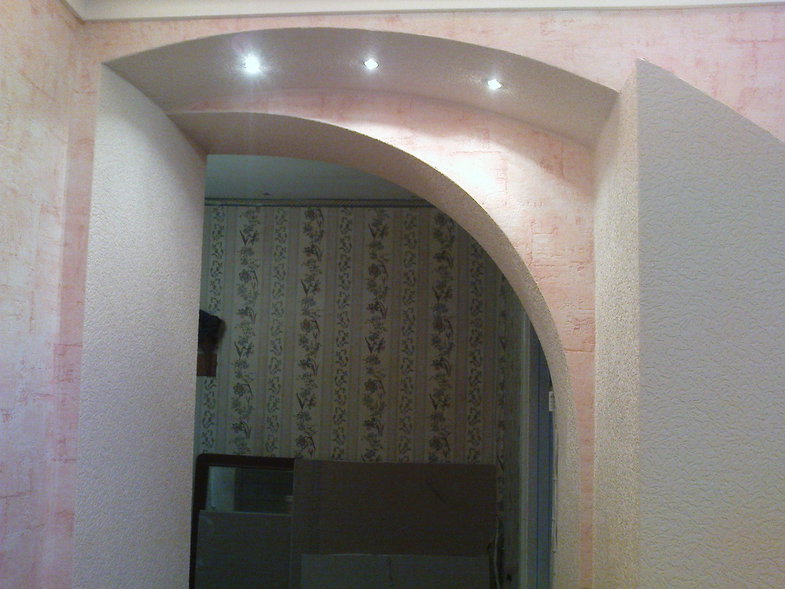
Now you can begin to finish the construction. First, you need to glue the joints and edges of the drywall construction with paper construction tape or fiberglass film. Then you need to apply at least 3 layers of putty, and after it dries, thoroughly wipe the surface with sandpaper. After that, the evenness of the surface is checked and you can begin to stain.
As you can see, if you want to create such an element of the interior is not difficult, but as a result, you will not spare the effort and will be satisfied with the new look of your apartment!
