The better to paint the ceilings in the kitchen: choose the right paint
Choosing the method of decorating the ceiling, many stop their decision on painting. The option is affordable, not difficult to implement and is popular. Before starting repairs, the most important thing is to choose the right paint.
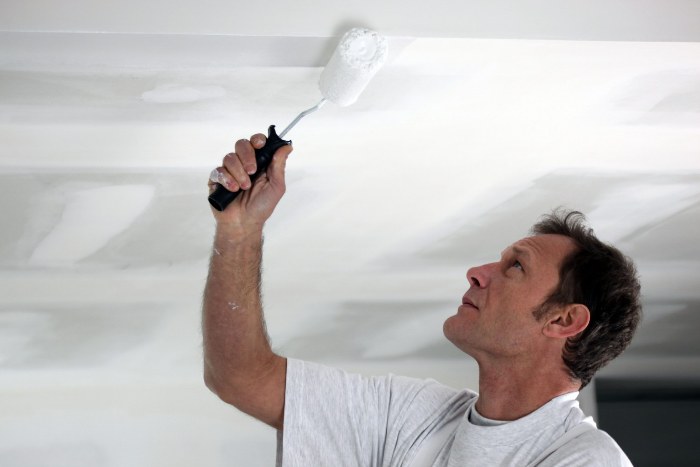
Compared to other ceiling design options, painting is more affordable.
Content
Features of painting the ceiling in the kitchen
In the kitchen, we cook, and constant cooking and exposure to temperatures strongly affect the room. The main influence goes to the ceiling, as all the heat rises up. When preparing the ceiling and painting, the following features should be considered:
- High humidity in the air. Cooking most often requires the use of fluid. The liquid evaporates and the humidity rises. Moisture rises to the ceiling and interacts with it.
- Change in temperature. A stove can heat the ceiling to 50 degrees Celsius, and cool an open window in winter to 0. The stove is turned on daily in the kitchen, which heats the room, then the room is ventilated.
- Accumulation of fat and soot. Spray often flies from the stove, which can reach the ceiling.
- High probability of flooding. In classic houses, kitchens are located under each other, because it is more convenient to carry out water supply there. Malfunctions of the water supply system can lead to flooding of the neighbors from below.
Due to the high humidity, the paint for the ceiling in the kitchen must have high moisture resistance.
What paint to choose for the kitchen?
You need to make the right choice, how to paint the ceiling in the kitchen so that it can withstand all the kitchen factors. The paint exists is diverse, it is worth choosing based on the nature of the surface and what exactly you need. Long-lasting paint, which will last a long time and will not deteriorate, will cost more than ordinary. You need to look at materials based on the budget.
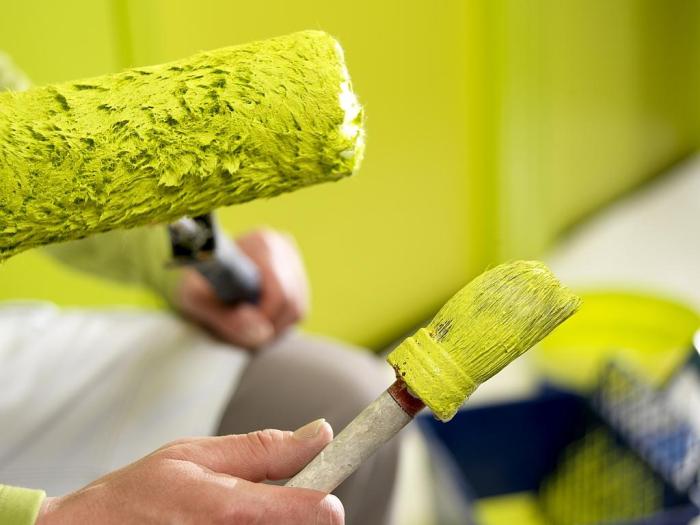
There are many types of paints on the market that differ in price category and quality.
Lime
This option has been used for many generations. It used to be the best material to paint the ceiling. Its cost is quite inexpensive, and because of its characteristics, lime is able to absorb harmful substances. For humans, it is safe and does not affect the body. If you put it in several layers, you can cover the cracks, and smooth out the surface irregularities. Aqueous emulsion and acrylic paint are incapable of this. The ceiling will be whiter if whitened with quicklime. Of their advantages, lime has ease of application and cheap price, and of the minuses is that the material can not be washed. Lime is simply washed off with water. Therefore, when fat and soot occur, you will have to whitewash the ceiling with a new layer. For modern apartments, this is not a good option, but for simple types of repairs it is suitable.

Lime paint is able to absorb harmful substances.
Water based paints
This type of paint is the most common, it is advised by all masters and specialists. Water-based paint does not apply to detergents, but still it can be wiped a couple of times.
Advantages of water-based paint:
- Ease of application even in the absence of experience.
- Security. The paint is non-toxic, odorless and dries within hours.
- There are a lot of shades, so it will not be difficult to choose a suitable tone for yourself.
Types: mineral, silicone and acrylic. The mineral includes hydrated lime and white cement, this is the most budgetary option for decoration. Silicone paint with resins is more resistant and can smooth out small cracks and roughnesses. Acrylics contain latex, they are resistant to water and moisture, so that they can be wiped.
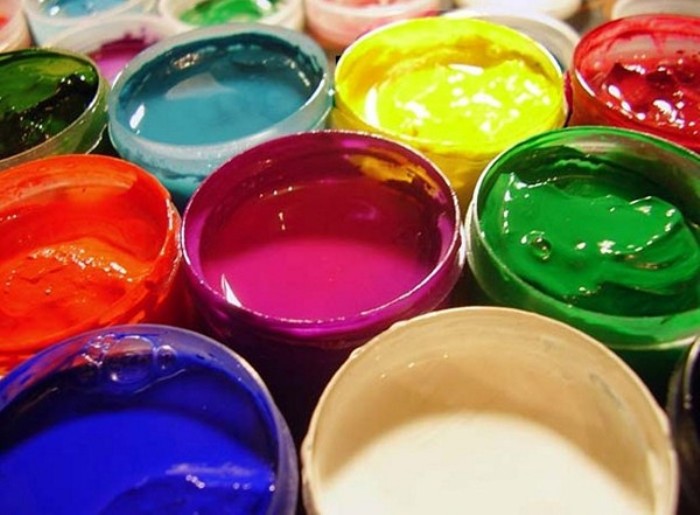
Water-based paints are resistant and have a large selection of shades.
Acrylic paints
Acrylic paint is more expensive than water-based paint, due to the fact that it can be washed, and also it does not fade in the sun for a long time. It is best to wash the ceiling with soap and water.
Pros:
- After application, the brightness is not lost.
- It dries quickly.
- Resistance to temperature changes.
- Does not crack or crumble.
- The surface covers cracks well. Before applying, acrylic is mixed with special mixtures. Depending on the mixture, the ceiling can be matte or glossy.
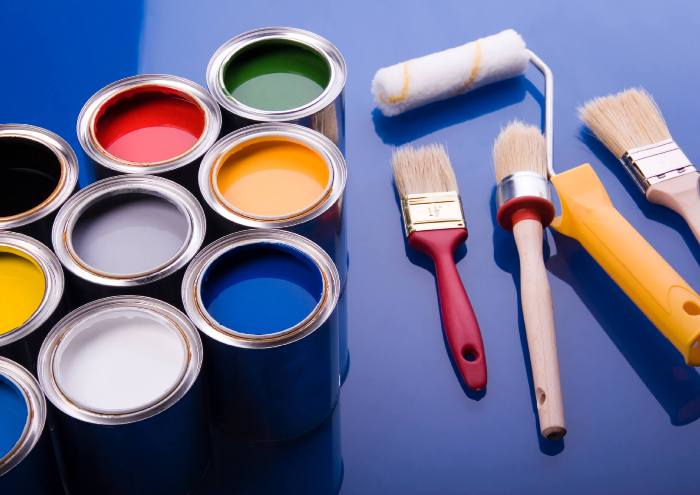
Acrylic paint perfectly covers cracks and bumps.
Choosing the color of paint for the kitchen
The ceiling can be decorated in any color, but the most classic version is white. There are several rules based on which you can make your choice. If the room is low, then the color is better to choose light, and the floor is dark to visually increase the space. In the case when the ceiling is too high, the formula is the opposite: you need to make a dark ceiling and a light floor. With a lack of lighting, the ceiling can be turned light yellow. Color will warm and light. Do not make the walls and ceiling of the same color, as everything will merge. It is best to make one single surface embossed. Light blue and green colors reduce appetite, while orange and yellow awaken it. And on the walls you can place paintings or panels with the image of fruits.
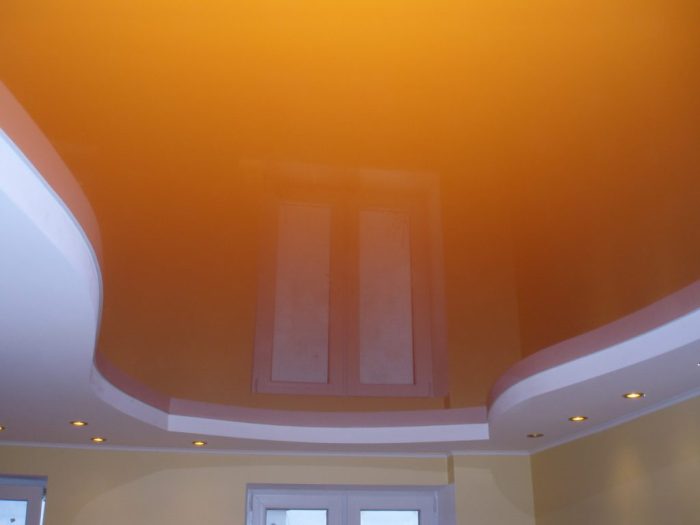
The orange ceiling in the kitchen arouses appetite.
Ceiling Painting Technology
The very first thing when painting is preparation. It is necessary to take out as much as possible all the furniture, cover what did not work to remove. It is important to fix the film or newspapers on the furniture with which it will be covered. To fix, they take masking tape, it even easily rips off wallpaper, and the paint does not leak under it. Pipes and batteries are also worth closing.
The second is lighting. You need to put bright white lamps to see what is happening on the working surface. Lighting at an angle will show all the bumps and poorly painted spots. Usually, craftsmen have a convenient mobile lamp.
Third and most important is the preparation of the ceiling. After the lighting is supplied and the surface is leveled, the time of day is given for drying. Then the surface is treated with fine sandpaper so that it is a little rough. Then all dust must be sweeping or vacuuming.
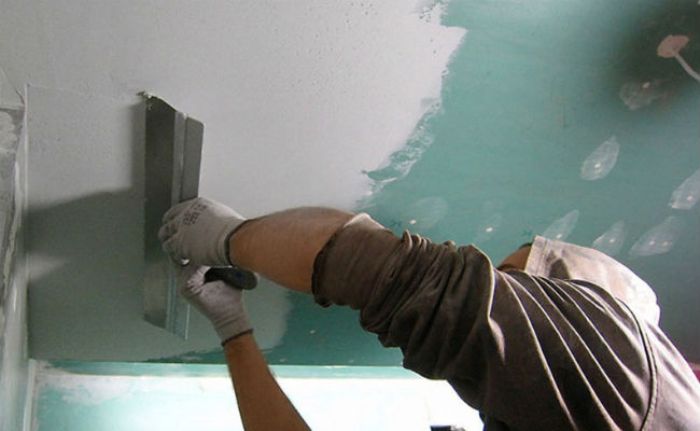
Before painting, you need to prepare the ceiling.
The next step is priming. The primer must be chosen one that is suitable for the paint. It is best to choose one manufacturer. And how to paint the ceiling in the kitchen - only your choice. The primer, if necessary, is mixed with water, then carefully coat all corners and the ceiling. A layer of paint should be applied to the previous one, when it has not yet dried out. This ensures better adhesion of surfaces. It is impossible to procrastinate in such a matter. The first layer should be a primer, and it is better to cover with color in three layers.
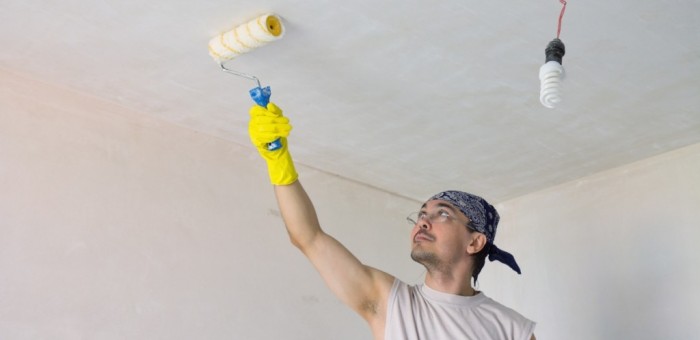
After leveling, the surface must be primed, which contributes to good adhesion of the paint.
The last step is painting. Instructions for painting are always indicated on the can of paint. Sometimes it needs to be mixed with water, sometimes just mix with a mixer. Most often, the ceiling is primed in the evening to begin staining in the morning. The thickness of the layer should be the same, it must be verified in the light. If, after everything dries, you find spots, this means that the surface was poorly putty.Putting more layers will be unreasonable and useless, there is nothing to change. It is better to check the surface itself for spots after each layer, so that the work is not useless.
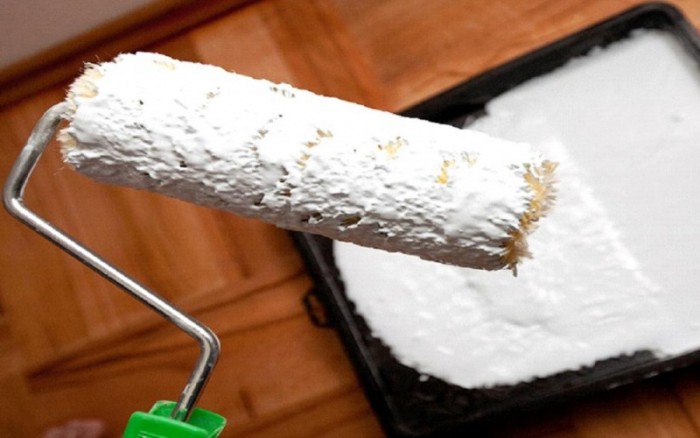
After the preparatory measures, we proceed to the coloring itself.
Tools and materials
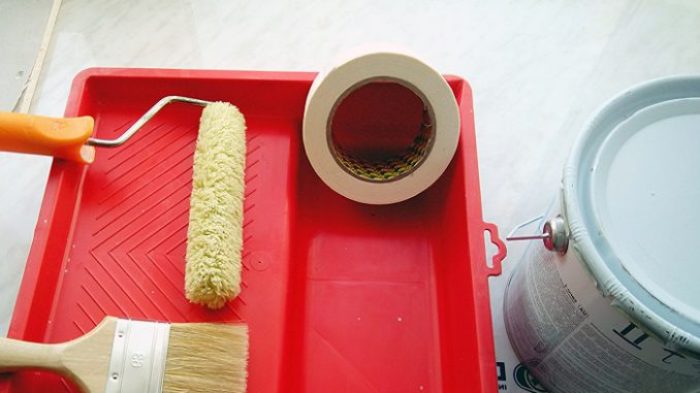
Of the tools you will need a roller, a tray for our paint with a squeezing device and a brush of fleets up to 50 mm. You will also need a stepladder and duct tape to protect the walls. It is best to choose a roller with a long pile, a lot depends on it. Fur coats with a short pile create a smooth surface, and with a long - rough. Foam rollers do not fit at all, as they create bubbles. Velor takes a lot of paint and is also not a good choice.

Necessary tools for painting the ceiling.
Ceiling surface preparation
Preparation is as important a process as painting. First, all the old putty is scraped off, in those places where it falls off. For these purposes, you will need a spatula. If necessary, treatment against the fungus follows. This is an important procedure, since even the smallest mold or fungus can grow to enormous size. The first layer after the product is a primer. After the soil is plaster to smooth out irregularities. On roughnesses of up to 1 cm, a starting putty is applied, on even smaller ones - a finishing putty. Between all layers of putty, a primer is applied. A very important point is to wait for each layer to dry. All layers are wiped with a grater or sandpaper.

Surface preparation for painting.
Paint application
Painting itself is not as complicated as preparing for it.
Important! Before applying materials, respiratory protection must be protected. They put on special respirators or similar things, eyes - construction glasses. Dust particles during shedding of the primer can adversely affect health. Hands and other parts of the body are best covered because drops are poorly rubbed off the skin.
Features of painting the ceiling in the kitchen:
- At the first stage, all angles are painted.
- It is better to paint the ceiling with a roller; it has a special tray in which it can be pressed.
- It is necessary to paint continuously so that in the end there is no discrepancy between layers, this is important for high-quality repairs.
- The number of layers must be determined, depending on the density of the paint. Some fall in 1 layer, the second in 2-3.
- Proper painting starts from the window.
- When using dye, it is necessary to intervene very carefully, until a homogeneous consistency.
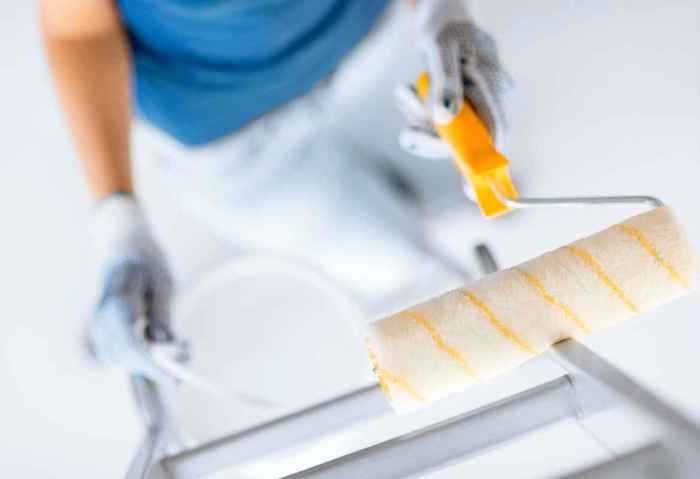
It is better to paint the ceiling with a roller so that there are no traces of the brush.
Some useful tips from experts
Paint and solvents should be taken from the same manufacturer so that the consistency of the paint is uniform. Materials for painting should be of high quality so that the coating is even and lasts a long time. In the process of painting, you must follow all the rules: wait until the layers are dry, cover the surface evenly.
And so, the question of how to paint the ceilings in the kitchen with your own hands should be such an answer: you need to have patience and endurance. This is a serious and difficult matter, but if you follow the steps, you can learn to paint any surface. Before starting work, it is important to determine the paint that suits you most. To decide what paint to paint the ceilings in the kitchen, you need to read about their properties and characteristics.
How to paint the ceiling
