DIY box decoration: choice of equipment and materials
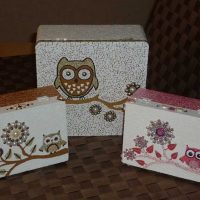
Every woman and girl has a personal casket in which she stores jewelry, cosmetics or other things. You can buy a box in a store or create a unique item with your own hands. This is not so difficult to do. The main thing is to choose the most suitable way of decoration.
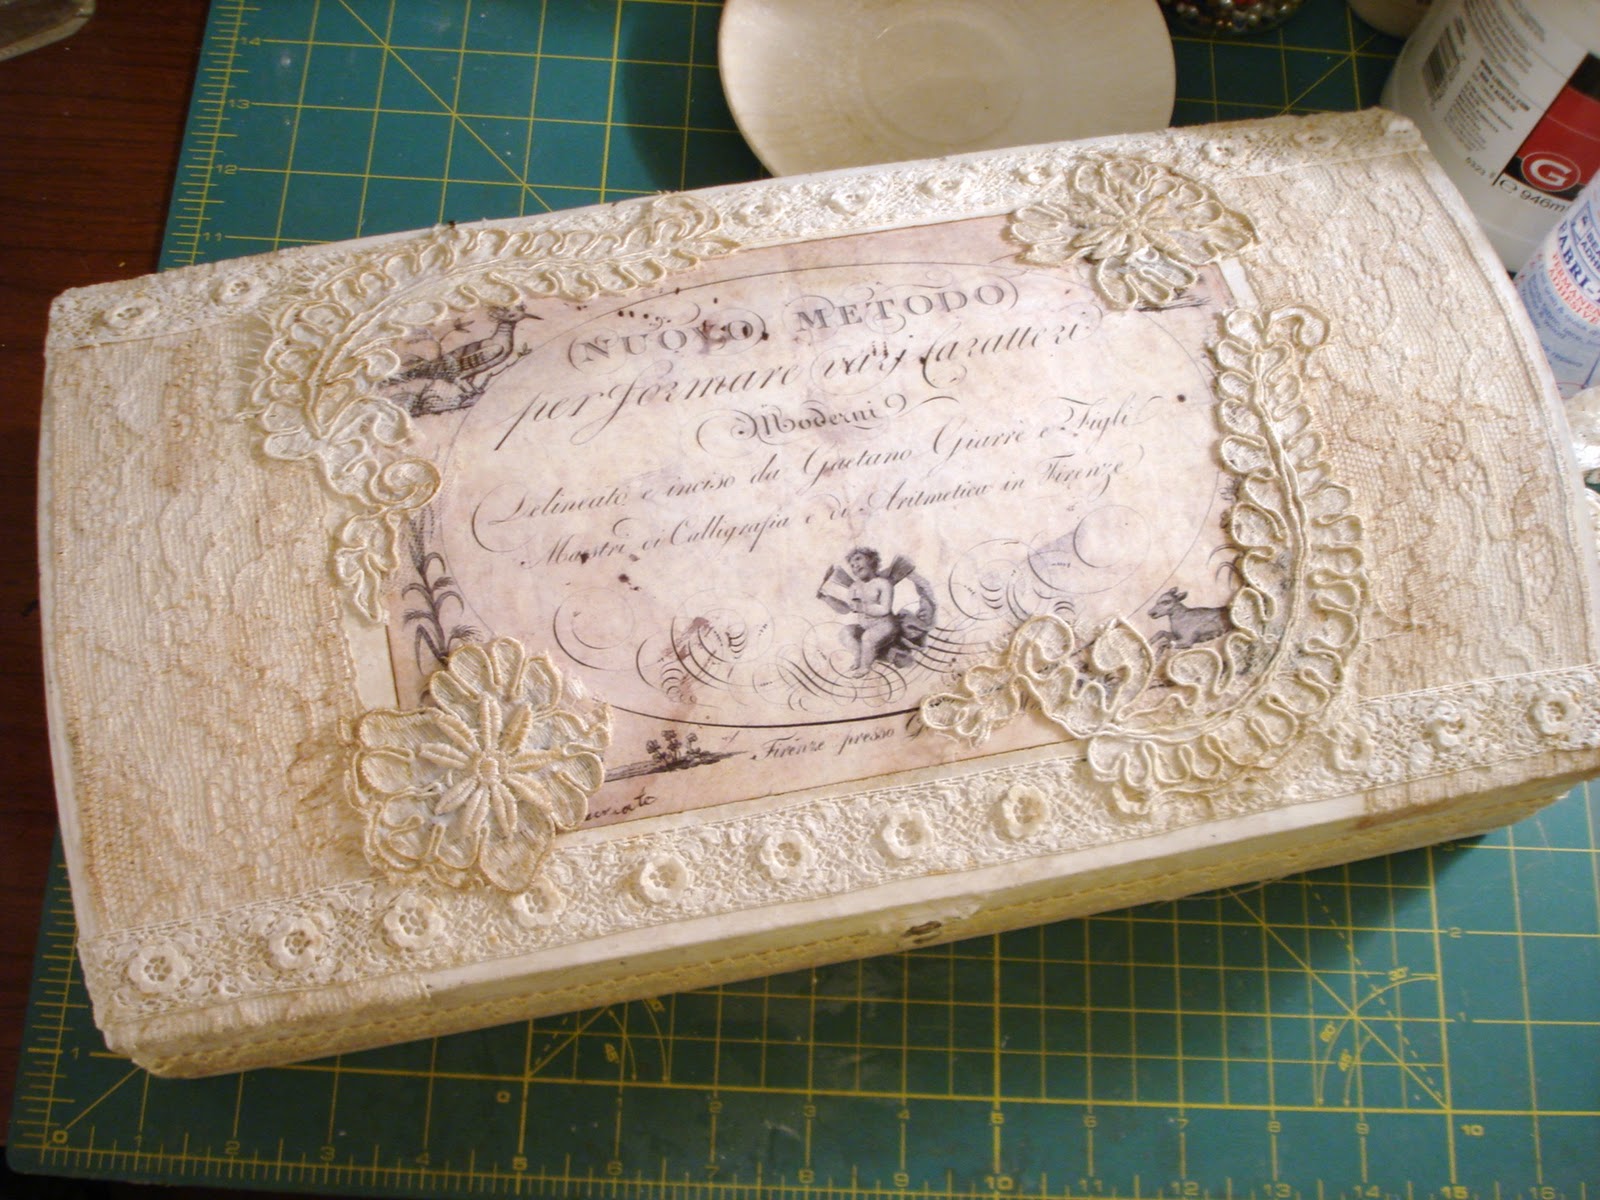
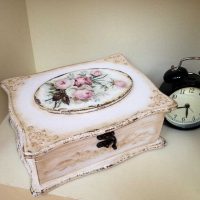
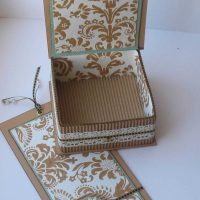
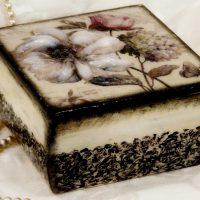
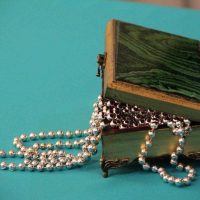
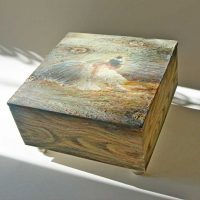
Exquisite jewelry box decorated using decoupage and craquelure technique
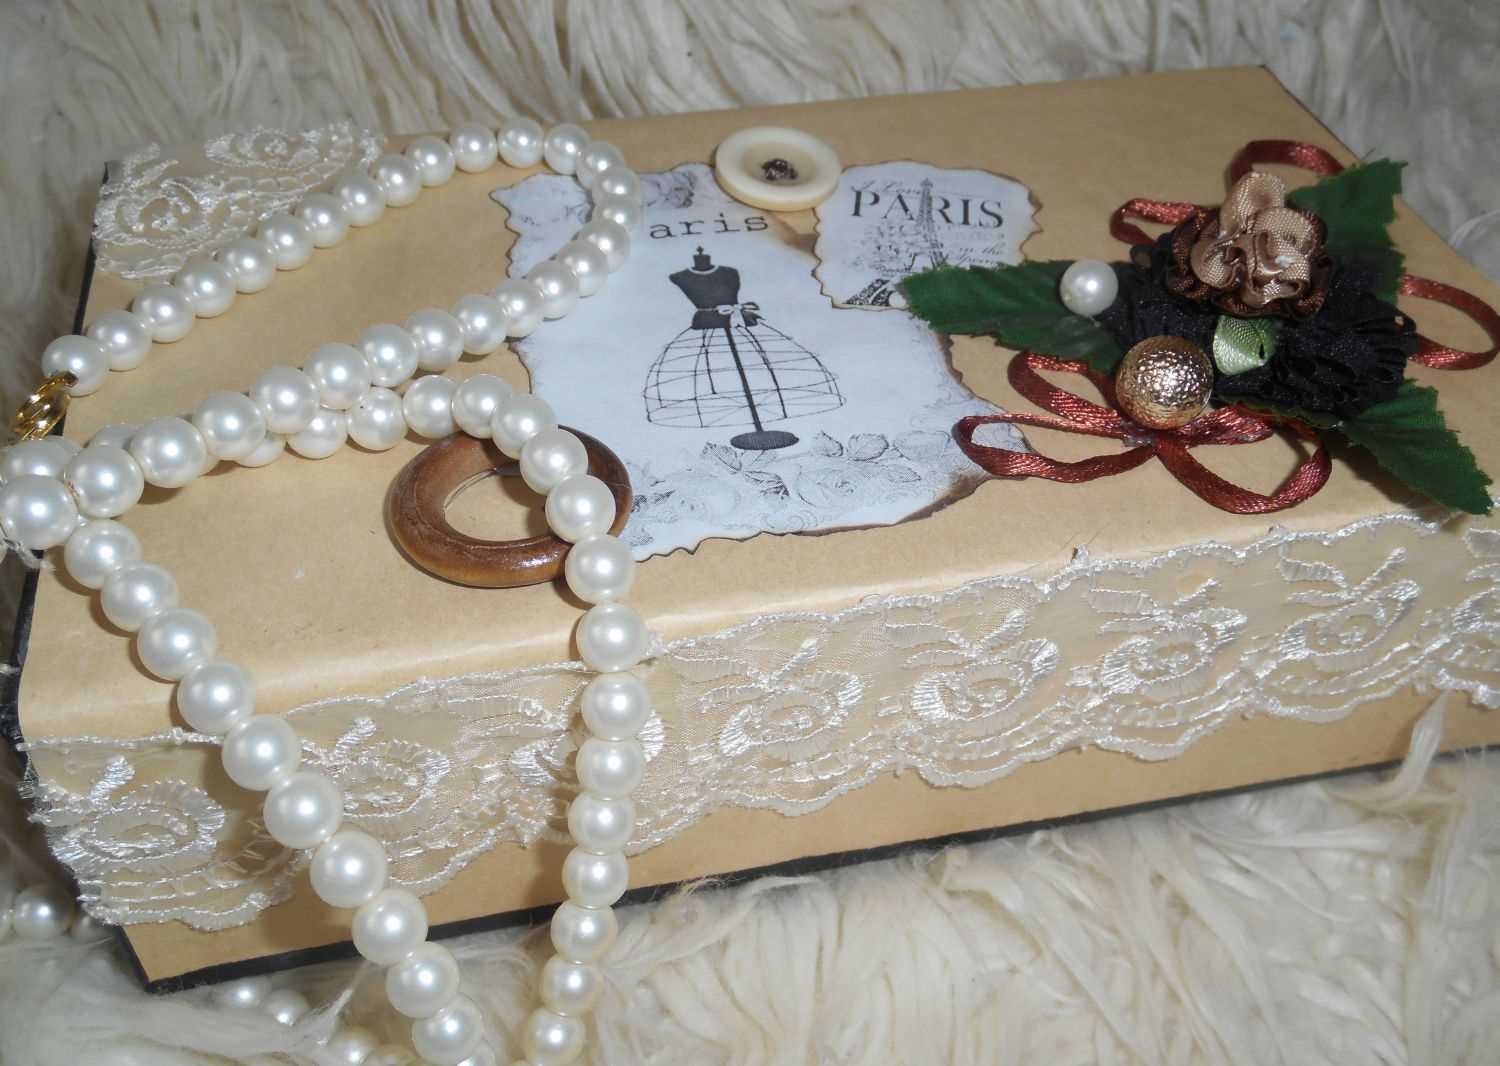
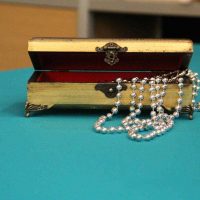
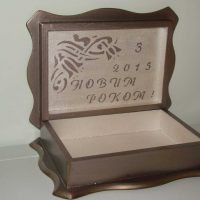
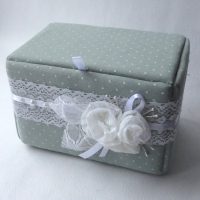
Handmade box in classic style
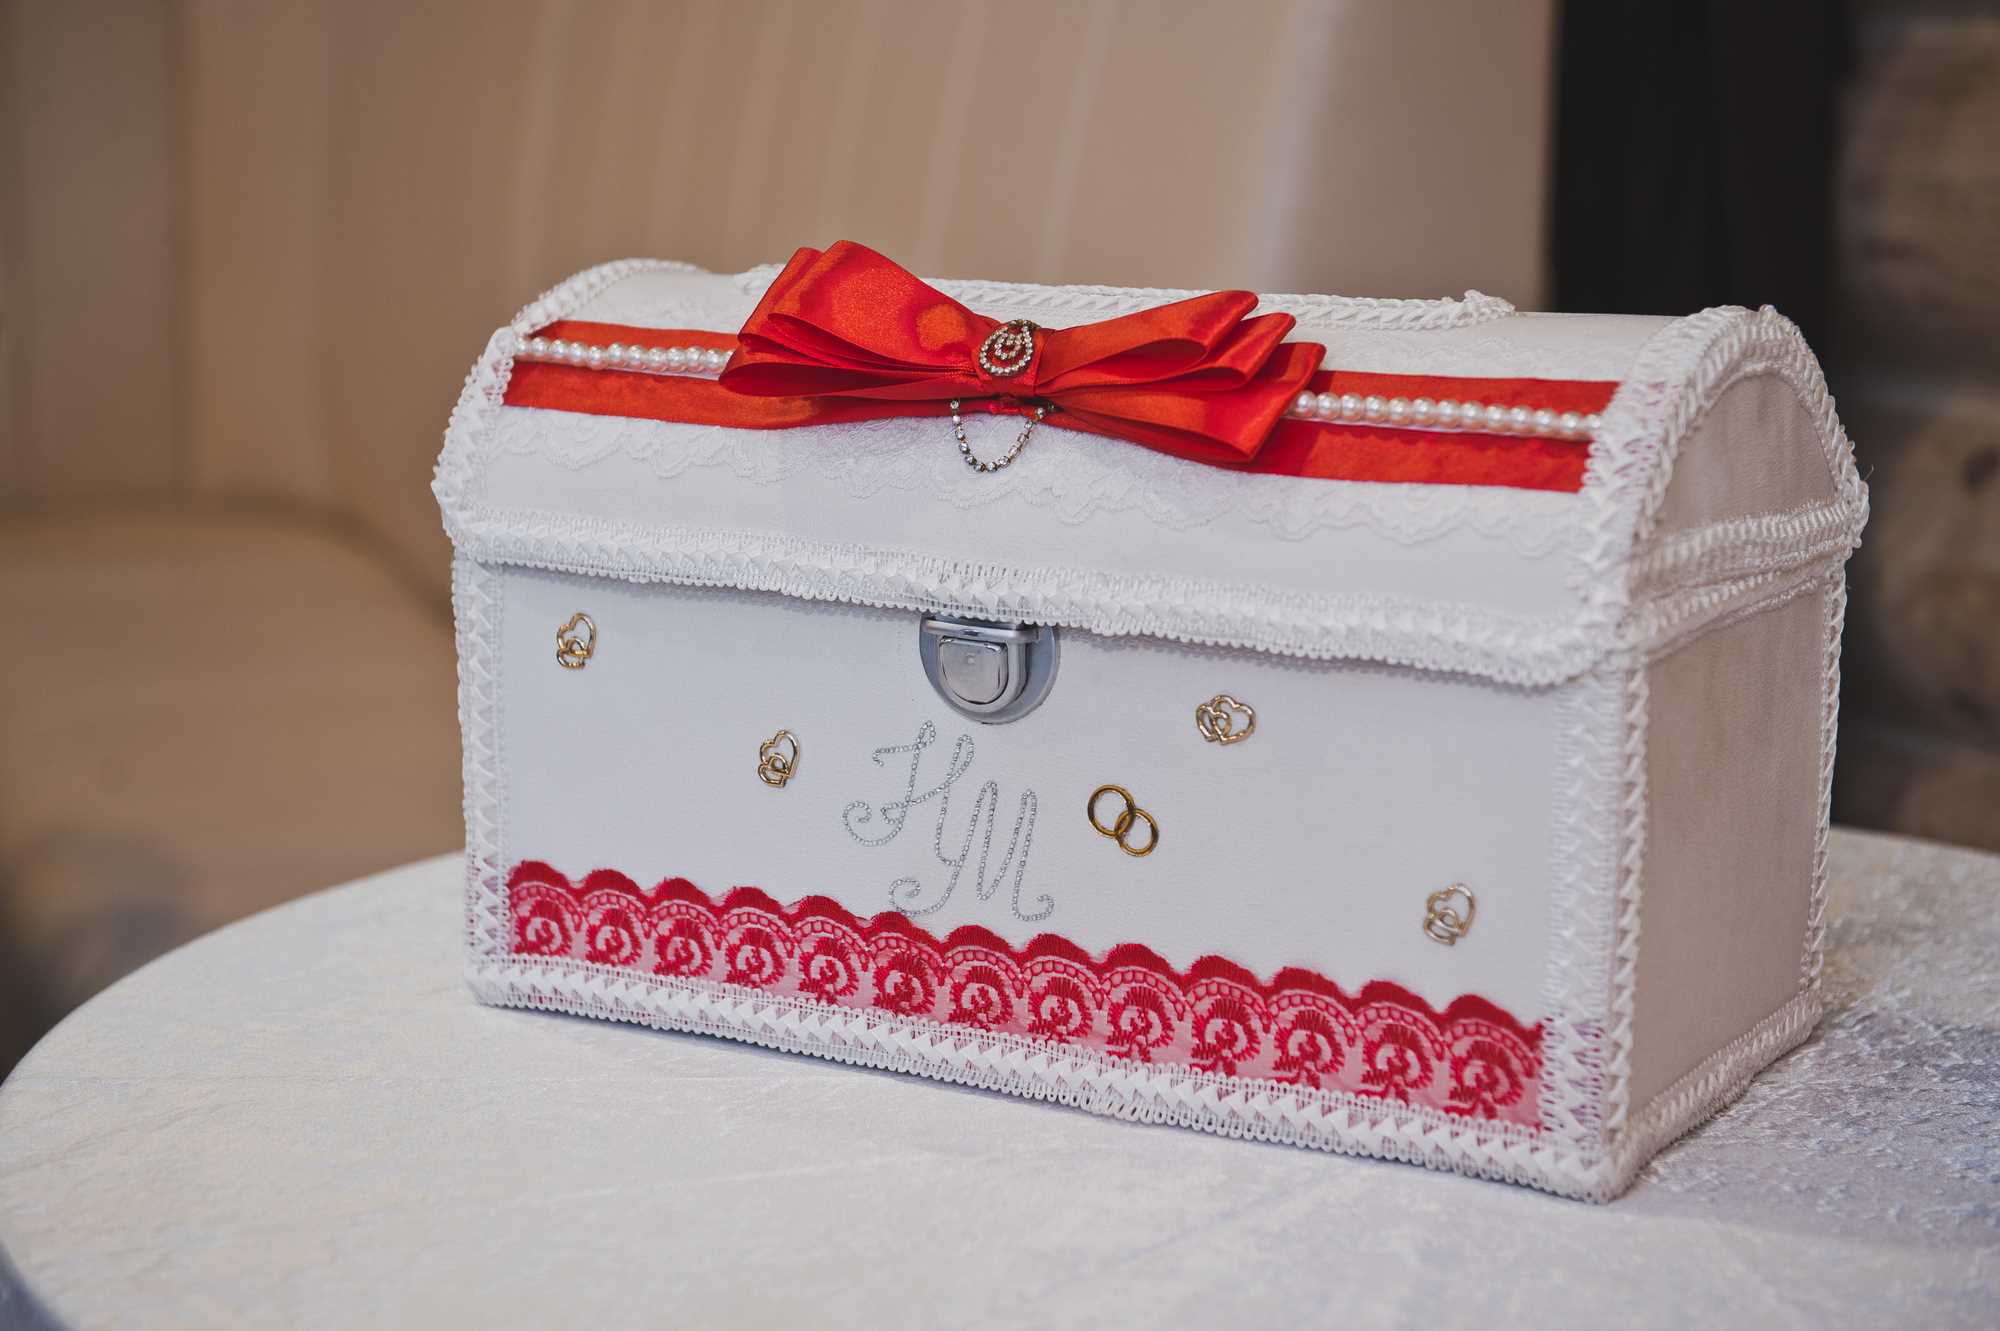
The style of shabby chic is gaining more and more popularity every year.
Content
The choice of equipment and materials
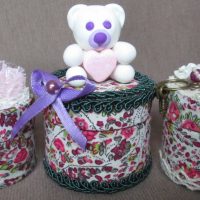
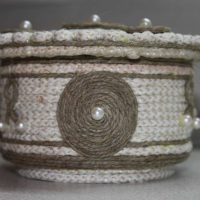
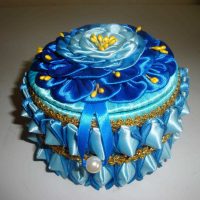
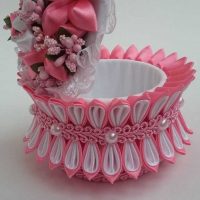
You can decorate caskets with anything. Buttons, paper flowers, beautiful napkins, lace fabric, clay, beads, beads, colored glass, coins and so on are useful for decor. The uniqueness of the decoration is limited only by the imagination of the master. Of course, a set of tools and materials will largely depend on the decoration technique.
In most cases, caskets are made of wood. To get a well-made creation, special attention will need to be paid to the initial stage of preparation:
|
No. |
Act |
Materials and Tools |
|
1. |
Clean the box of dirt and dust |
Soft cloth, water, wet wipes |
|
2. |
Sand with fine sandpaper |
Sandpaper of varying degrees of stiffness |
|
3. |
To cover with acrylic paint or a primer (it is possible to put several layers) |
Acrylic light shade or wood primer |
|
4. |
Dry the product well |
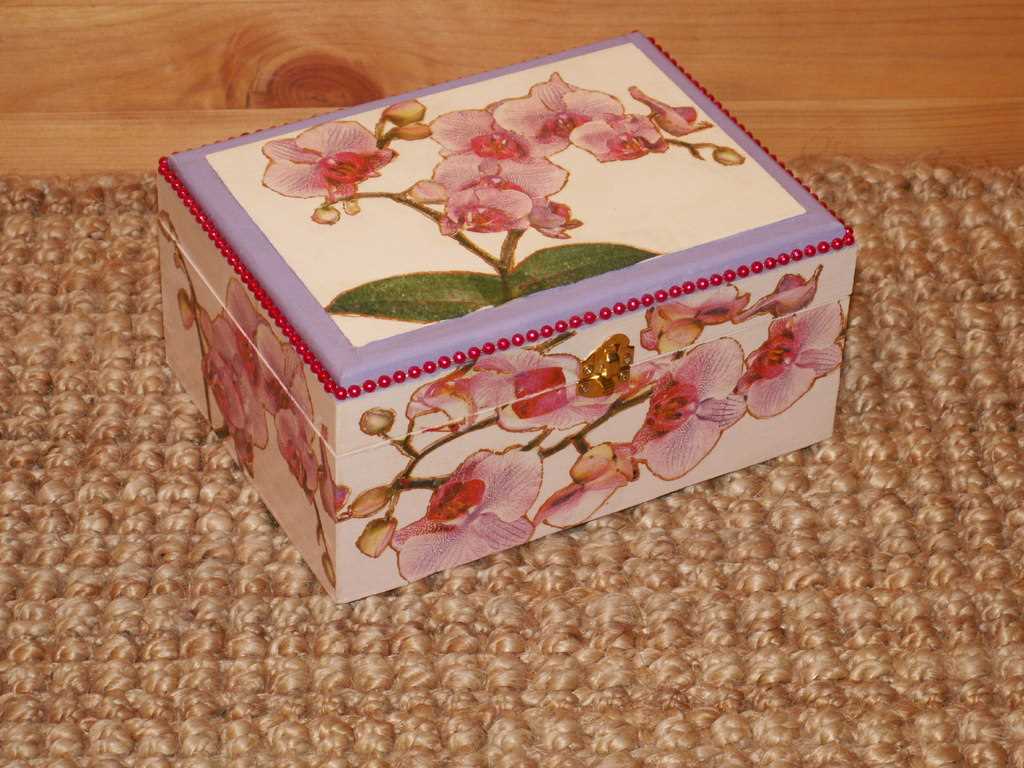
Light motives of nature on a box in the style of Provence
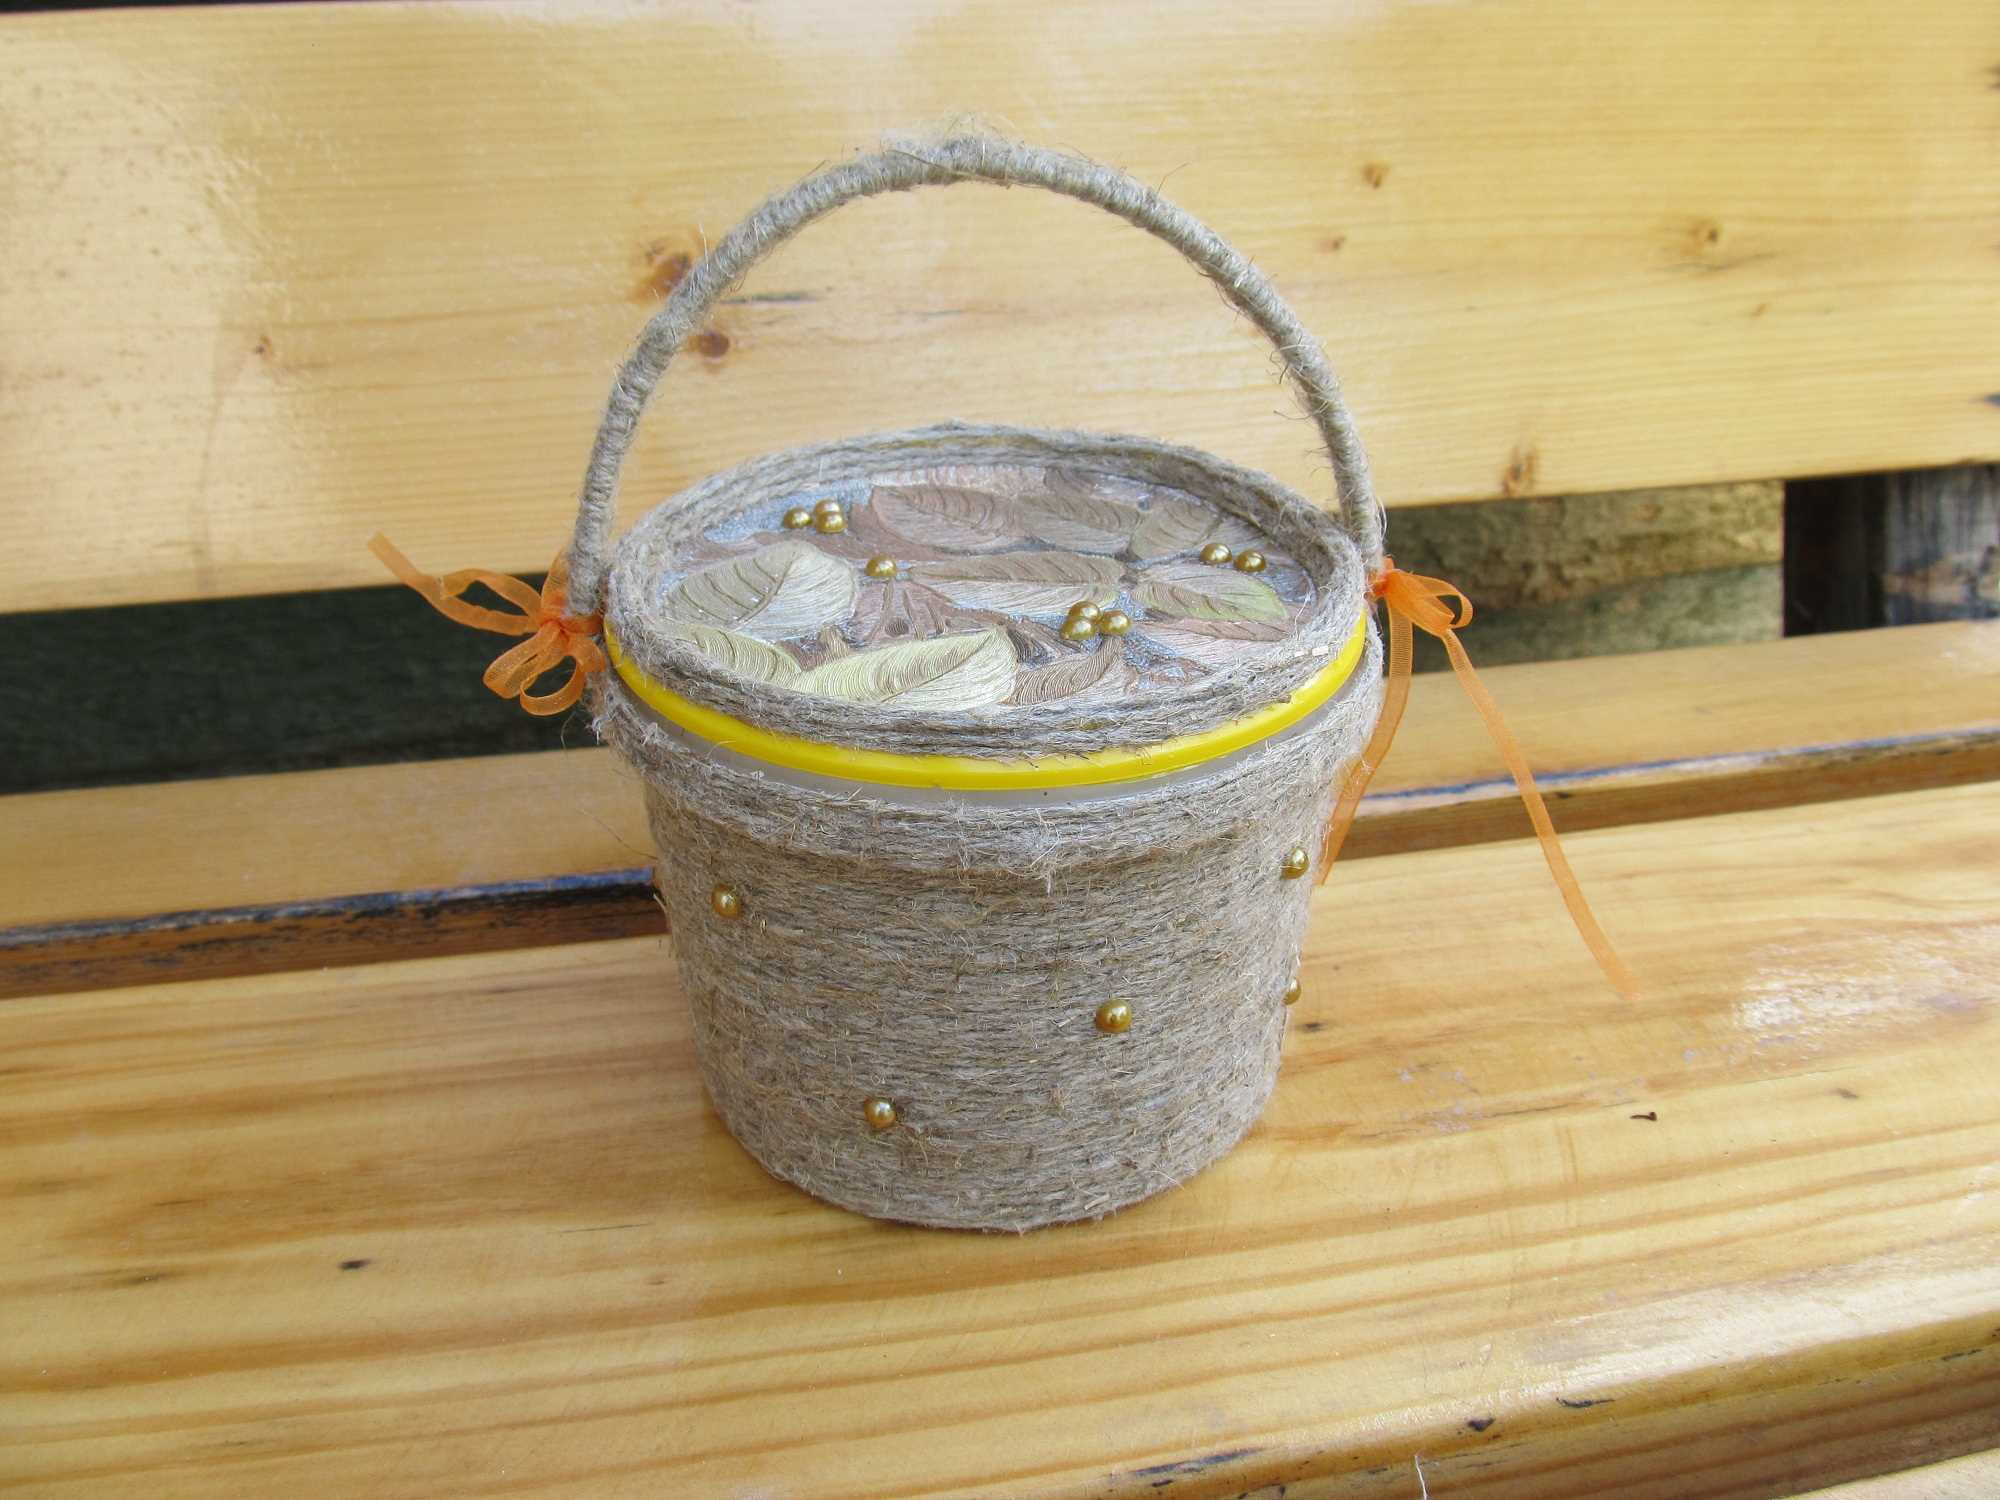
Stylish box made of improvised means
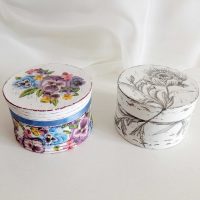
The most popular is the decoupage technique, known to masters for several centuries. Napkins, beautiful pictures, pieces of fabric are useful for decoration. Both a professional and a novice master can decorate a casket using the decoupage technique.
You can create a relief coating of the box with your own hands. In this case, useful: embossed paste or modeling gels, stones, shells, beads and other volumetric elements.
If there is at least minimal artistic skills, then the box can be painted. There are many styles: Khokhloma, Gzhel, Gorodets painting. You can depict your own unique composition.
Next, we consider all the methods of decor in more detail in the form of master classes.
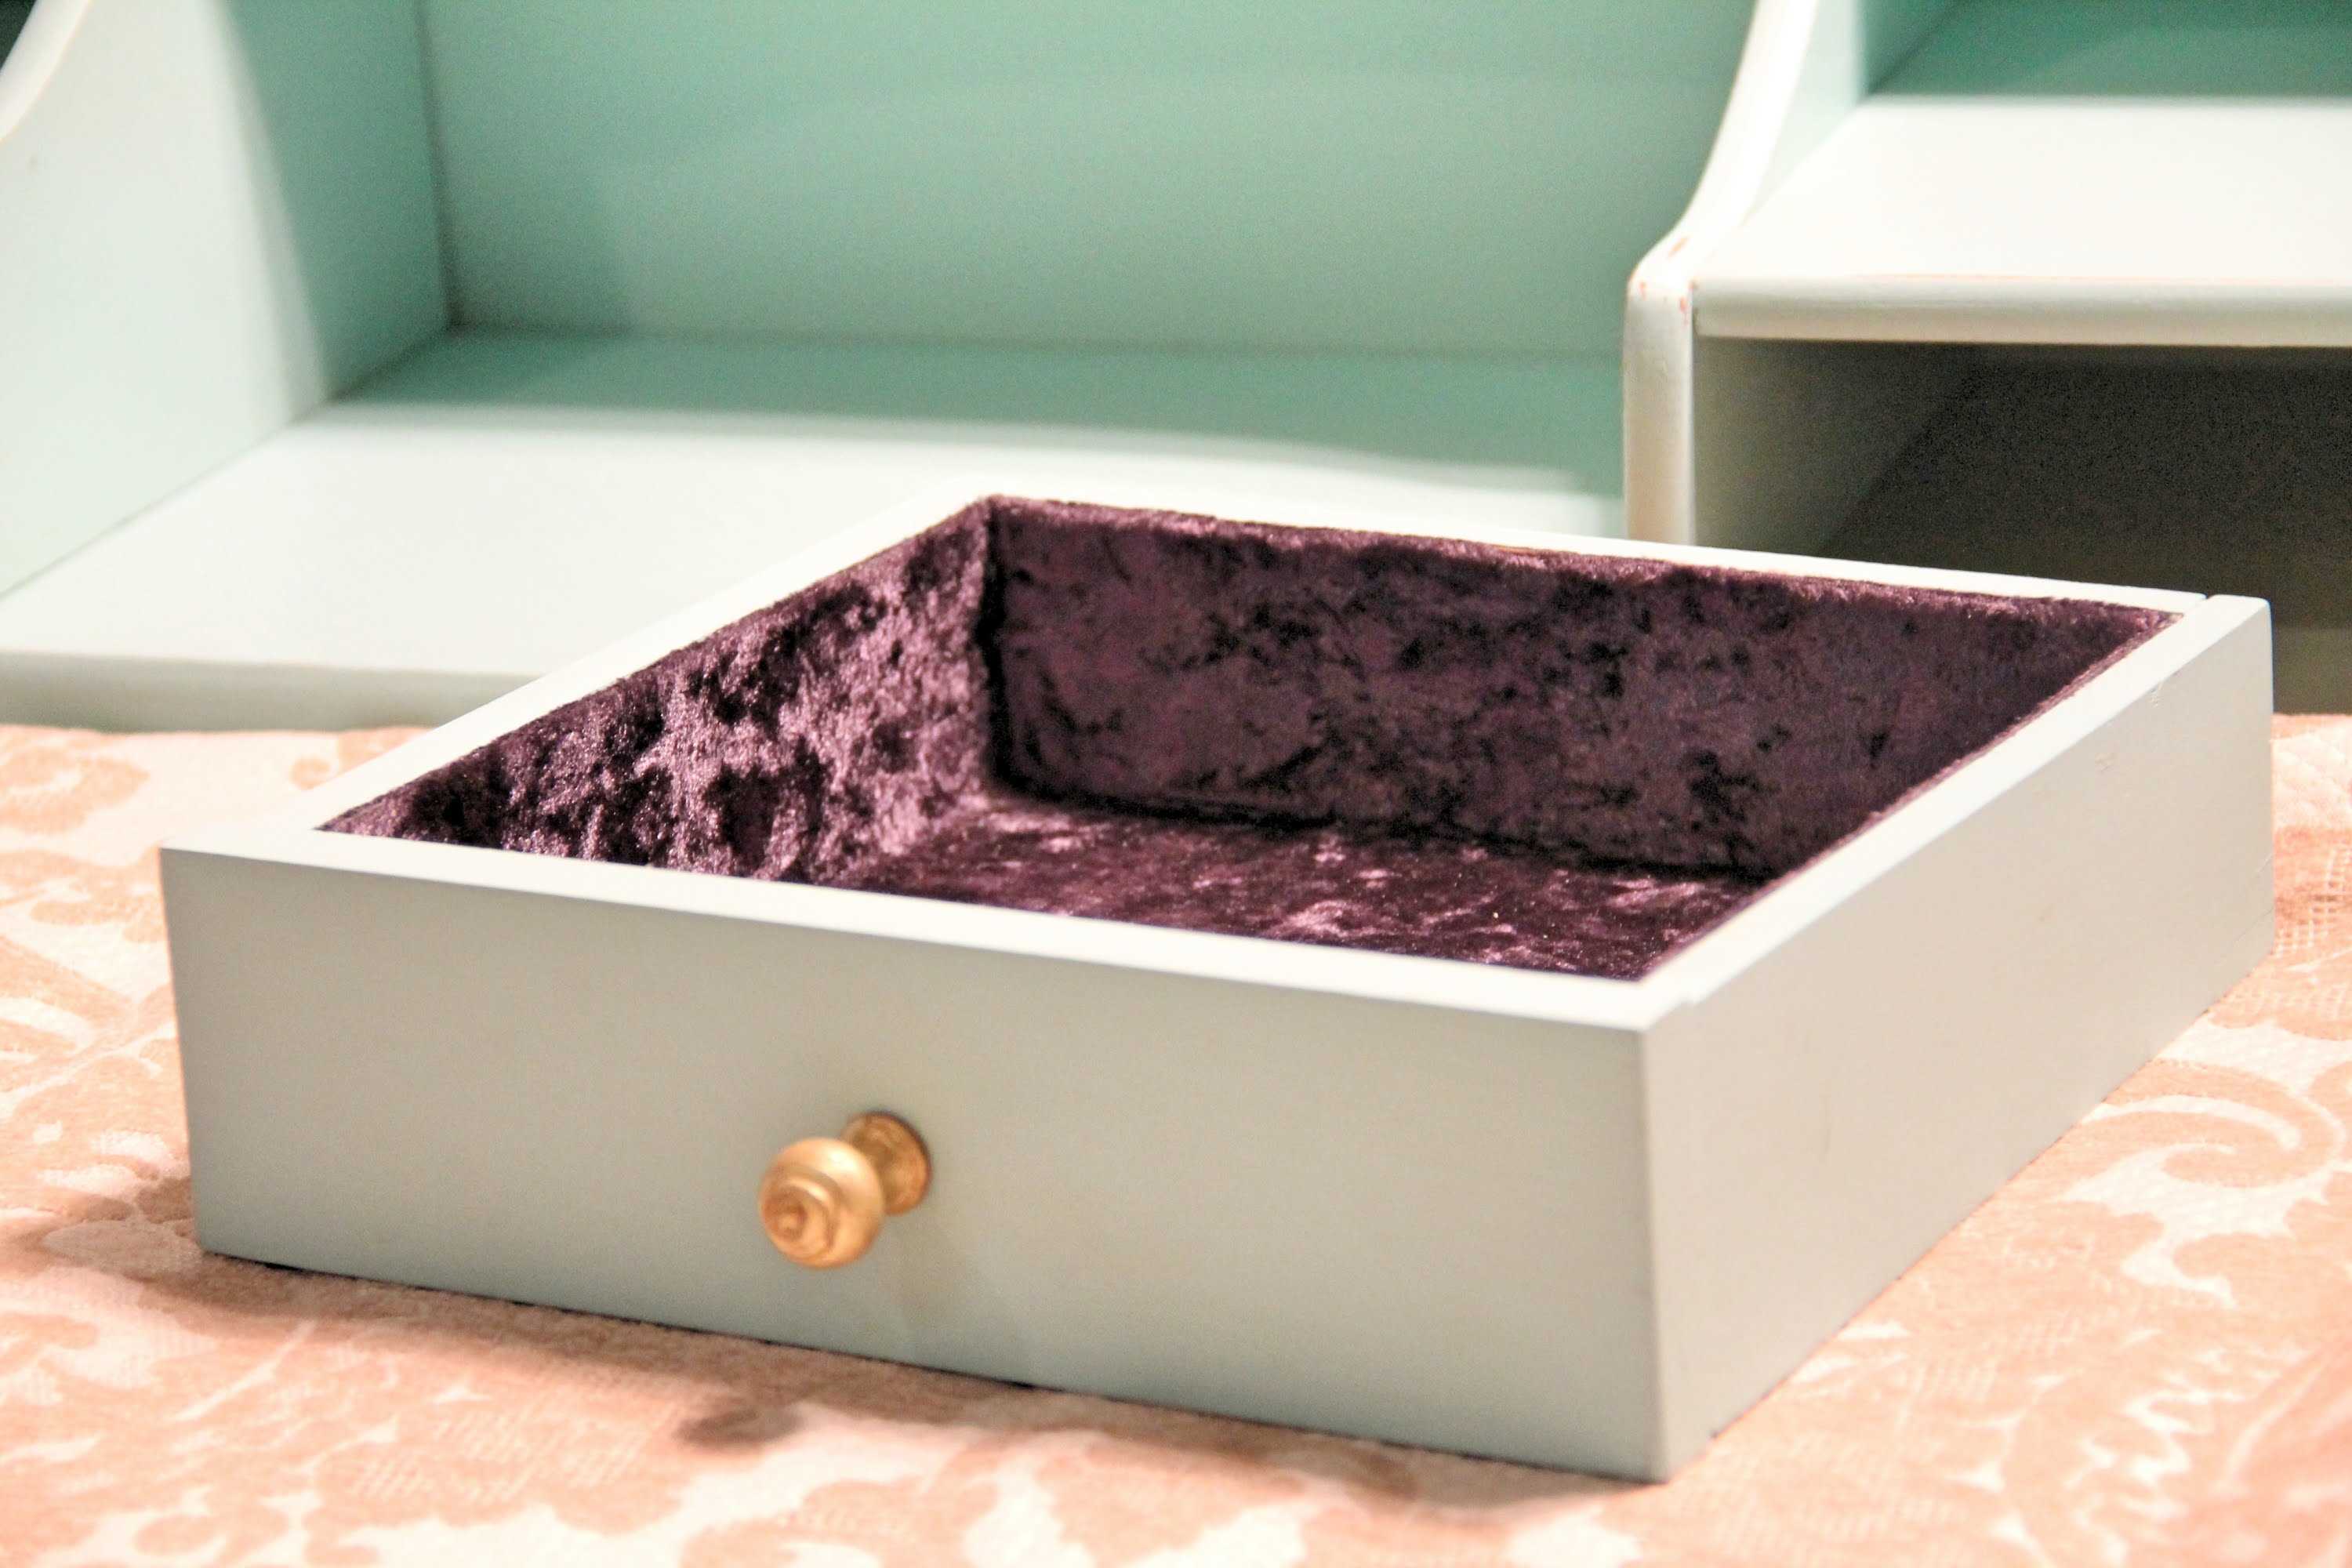
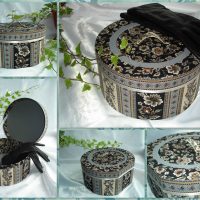
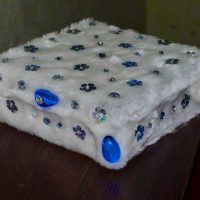
Mohair fabric inside the casket
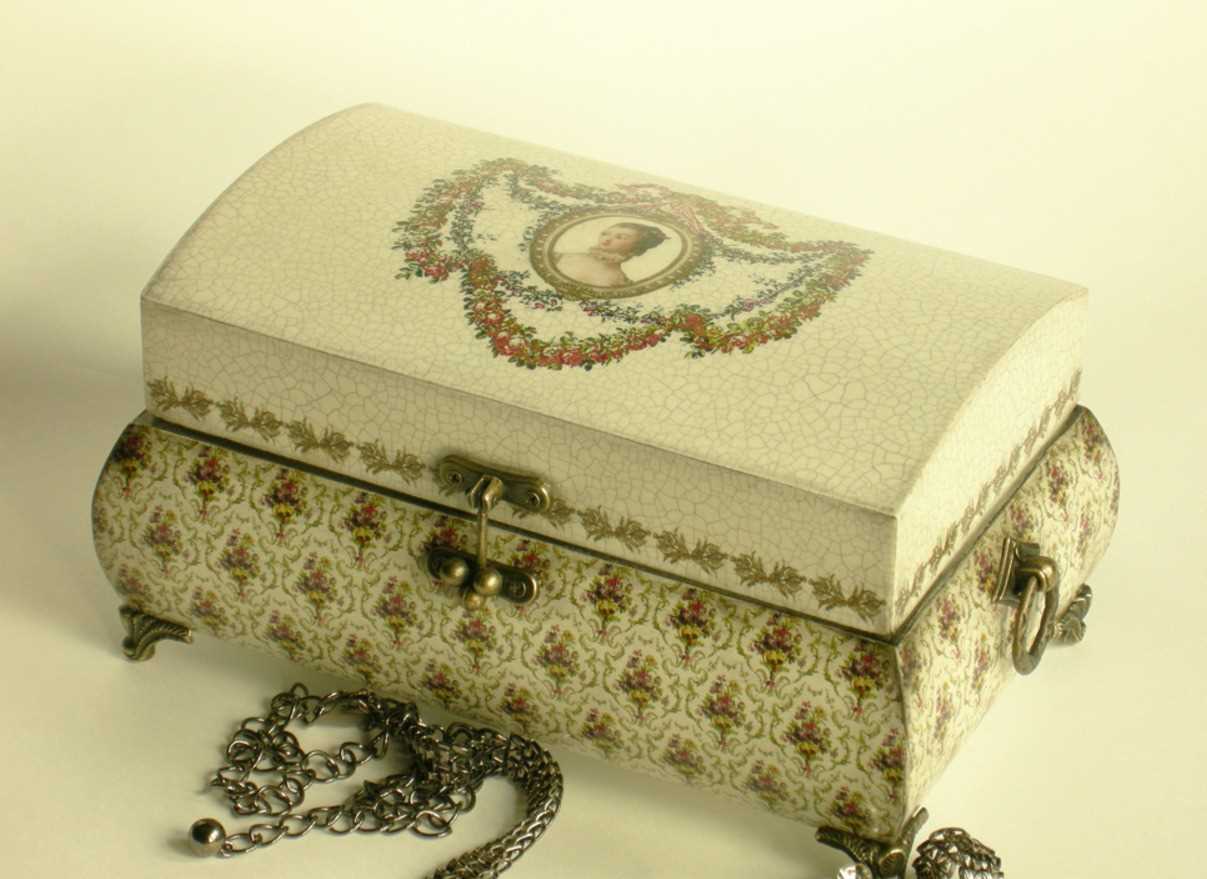
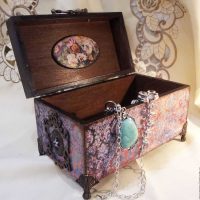
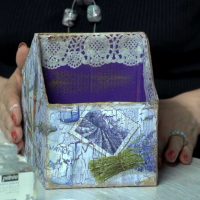
Chic vintage decoupage jewelry box
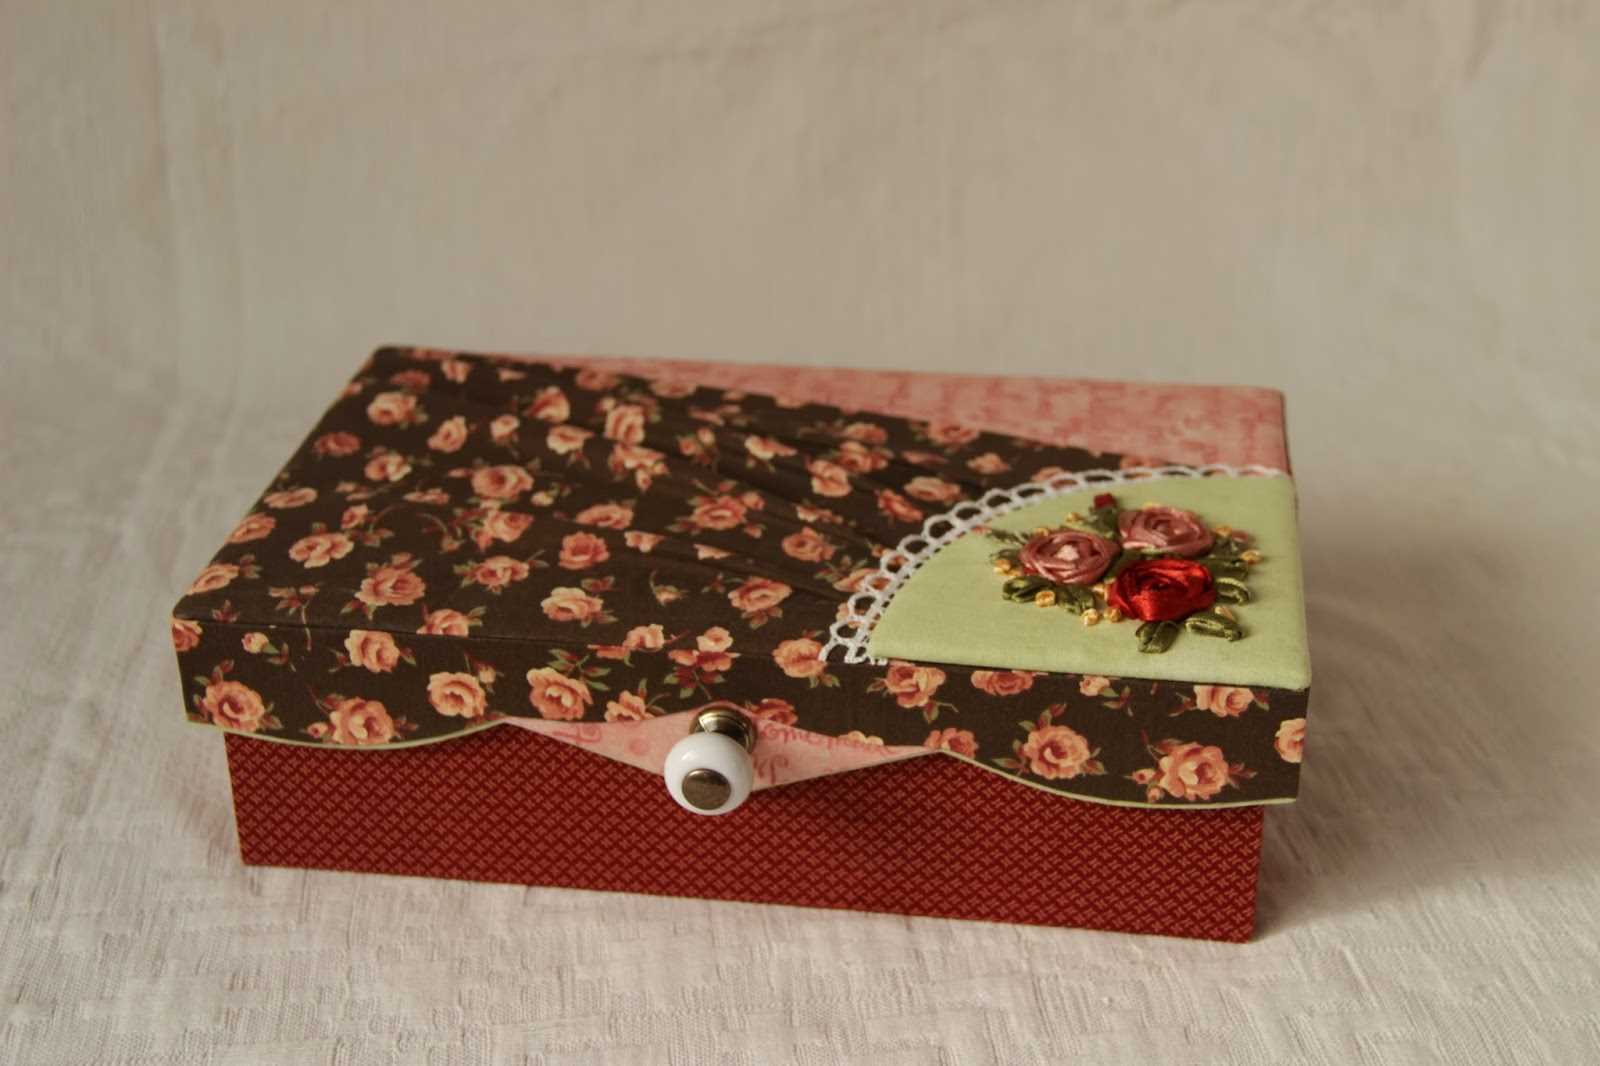
Such a box will perfectly complement the interior.
Decoupage
The following materials will be required for work:
- napkins, clippings from magazines or rags of fabric;
- PVA glue;
- acrylic paint;
- brushes;
- varnish;
- scissors;
- sandpaper.
At the first stage, the box is prepared for decoration. The surface should be perfectly smooth, since subsequently all defects can become more noticeable. When the product is prepared and dried, you can begin to design:
- Cut and try on the elements of the composition of napkins or fabrics.
- Attach a clipping to the surface and gently apply glue, smoothing the paper from the center to the edges. If fabric is used in decoupage technique, then glue will not work, it is better to take a stapler and fix the fabric to the inner coverings of the casket.
- Dry the product.
- To varnish (in case of using fabric, this step is not necessary).
In the decoupage technique, a casket can be decorated both externally and internally.
Advice! For decoupage, you can use various photographs. But first, it is better to remove the bottom layer so that the paper is thinner.
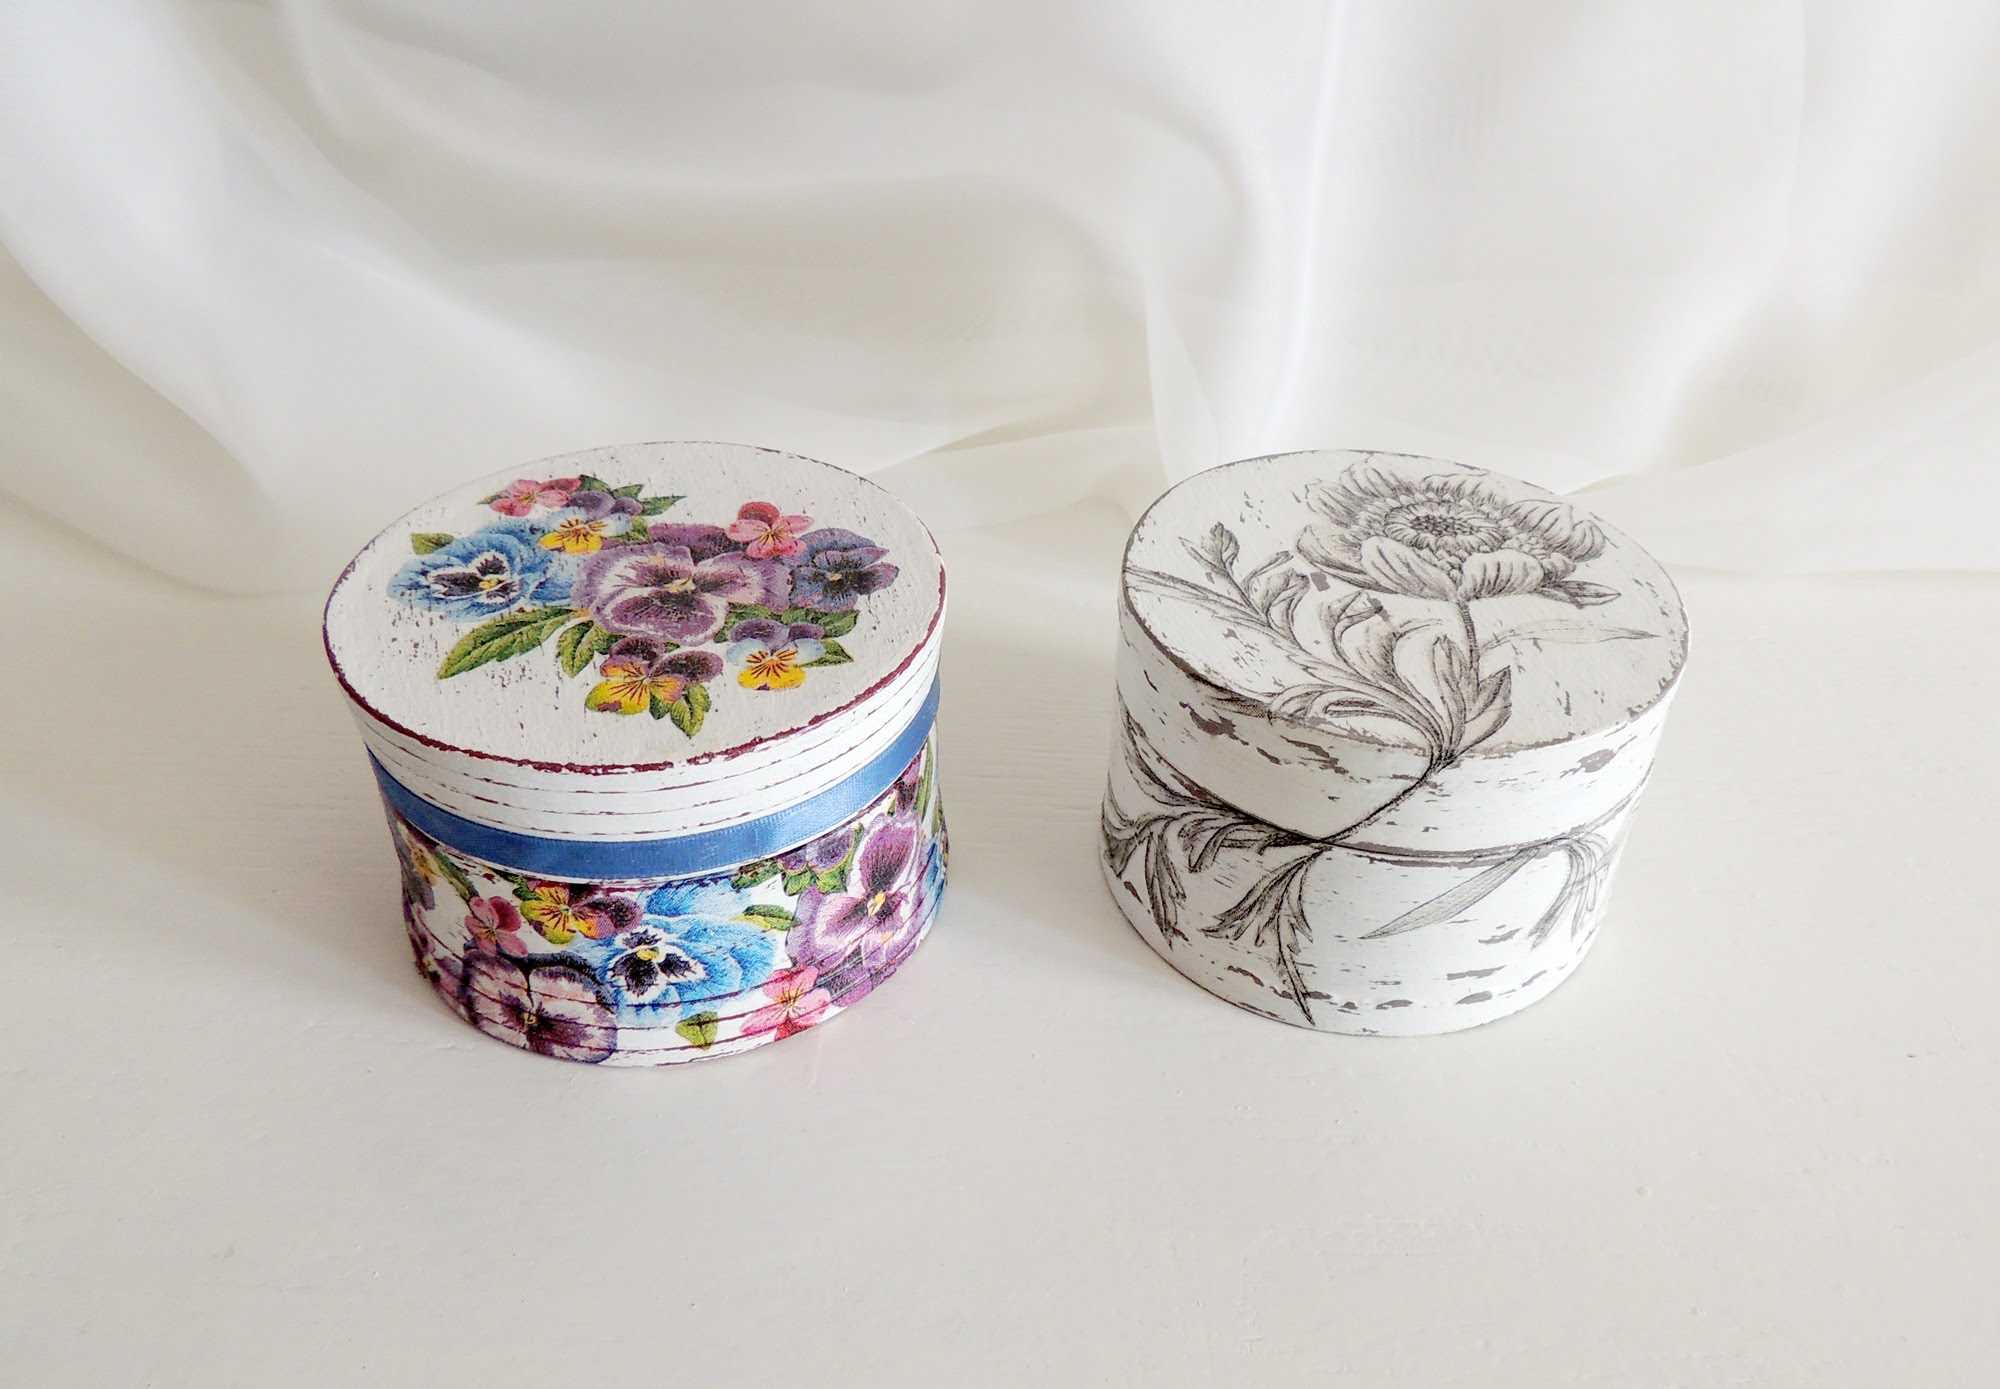
Stylish vintage doesn't go out of style
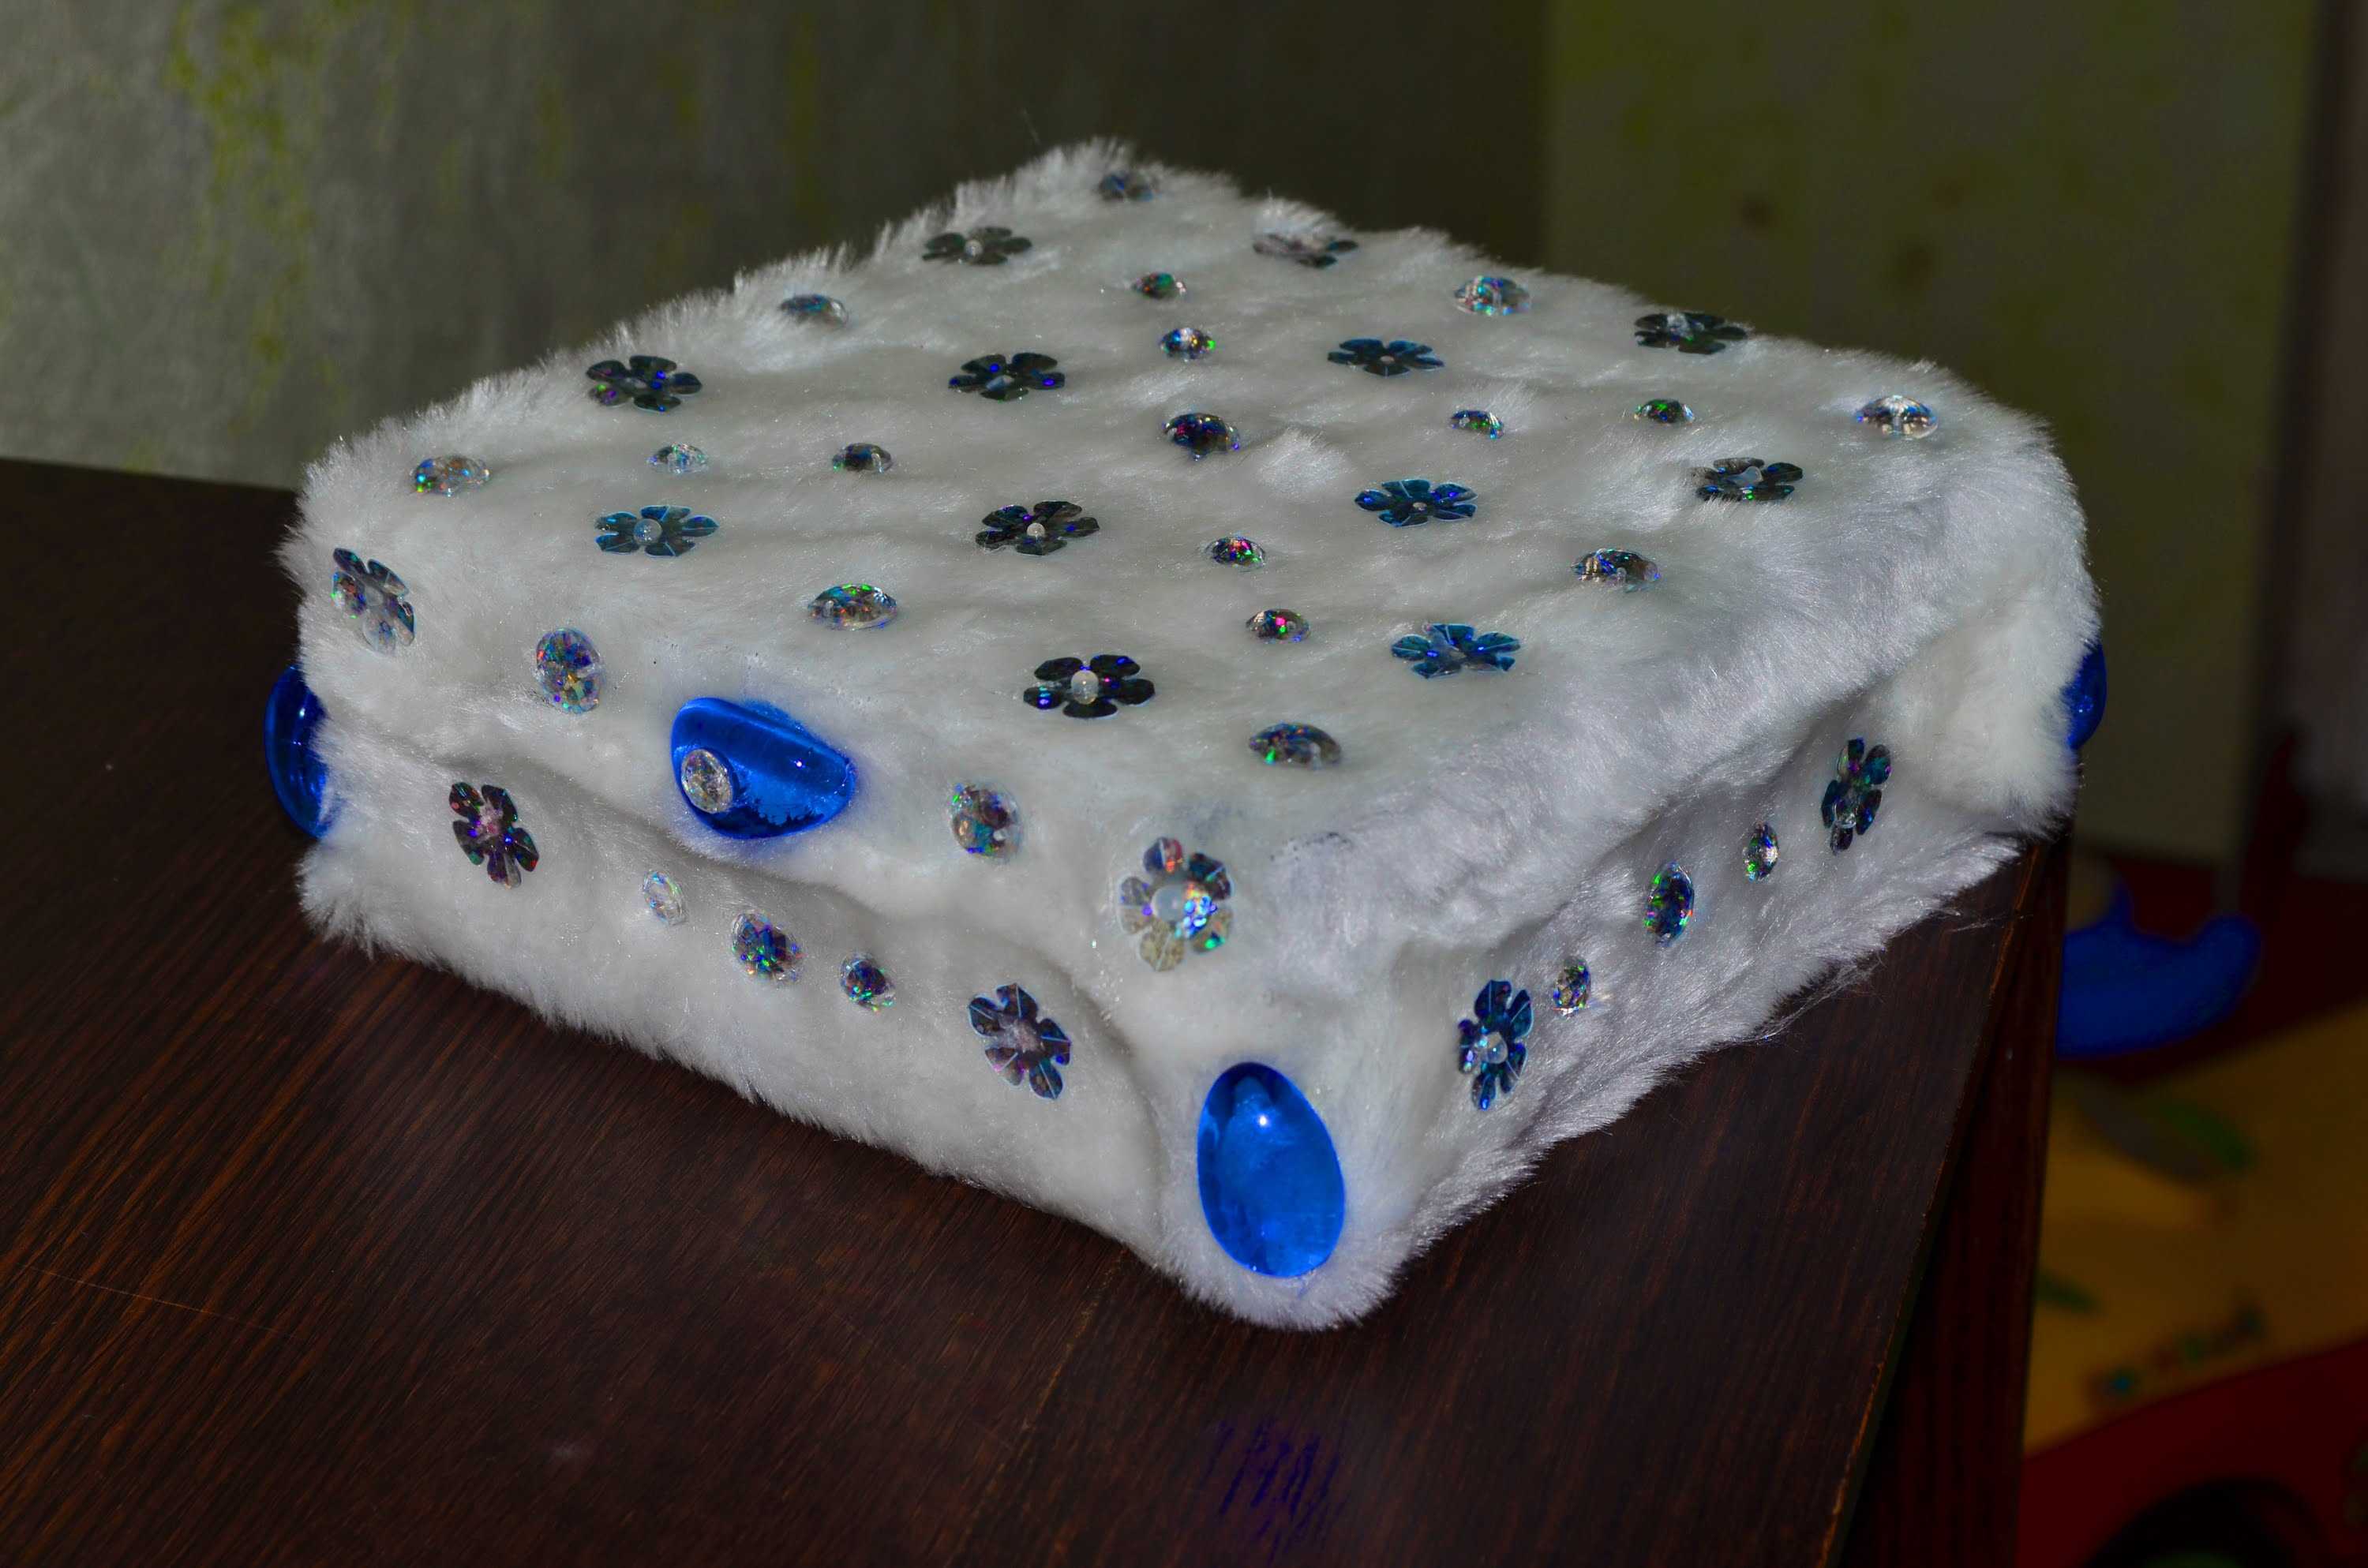
A box with mohair fabric will be both practical and be a wonderful decor for the interior
Vinyl wallpapers
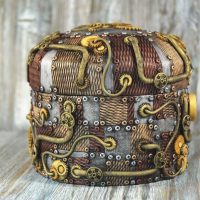
To decorate the caskets, you can use the remnants of vinyl wallpaper. Thanks to simple actions, you can make a unique item with a coating of "metal". To do this, you will need:
- wallpaper;
- PVA glue;
- a towel (preferably disposable paper);
- acrylic paints of several colors (black, bronze, scarlet, silver, green, gold);
- varnish.
You can decorate the entire box as well as certain elements. To perform the work, take the following steps:
- Cut pieces from the wallpaper, taking into account the allowances on the sides.
- To glue the surface with an even layer, glue is applied to the back of the paper. The glue can be slightly diluted with water. The base should be very well saturated with the resulting solution.
- The paper needs to lie down a bit, and then press it firmly against the box with its sponge.
Important! Be sure to make sure that no bubbles appear.
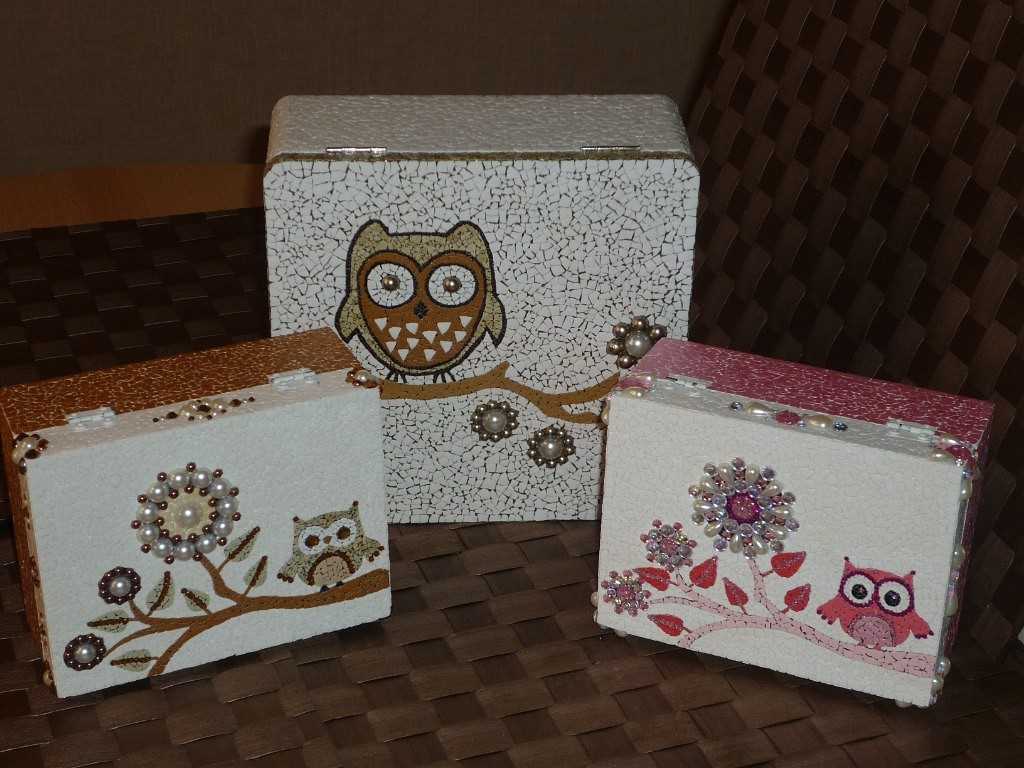
Handmade box will be an unusual gift for family and friends
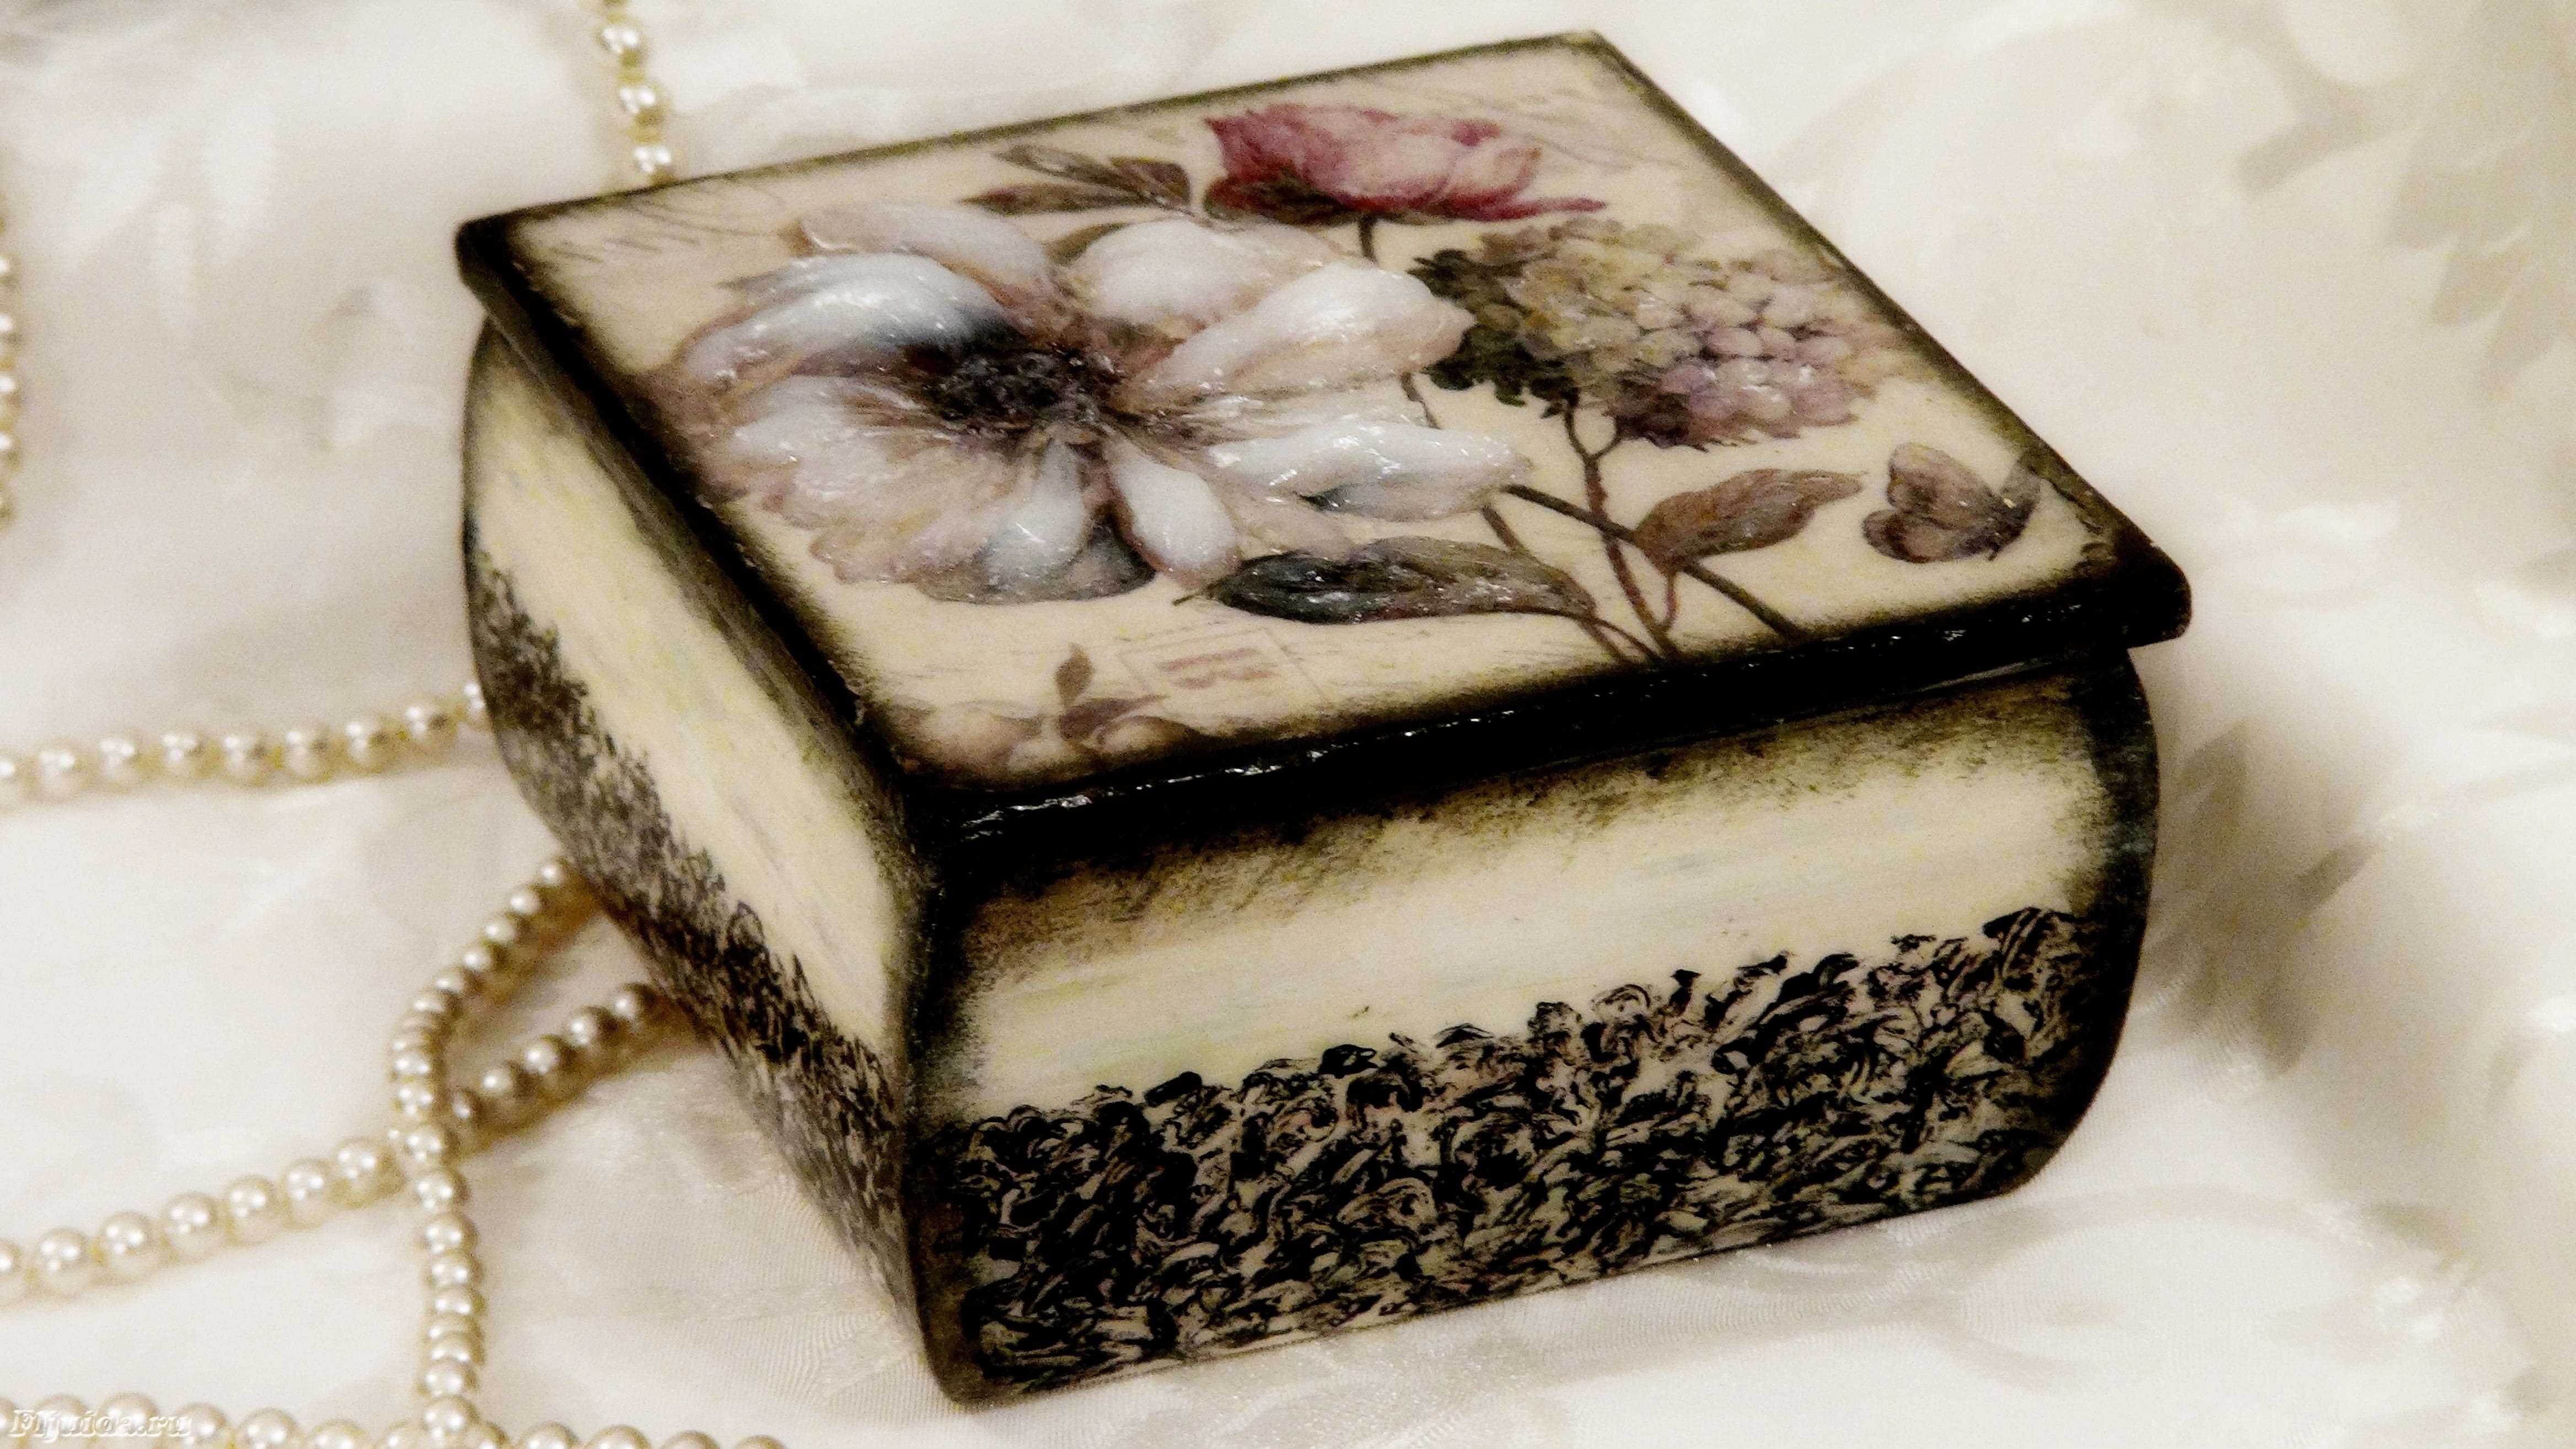
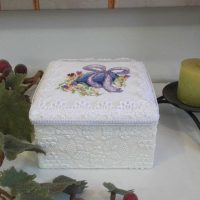
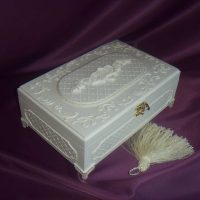
Classic box in vintage style
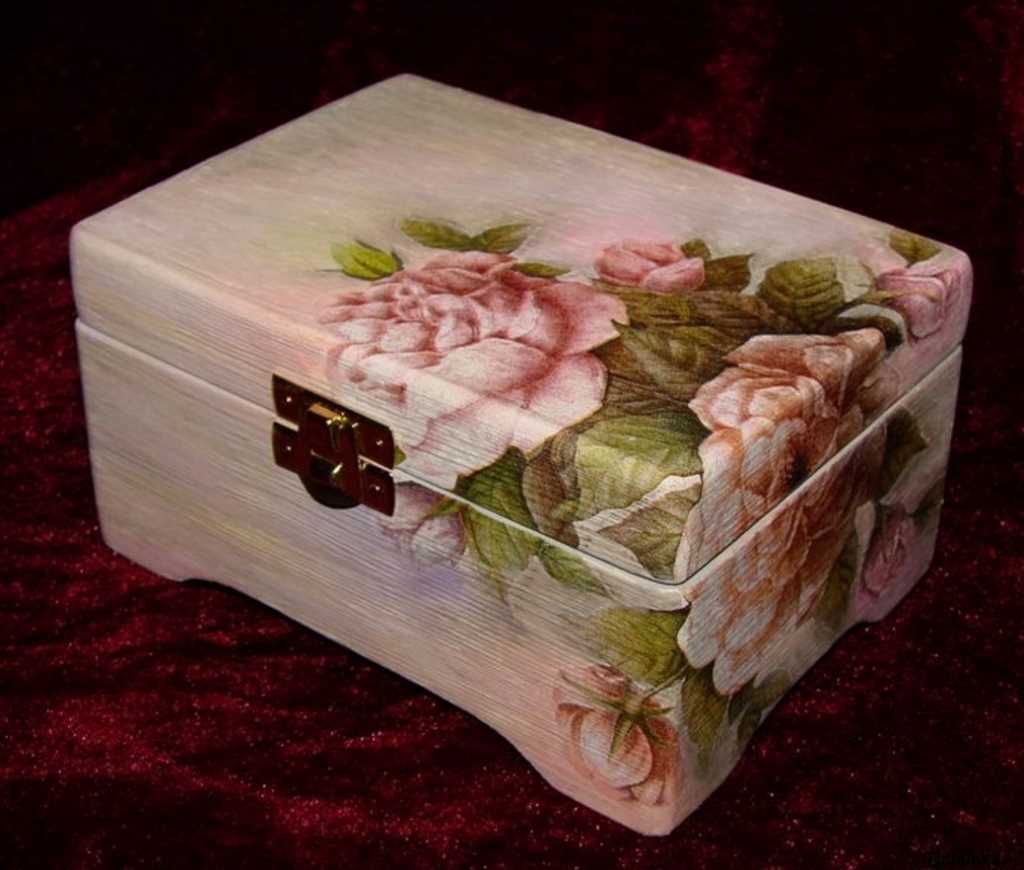
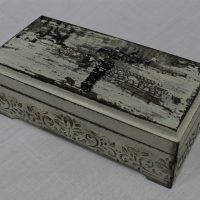
Vintage Craquelure Box
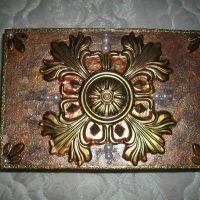
After the described actions, the product should dry and then really give the casket a metal look.
Attention! The paint is applied with wet towels, it should lie unevenly.
- Initially, black acrylic paint is applied as a base. You can use a dark color in the spray can.
- With the help of towels, the box is covered in red and dried.
- The next layer is silver and then bronze.
- After that (in a small amount!) Black and red colors are repeated
- Now carefully, with a damp towel, the entire box is covered in green.
- The last layer is gold.
After the box dries, it is varnished.
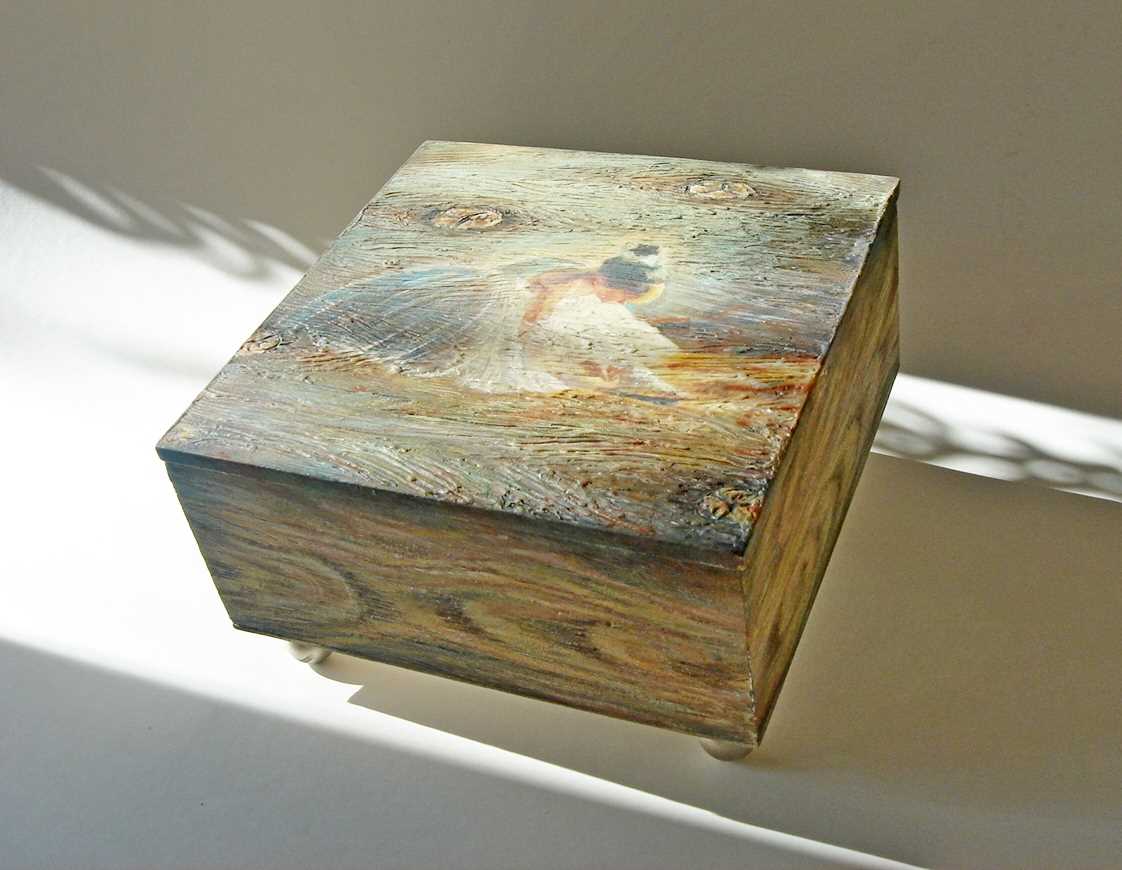
Exquisite jewelry box decorated using decoupage and craquelure technique
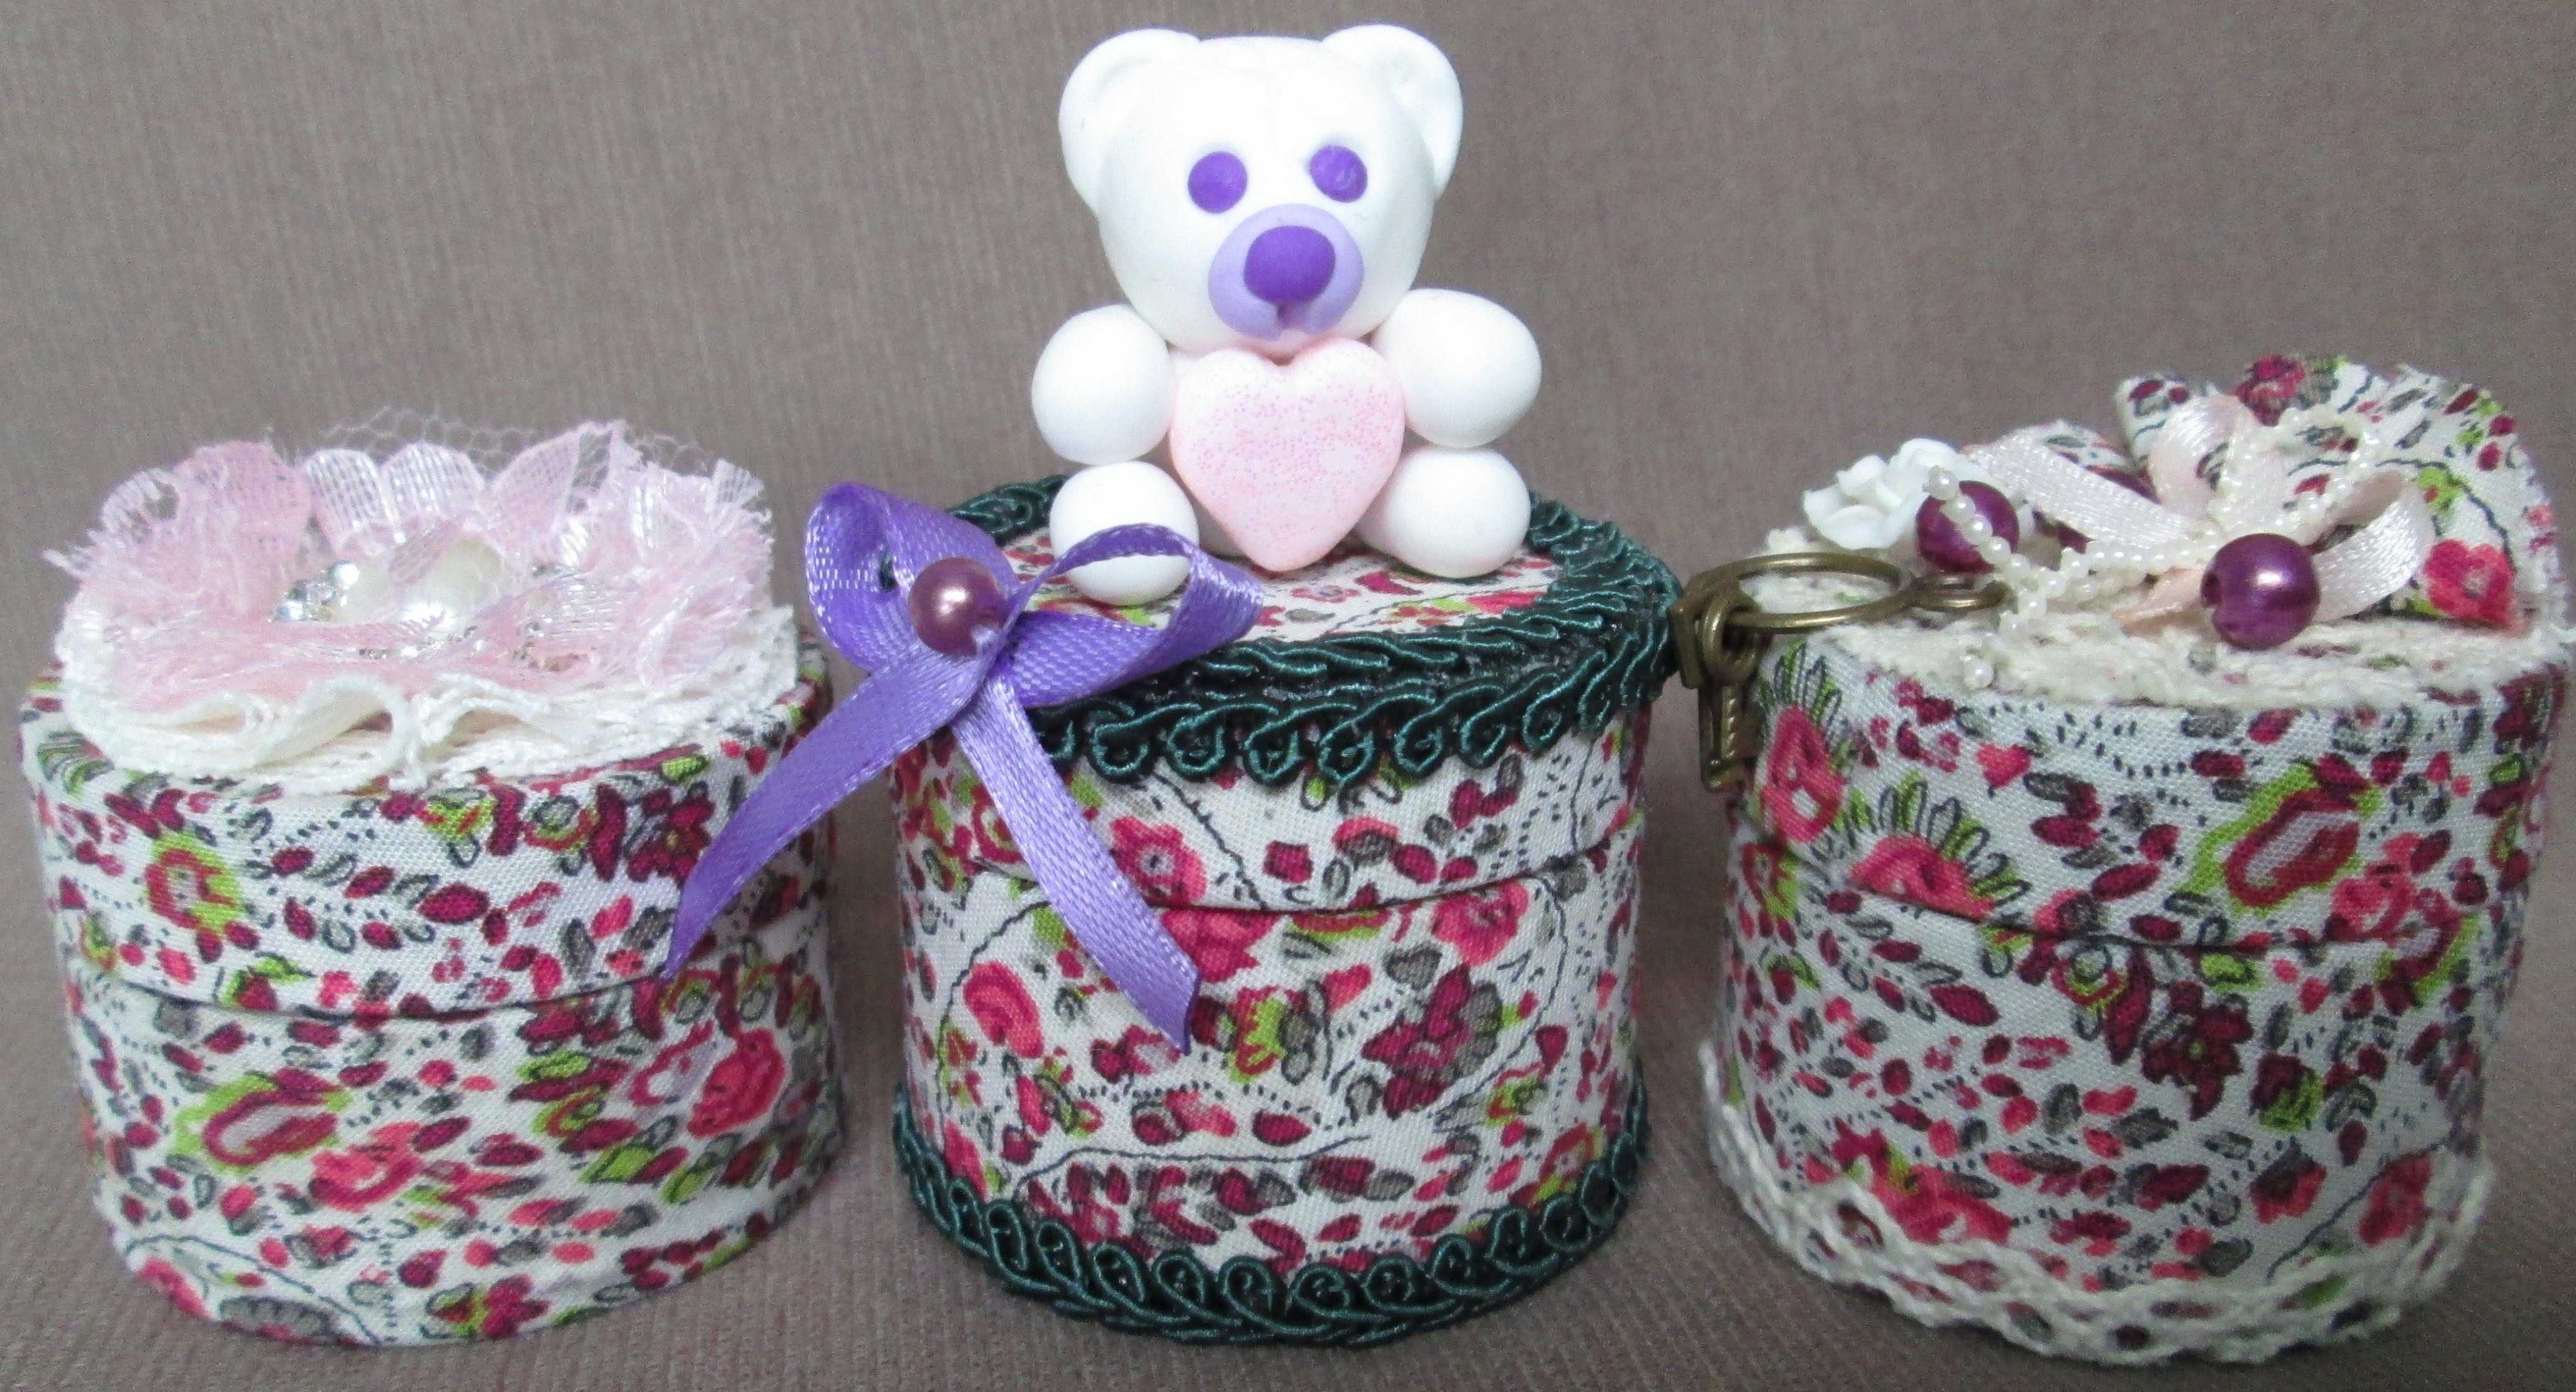
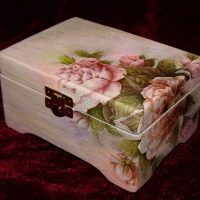
Casket in the style of Provence, made in different colors
Painting
To paint the product does not necessarily have the talent of the artist. In addition, stencils may be used to decorate the casket. You can choose absolutely any image, it all depends on your imagination and preferences. To work, you will need:
- casket or box;
- primer;
- acrylic paints;
- brushes;
- stencil (you can do it yourself or buy in a specialized store);
- masking tape;
- sandpaper.
Advice! It is better to pre-process the box with sandpaper and varnish.
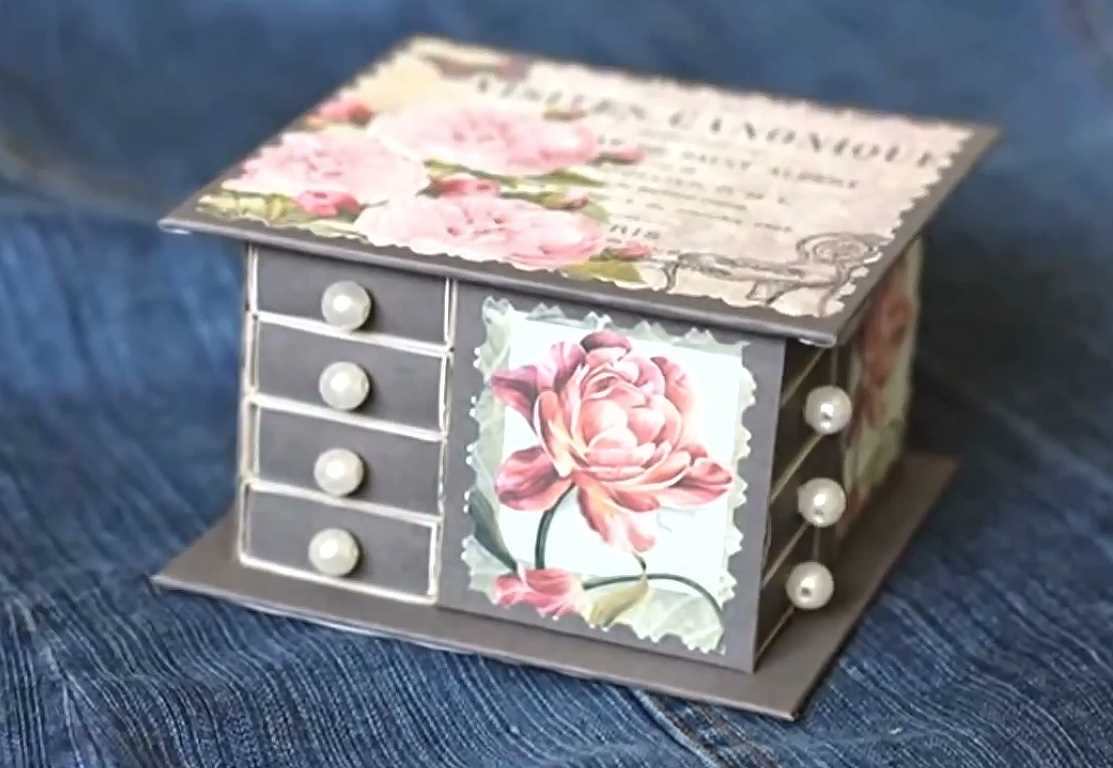
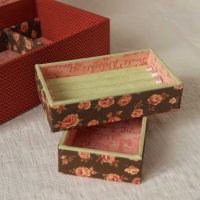
One of the features of the Shabby Chic style is floral motifs.
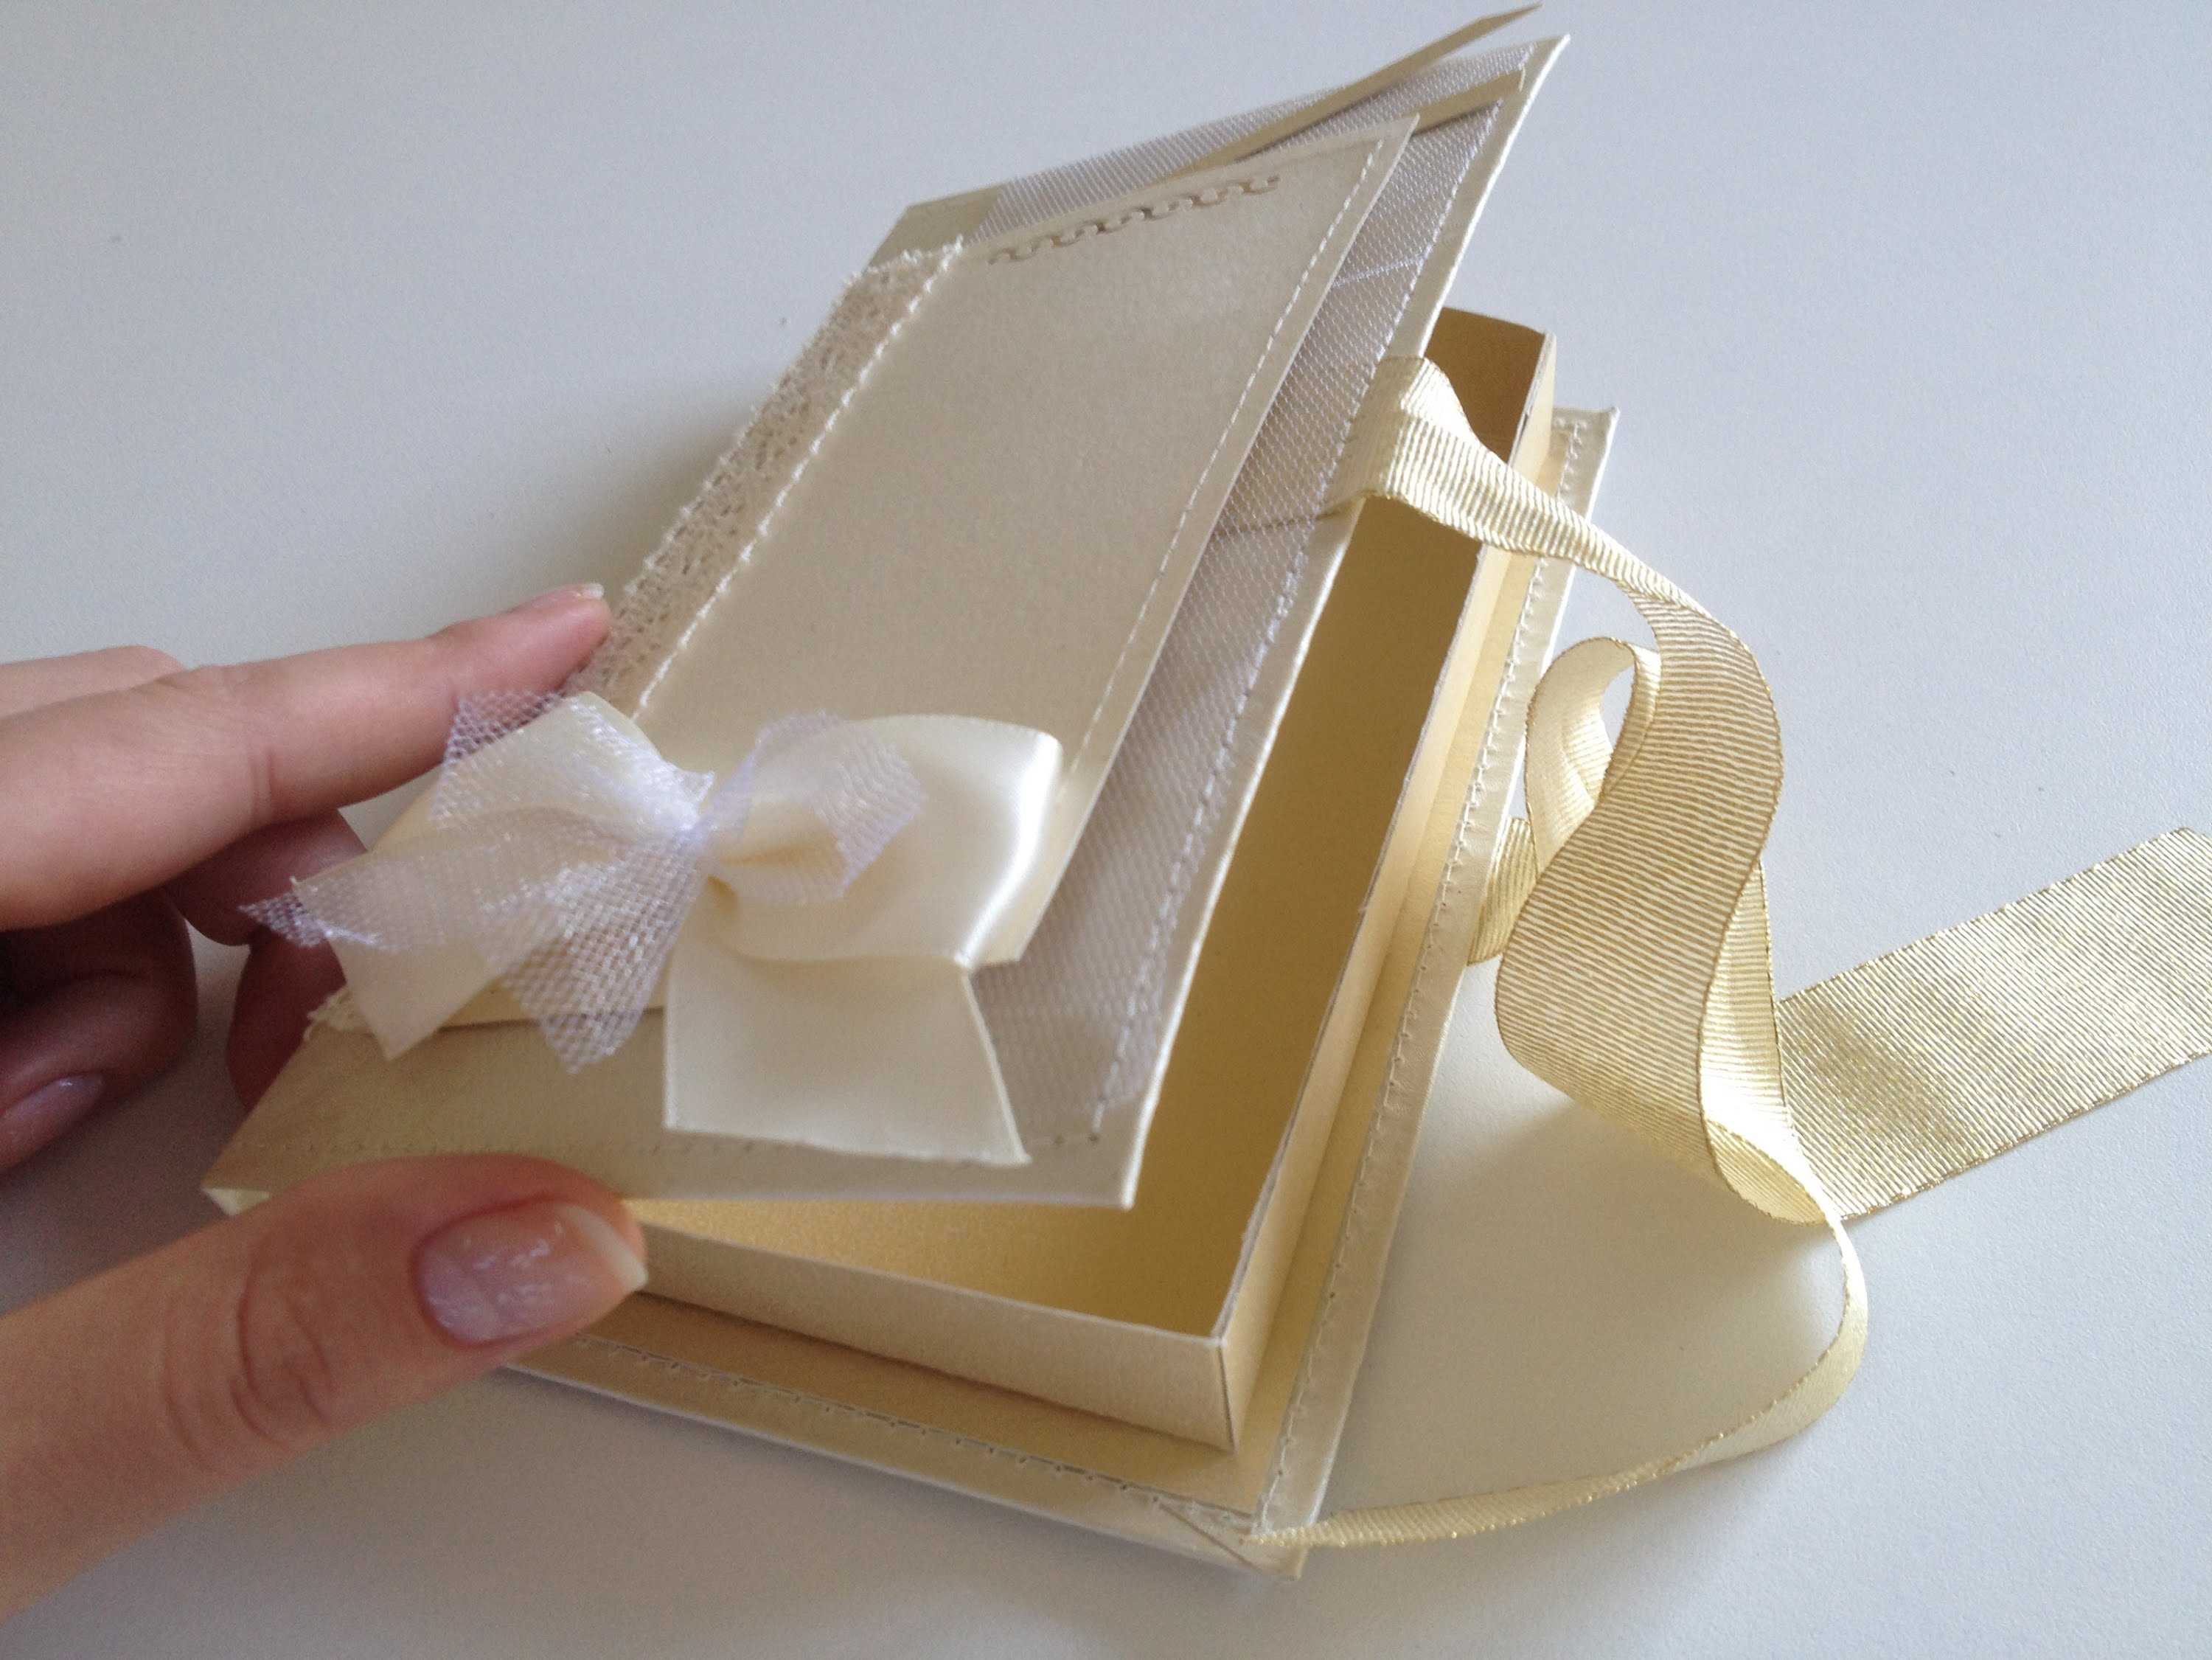
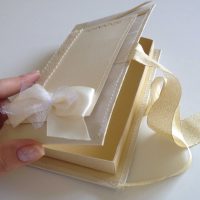
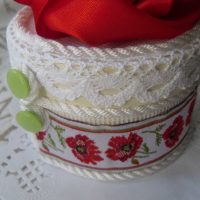
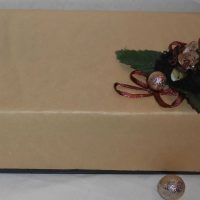
A mustard-colored standard box with ribbons is simple and beautiful.
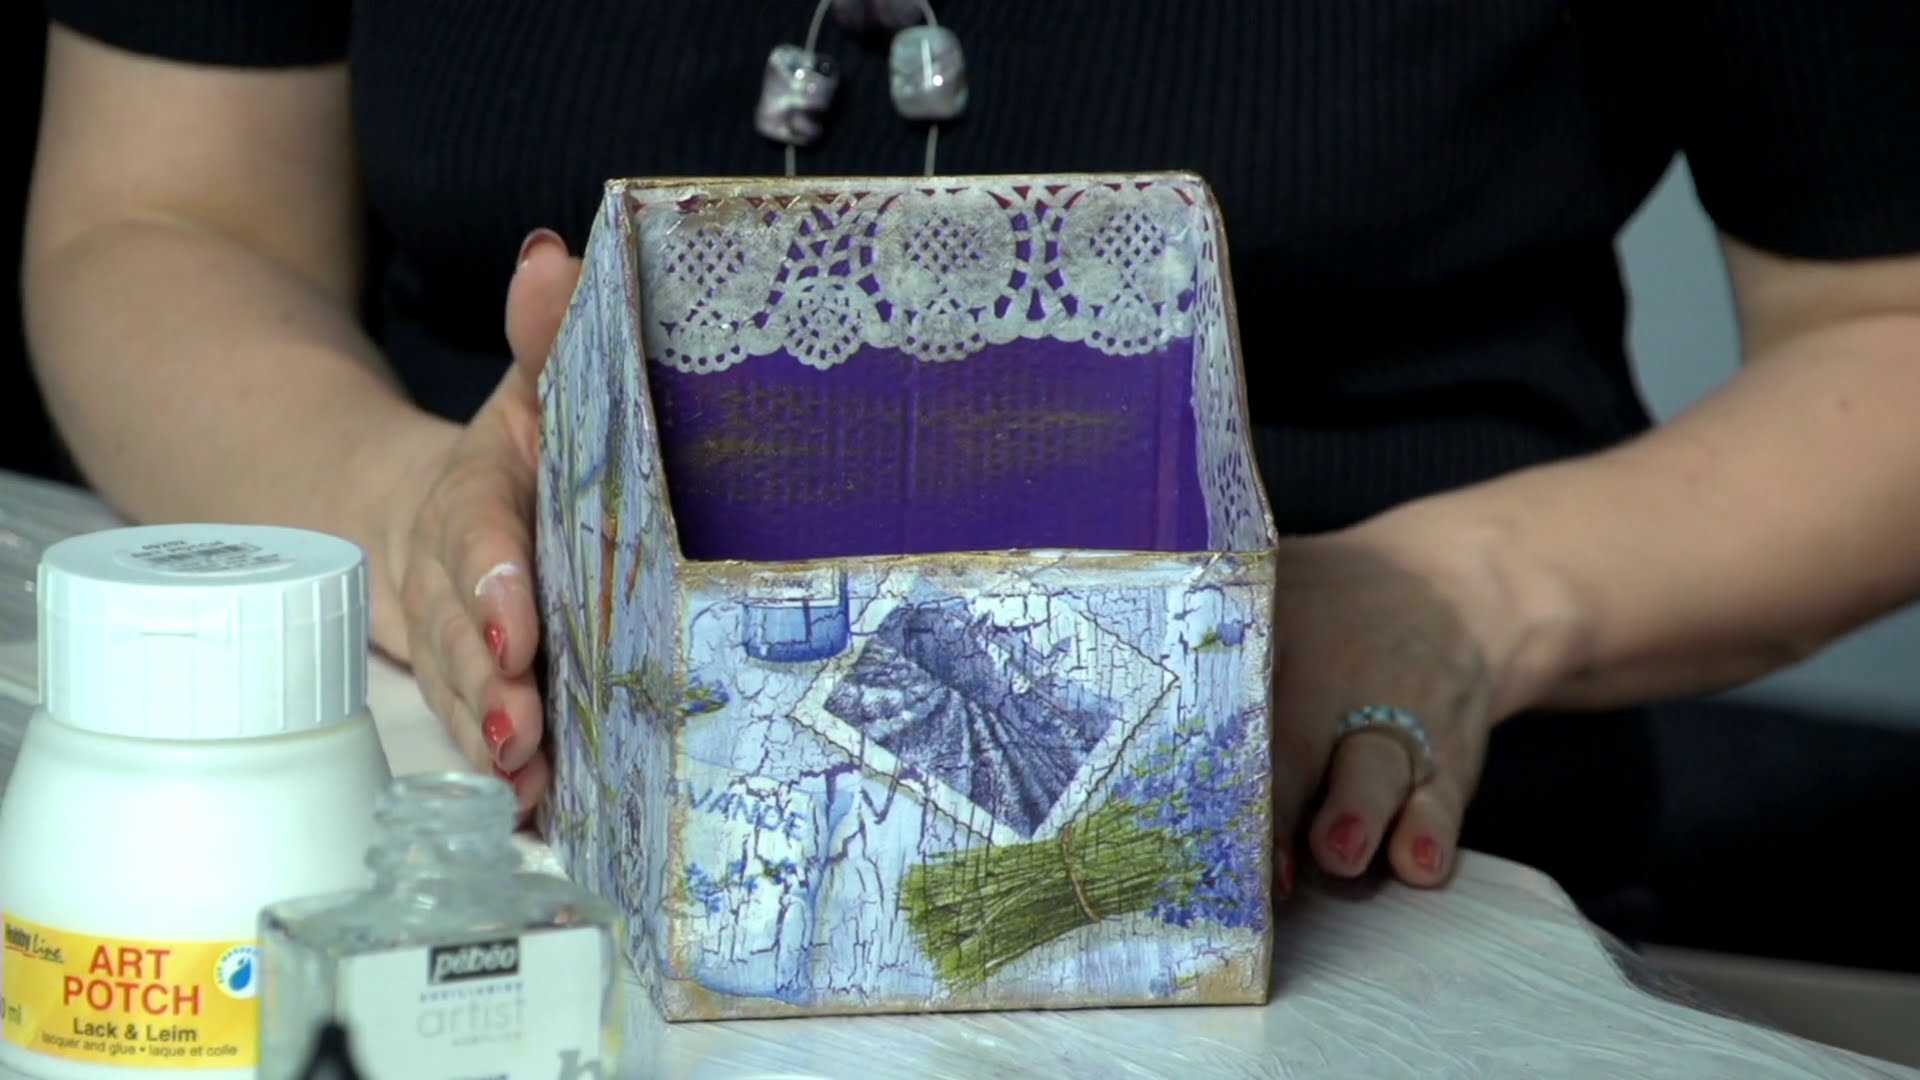
Stylish decoupage scale
The work includes several stages:
- Primer coating.
- Sanding.
- Sealing the bottom corners with tape.
- Covering the product with light acrylic paint.
Important! Acrylic is applied evenly.
- After drying, the surface is treated with sandpaper and a layer of paint is applied on a darker tone. This layer should be liquid so that you can then get it wet with a sponge, giving the surface a texture.
- Fix the base with varnish.
- Masking tape closes the parts of the box that will not be decorated.
- The selected screen is fixed.
- The drawing is carefully painted over. The paint should be thick, water is used in a minimal amount.
Perhaps, after drying, the pattern will have to be repainted, since the first time the color is likely to be pale. If the stencil is a small element of the composition, then the action will have to be repeated several times. After the painting has dried, the box is varnished.
This master class allows you to create a product whose surface looks like a fabric.This is achieved due to the fact that between the main layers the box is varnished, and the paint does not impregnate the wood.
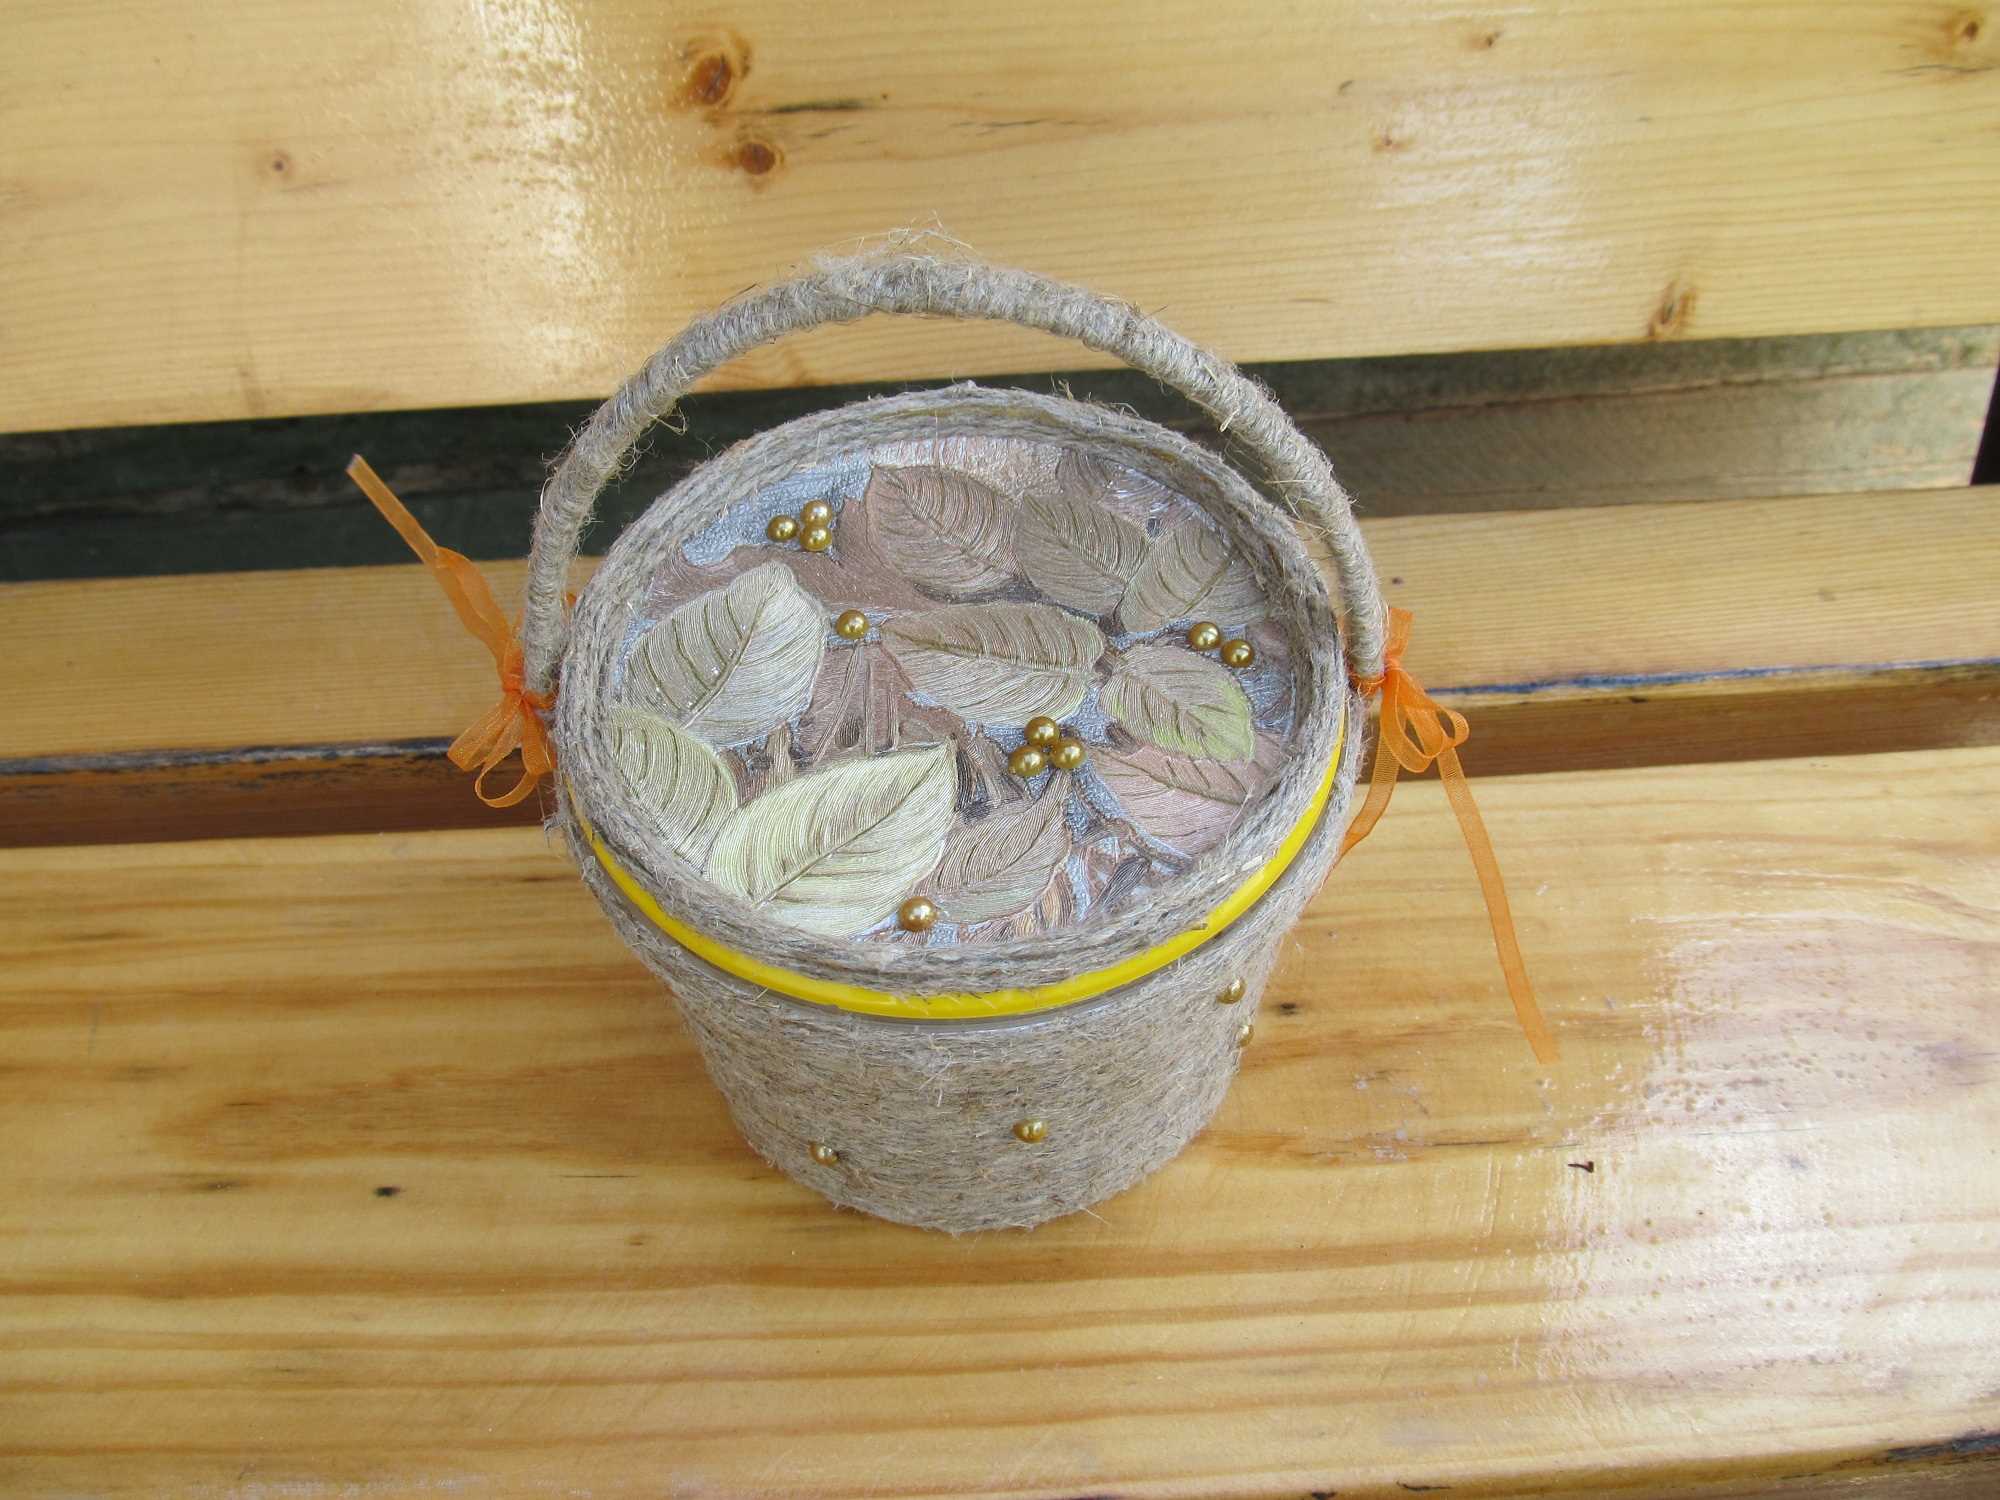
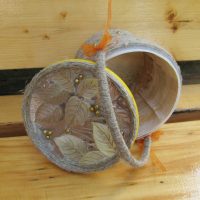
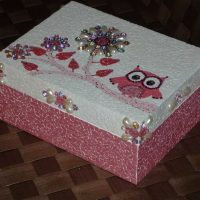
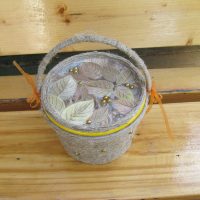
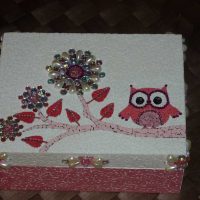
The box decorated with beads and leaves looks very beautiful
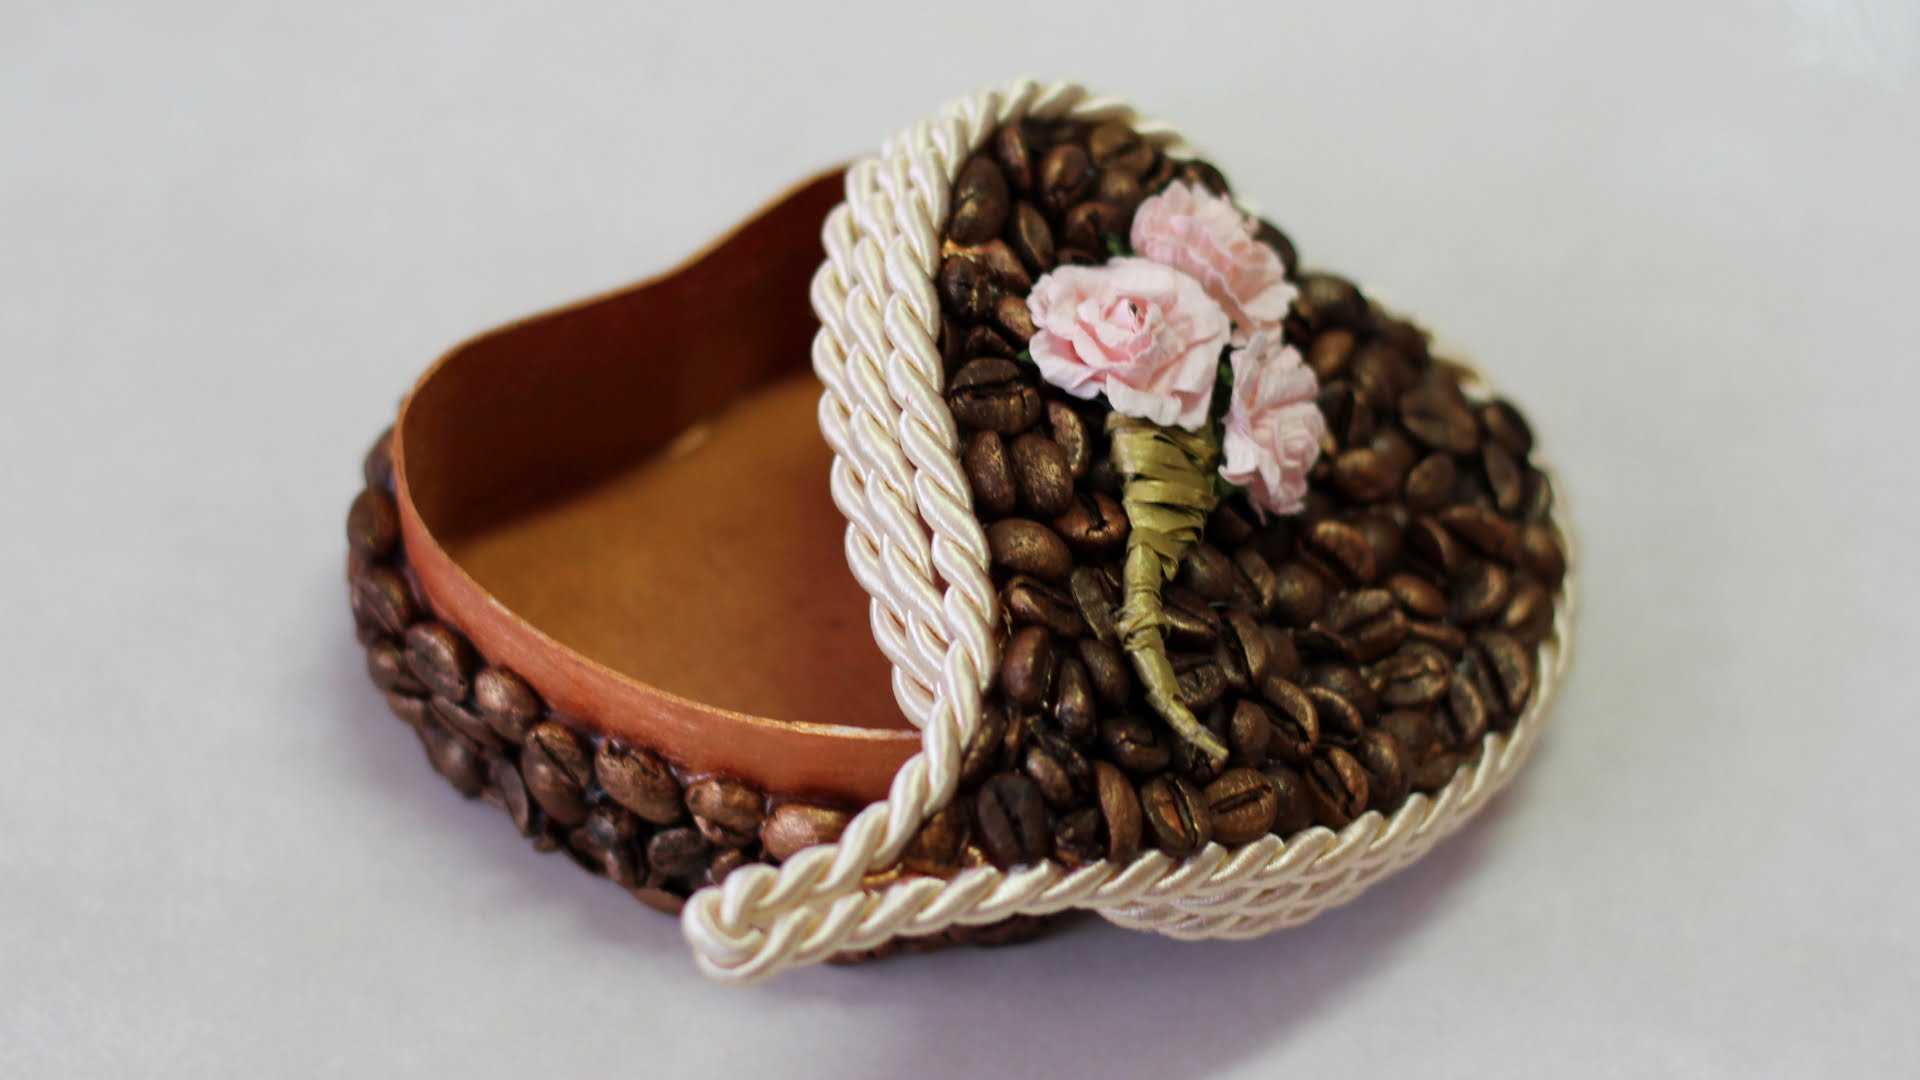
This type of box decoration will be a great addition to the interior or an original gift.
Volumetric decor
The next master class is dedicated to creating volumetric decor with your own hands. Decoupage technique will be used here again. To work, you will need:
- casket;
- printout of the drawing in duplicate (on glossy and matte photo paper);
- acrylic paints (it is better to choose glossy);
- putty;
- palette knife;
- sandpaper;
- acrylic paints of different colors;
- brushes of different numbers (No. 1 - required!);
- adhesive felt;
- lace, ribbons;
- thick glue;
- scissors;
- primer;
- masking tape;
- transparent quick-drying and reliable glue (you can use the "Moment").
The surface is pre-prepared using sandpaper. At this stage, it is worth considering that the paint will give a certain thickness to the walls and the lid may not close tightly. Therefore, at the joints, sanding the tree should be especially carefully. After that, the surface is primed.
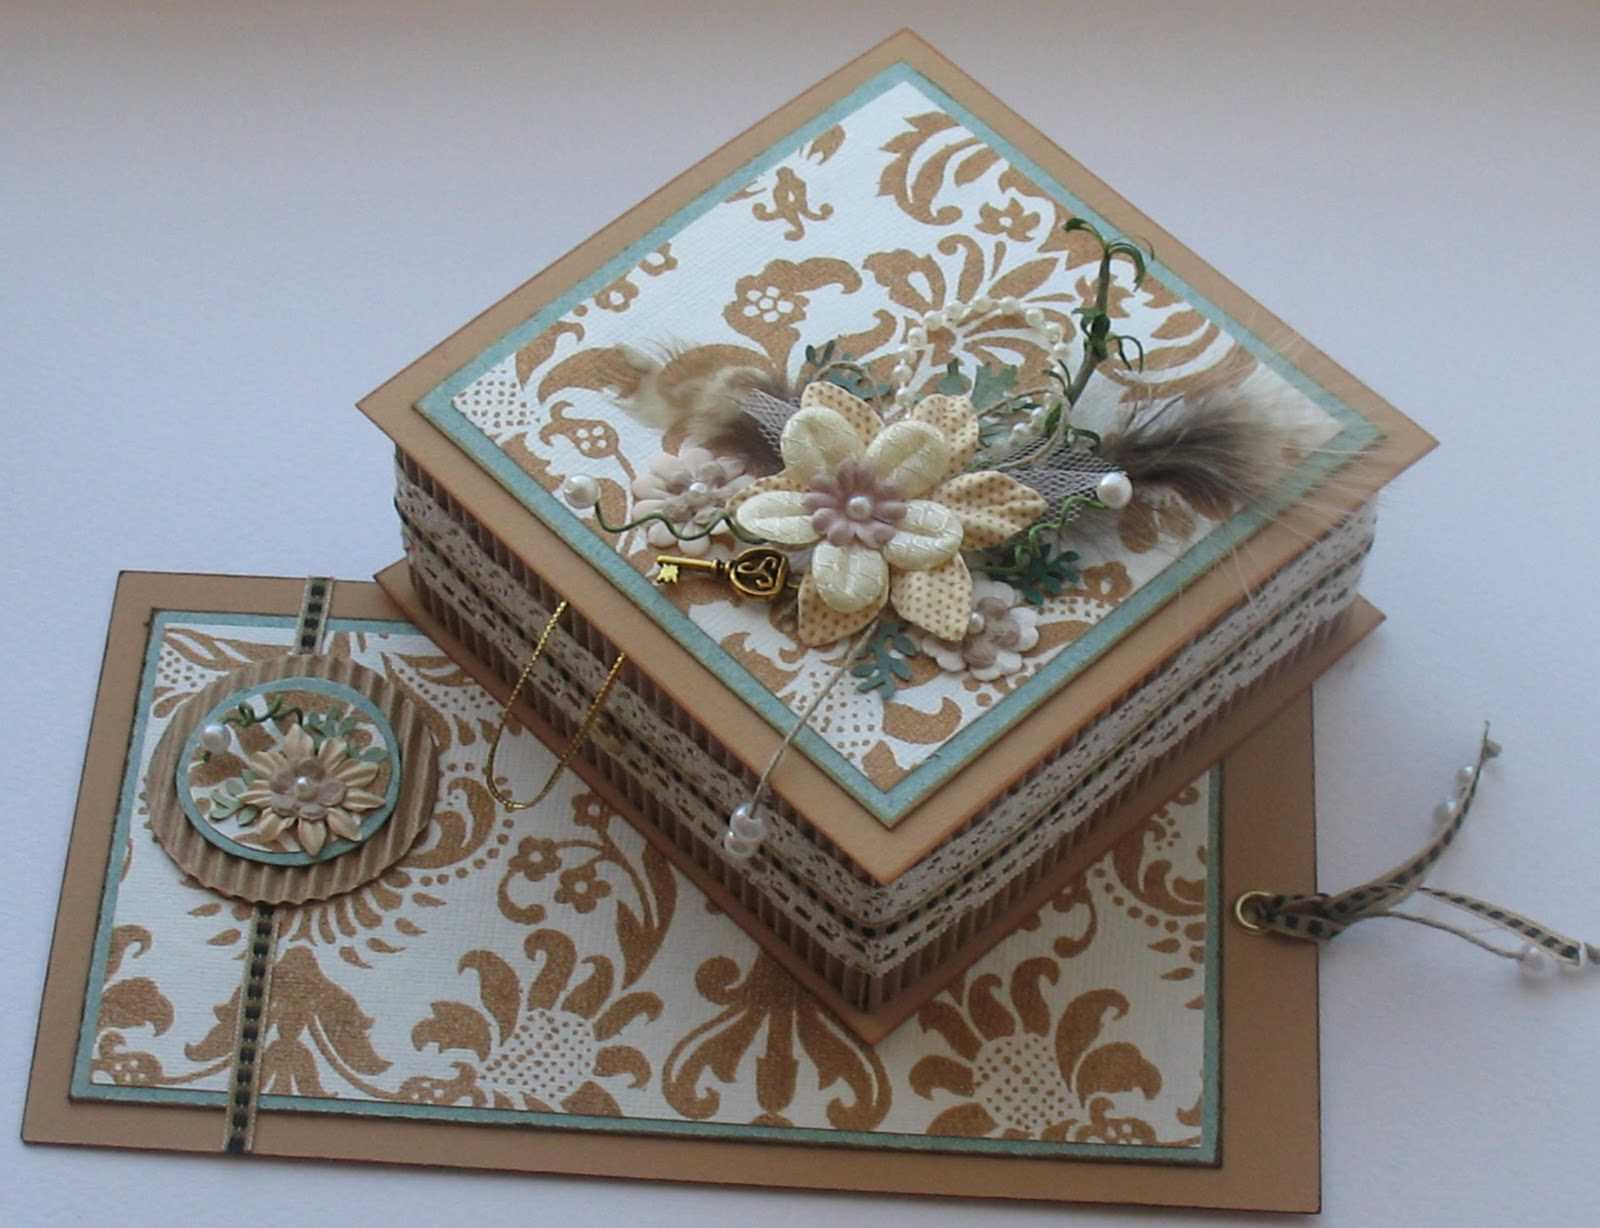
The style of shabby chic combines a large number of details.
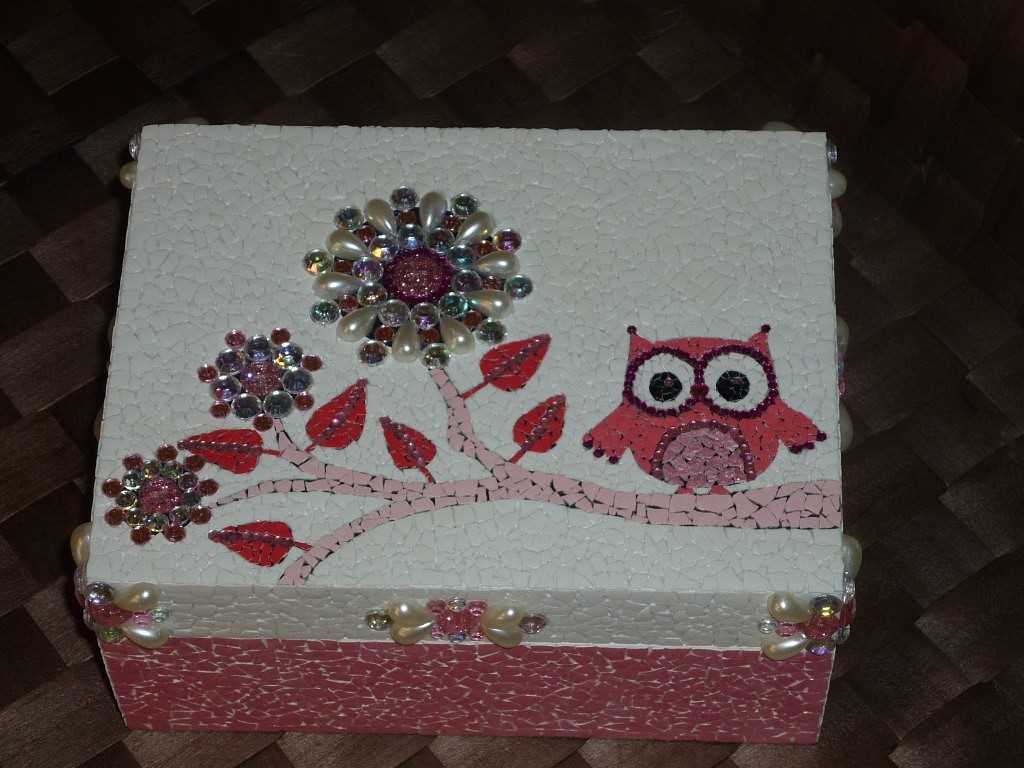
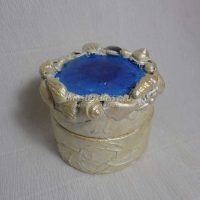
Bead jewelry box will make it more bright and presentable
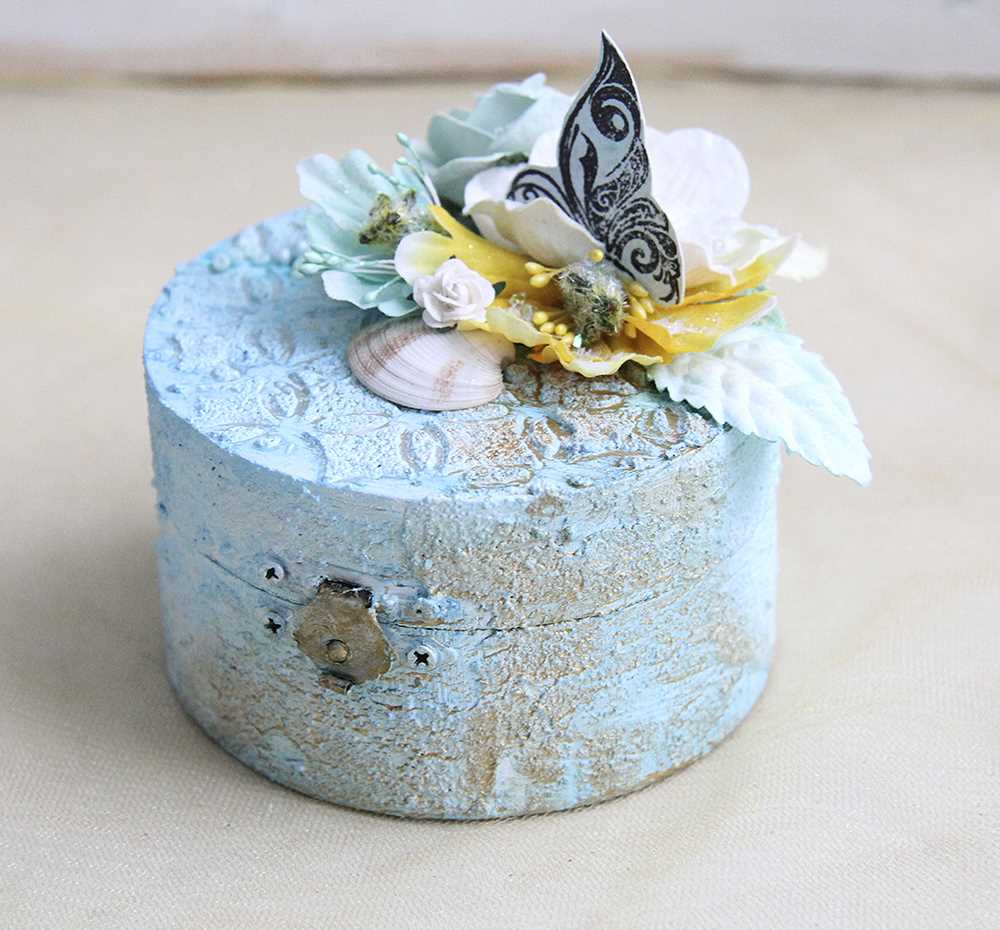
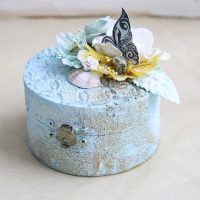
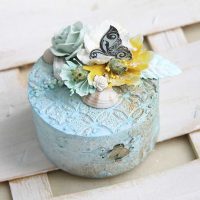
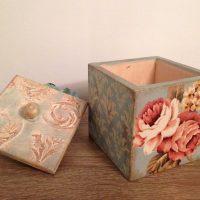
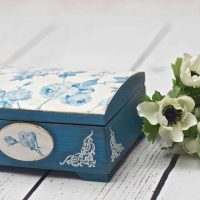
Blue box in Provence style
Registration is carried out in several stages:
- First, the lid is decorated. The printed pattern on glossy paper is covered with several layers of varnish, it should be voluminous.
- When it dries, the paper is well wetted and the lower layer is separated, and the lacquered part is attached to the cover. You can glue on PVA or special glue.
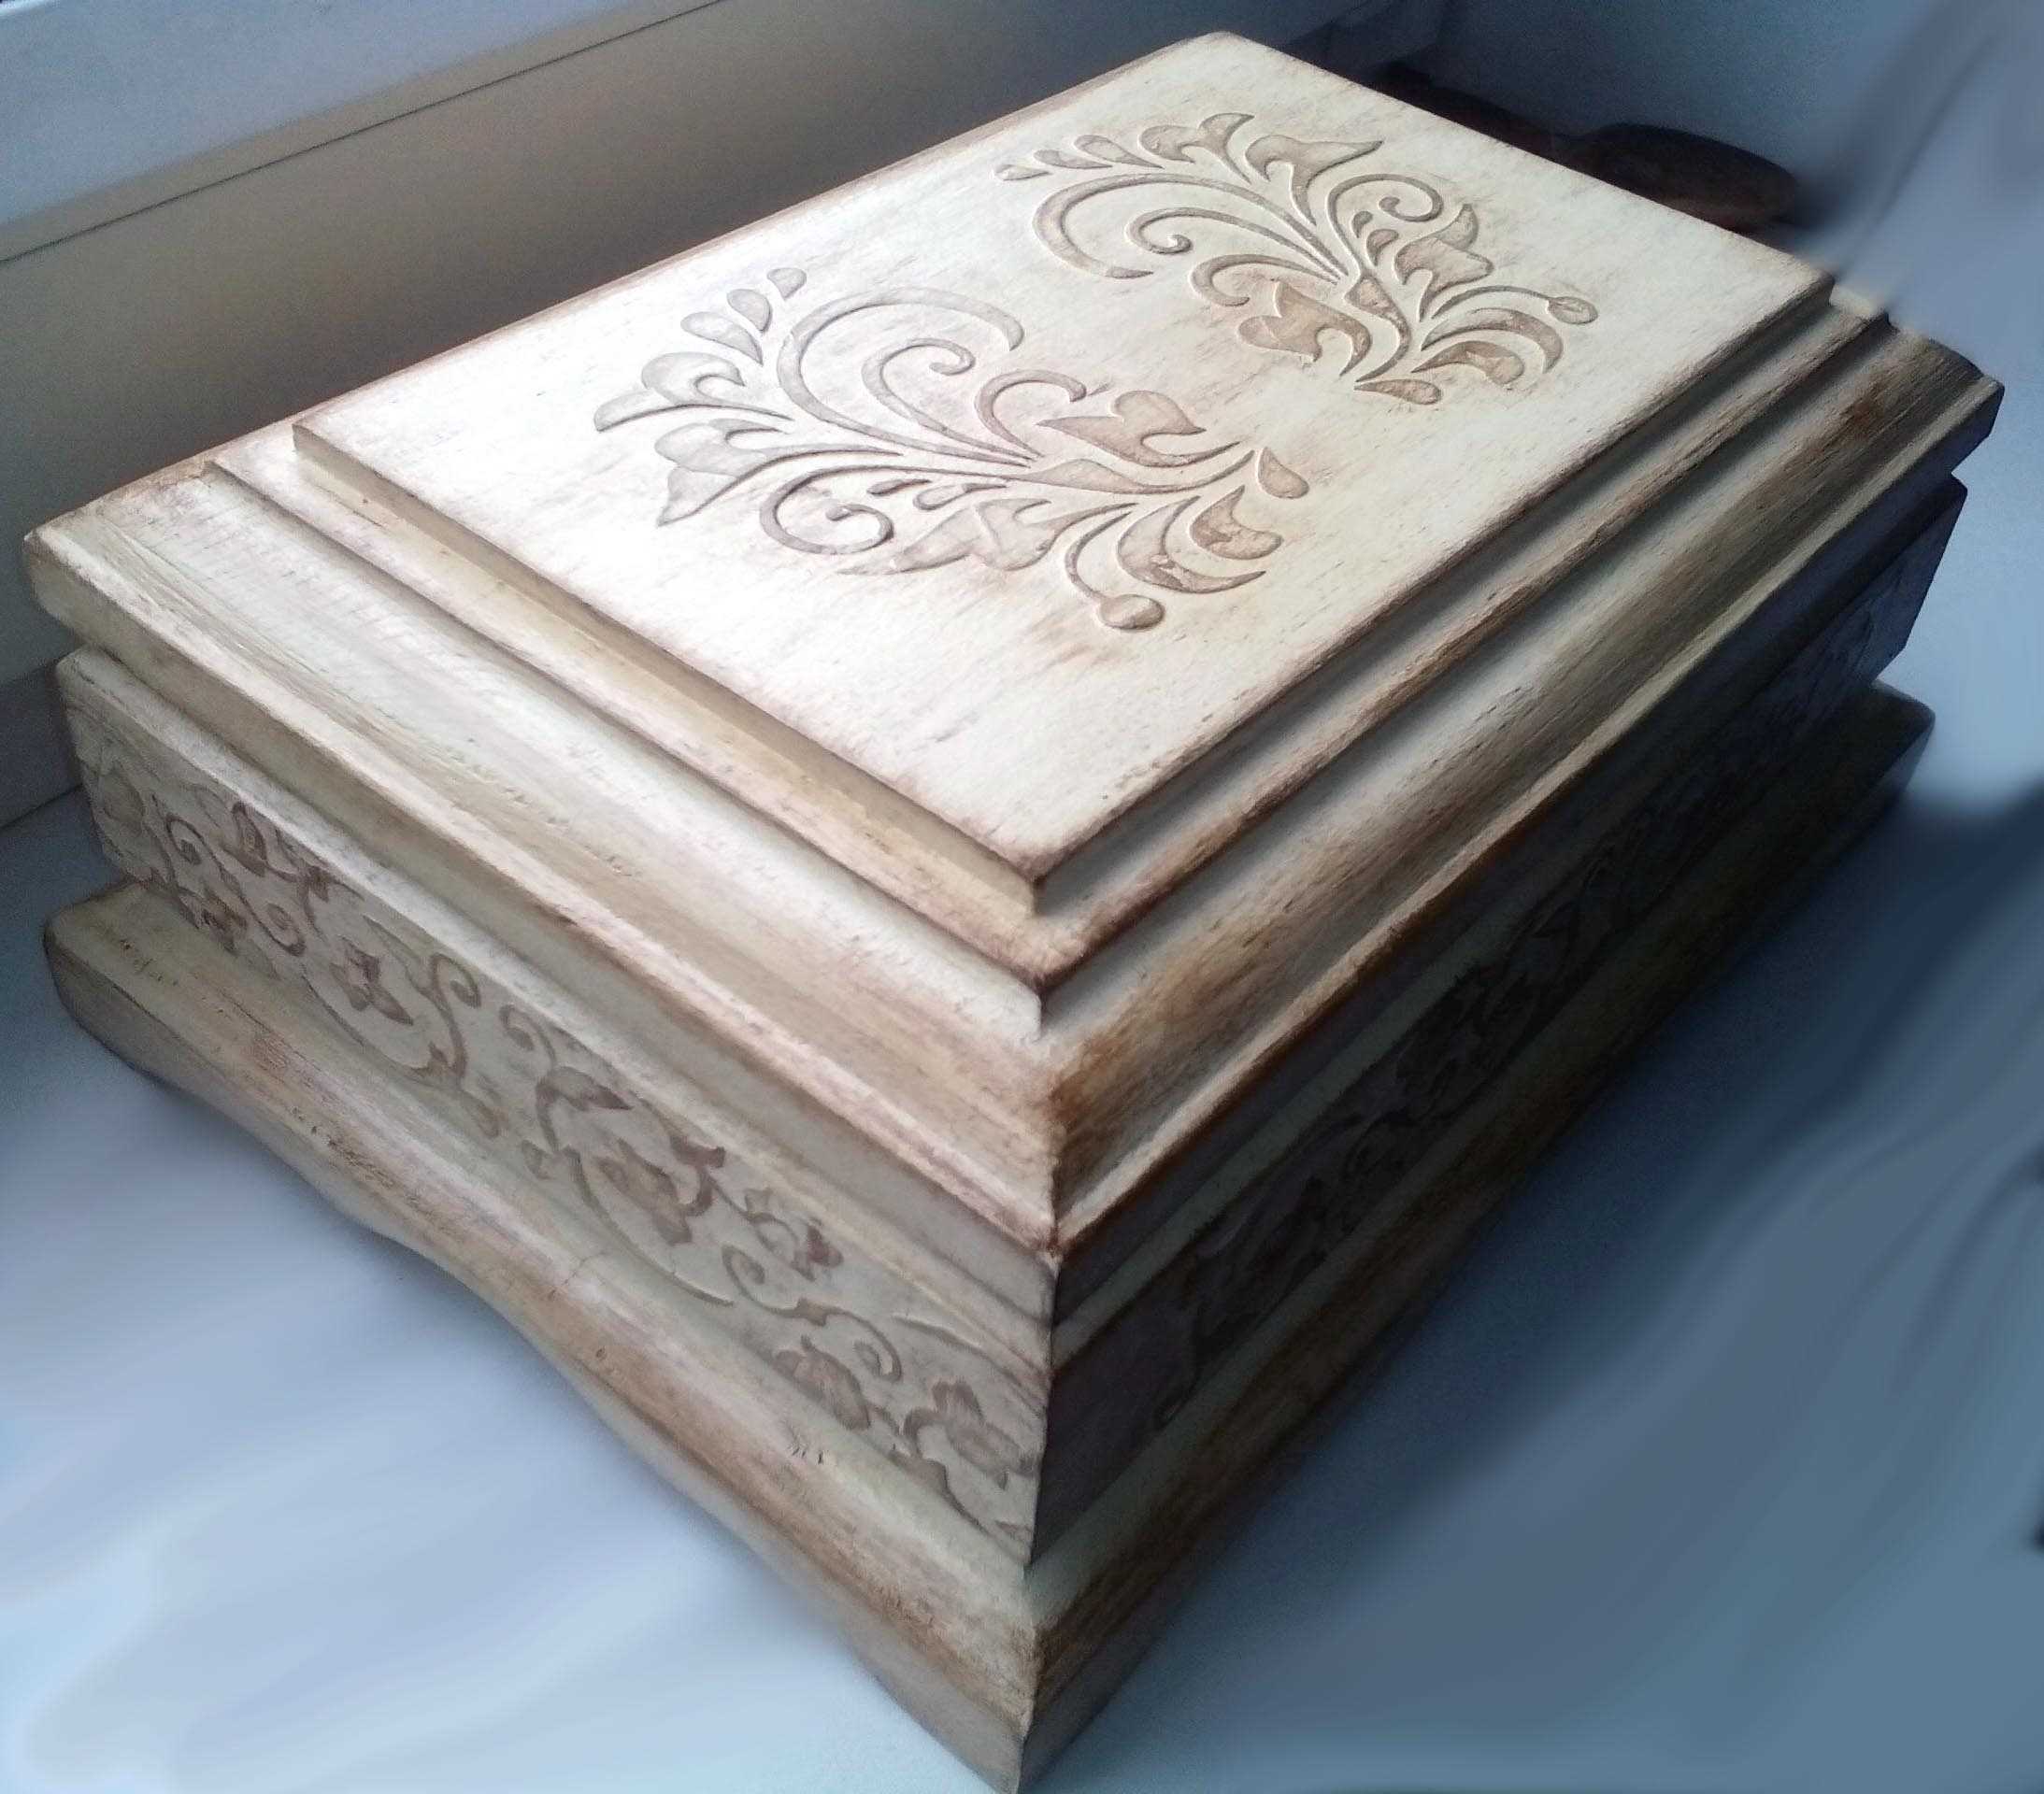
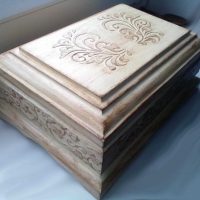
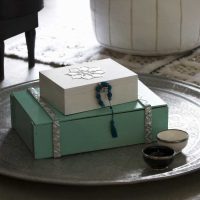
A standard wooden box will add rigor to the interior.
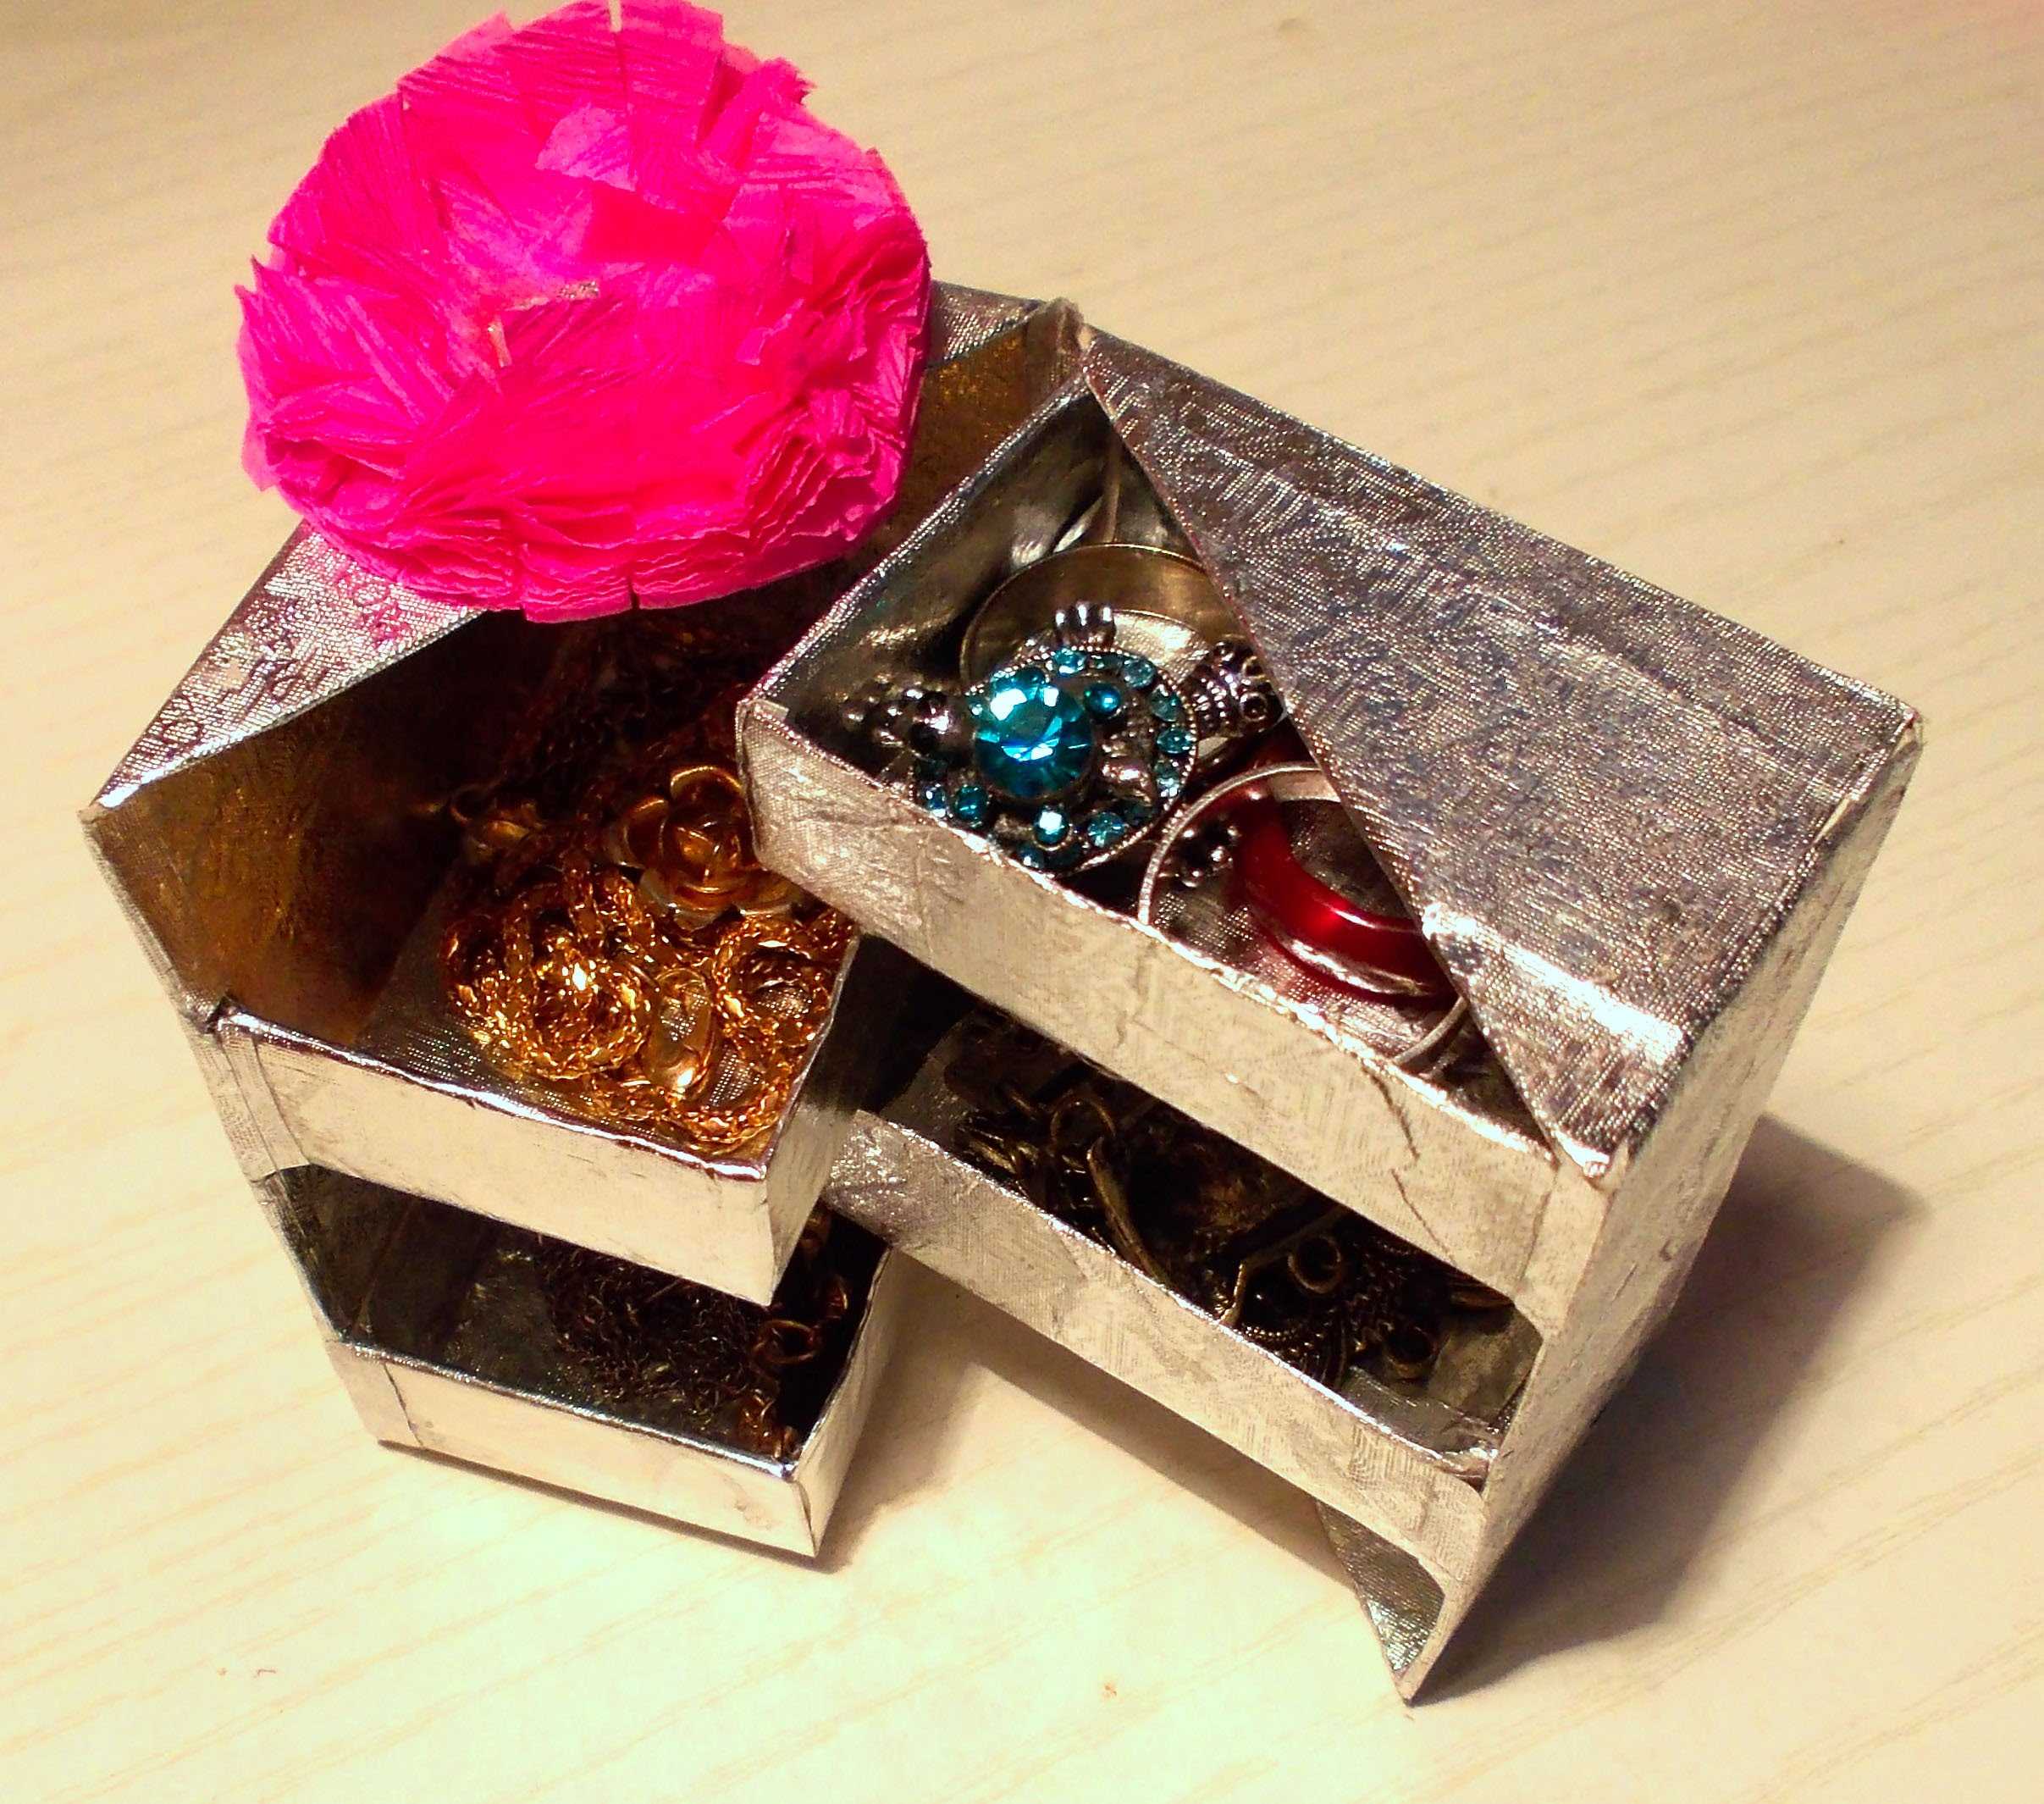
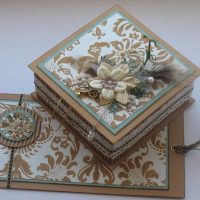
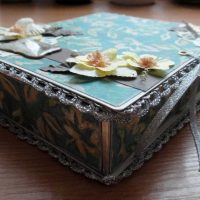
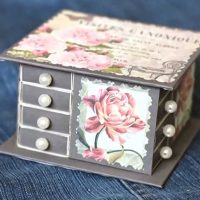
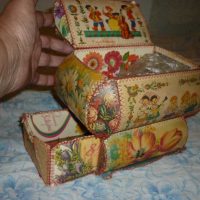
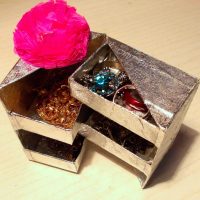
Functional sliding casket with a bright paper flower will look elegant
Advice! If the folds cannot be avoided, then you can drive them away to different leaves or flower petals, and then “hide” them behind the drawing.
- The dried surface is fixed with varnish.
- To create volume, putty or structural paste is applied to certain elements of the drawing. The layer should not exceed three millimeters. Indent from the edge.
- The bulge is treated with sandpaper.
- From the second drawing, images are cut out along the contour, which should be voluminous and glued to the lid.
- After drying, the contours are drawn with acrylic paints.
- The remaining parts of the product are decorated and varnished.
Thanks to the master class, you can easily make your own original box with a volumetric pattern.
Video: DIY box decoration
