Interesting DIY lampshade decor ideas
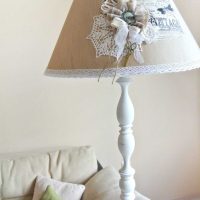
The lampshade of a desk lamp, chandelier or floor lamp was created with the aim of dimming the light of a lamp. However, this accessory may wear out over time, losing its aesthetic appearance. In this regard, many owners have a dilemma, to throw away the working lamp or try to restore the lampshade using the old frame. There are many ways to rectify the situation with a little imagination.
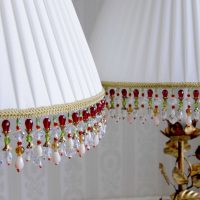
Making a lampshade with ribbons and beads
Decor lampshade flowers
Original lampshade decor
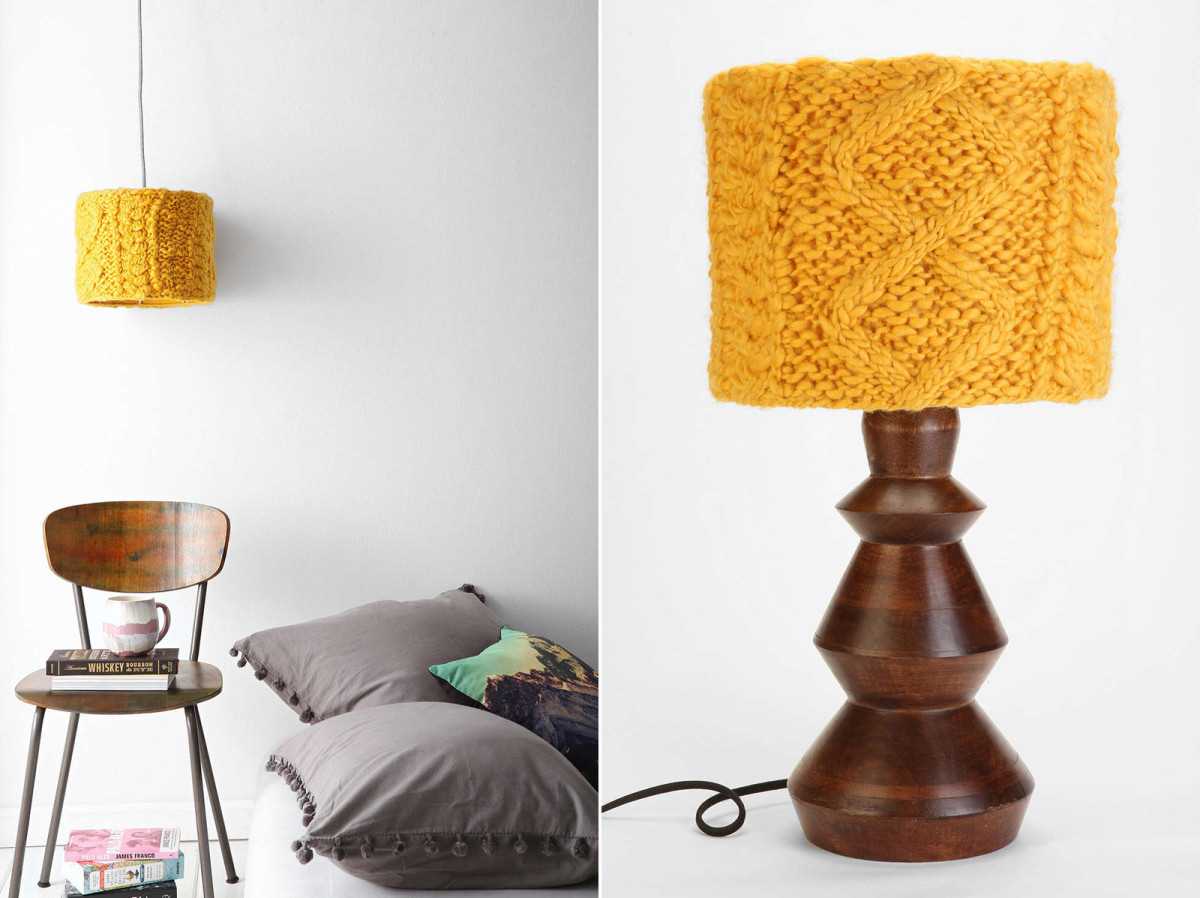
The idea of decorating a lampshade
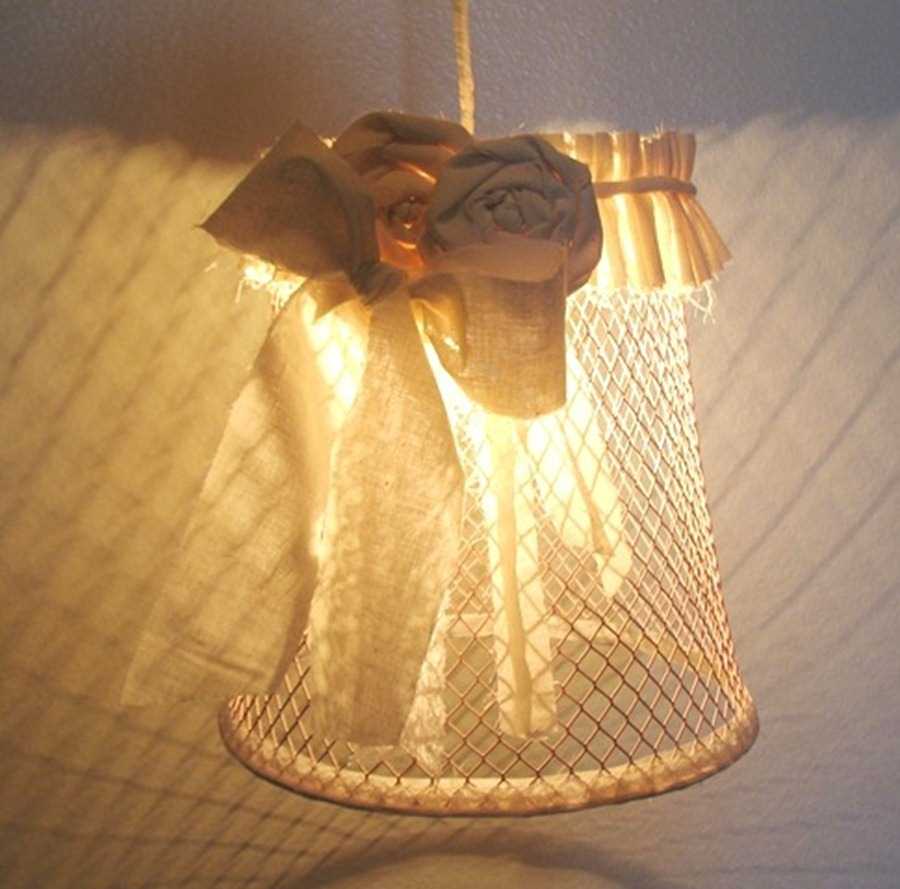
Decoration lampshade accessories
Content
Chandelier decor: create comfort with your own hands
Handicrafts are very popular today. You can create a new lampshade for a chandelier or floor lamp from any material at hand, or you can purchase some components in a needlework store. The simplest and most affordable materials for creativity are paper, plastic, thread or fabric. You can also create an original decoration for a lamp from old disks, natural materials - vines, shells, stones or broken glass. Fabric shades from jeans, burlap, and linen tape also look original. As additional decorative elements, you can use beads, buttons, satin or rep ribbons. This article contains interesting and unusual master classes on self-design lamps from different materials.
Below is a table showing some types of do-it-yourself chandeliers, and what materials are needed for their manufacture.
|
Type of lamp |
Main materials |
Short description |
Degree of difficulty |
|
Tetra chandelier |
Empty tetra packs |
Stripes of 21 mm and 19 mm are cut from empty Tetra Pak packages, from which hexagons and pentagons are made. The lamp is going using the origami technique |
Average |
|
Wire chandeliers |
Stainless Knitting Steel and copper wire |
The easiest way is to wrap the wire pattern for the lampshade in the form of a spiral. It can be a bucket or a flower pot. |
Light |
|
Plastic bowl lamp |
5 liter empty plastic bottle Disposable Plastic Spoons Thermal gun |
The bottom of the bottle is cut off. Spoons break off the spoons, and the main parts are glued to the bottle, imitating fish scales. For this, a thermal gun is used. If desired, the spoons can be painted with acrylic or spray paint. |
Light |
|
Disc light |
Laser discs Round wooden base slightly larger in diameter 3 metal racks Long fluorescent lamp |
In a wooden base, a hole for a starter with a switch is drilled and a lamp is mounted. It is also necessary to install metal racks on which discs will be strung. Holes under the racks are drilled on the disks, and then strung on them. |
Average |
|
Hangers Chandelier |
Wooden coat hanger 2 metal round bases of different diameters |
A smaller base will serve as the top of the chandelier. The shoulders are attached to both bases vertically at different angles, forming a trapezoidal shape of the lampshade. |
Average |
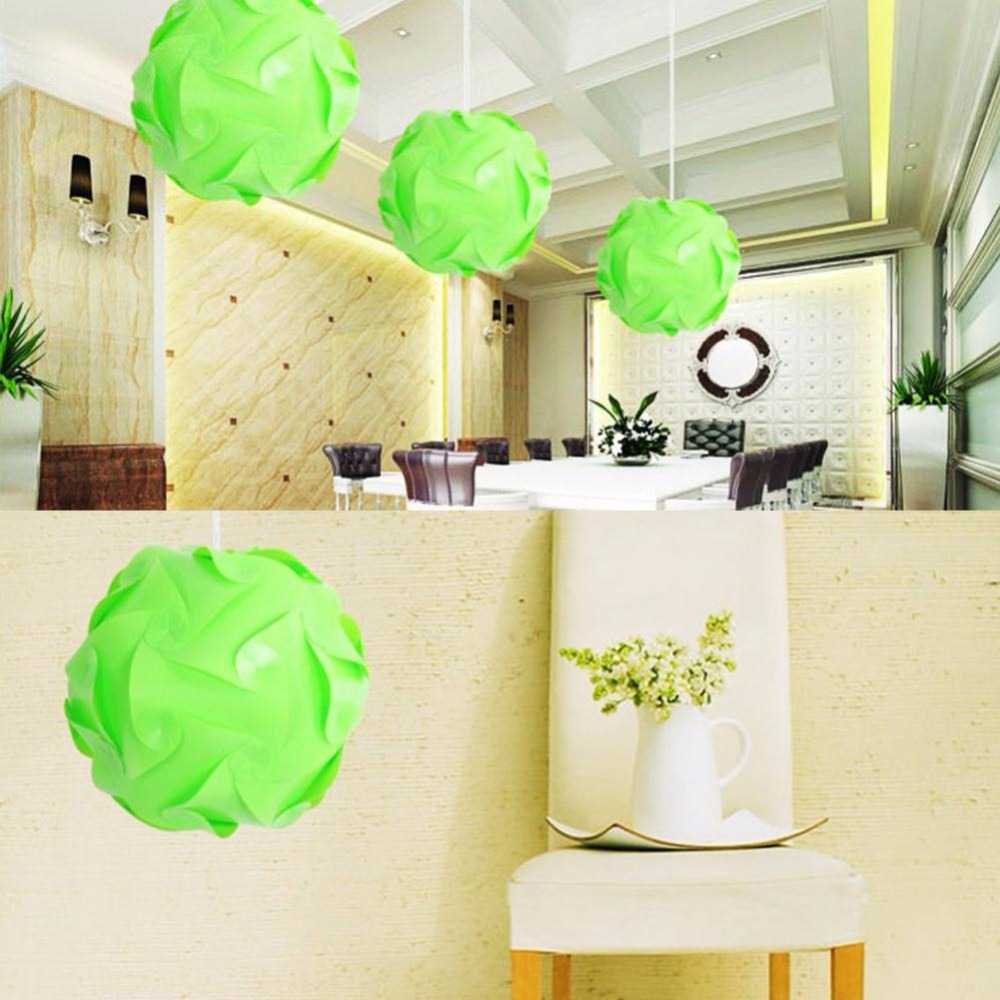
Making a lampshade with ribbons and beads
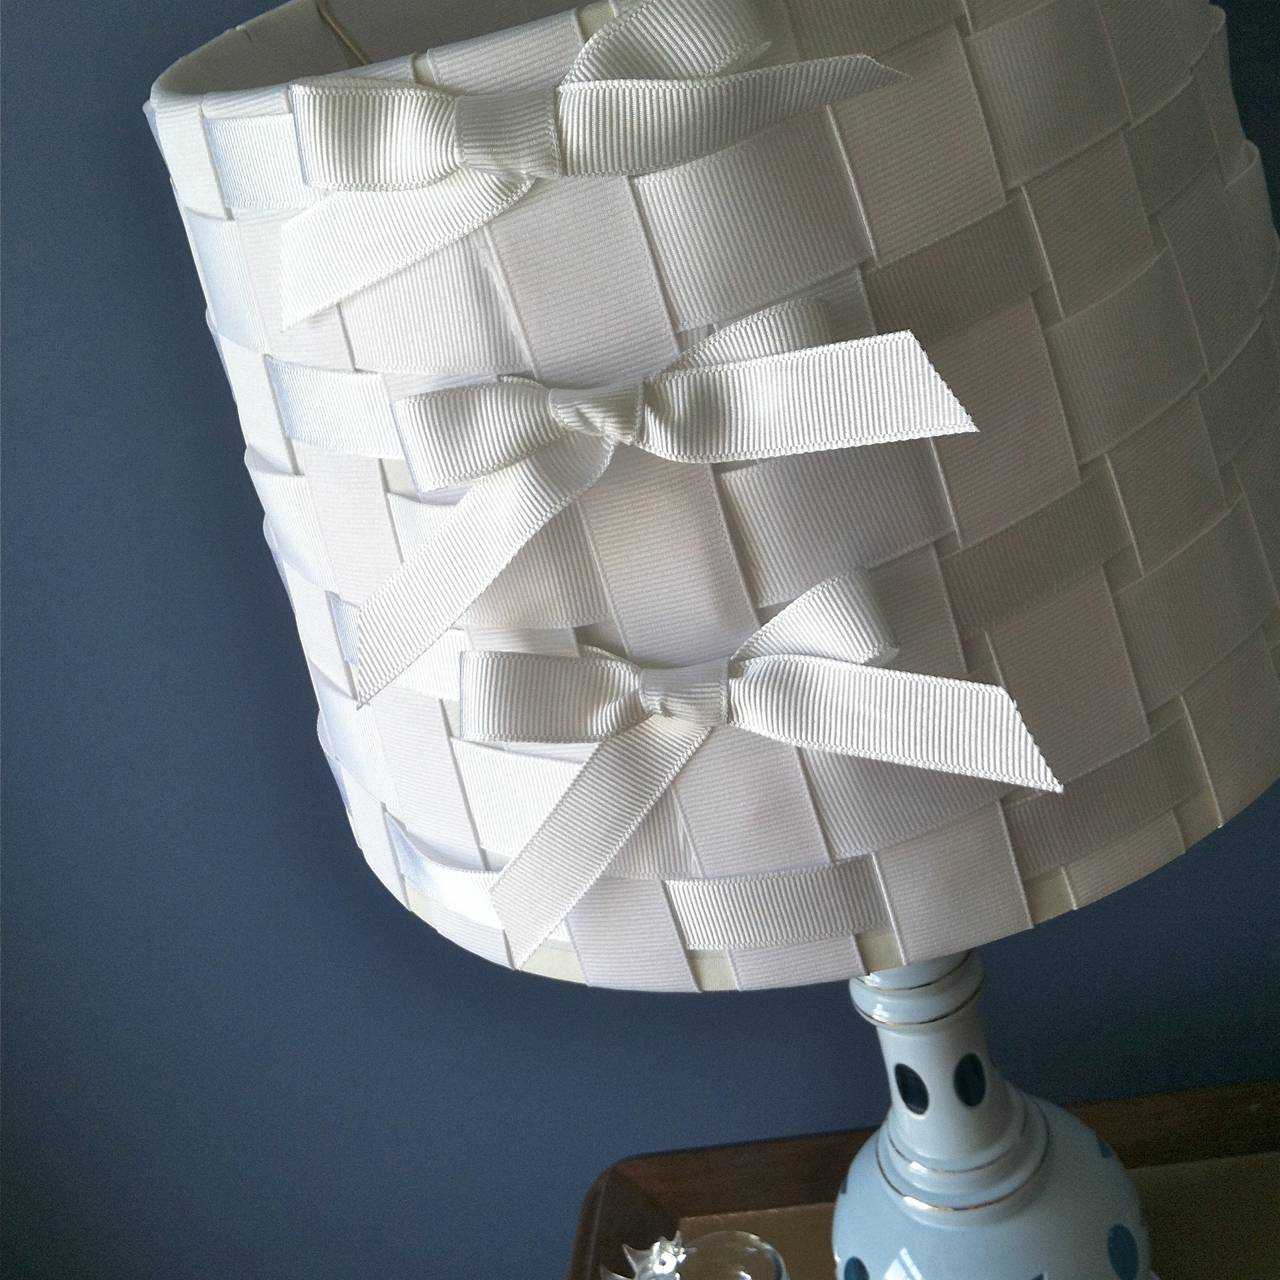
Decor lampshade flowers
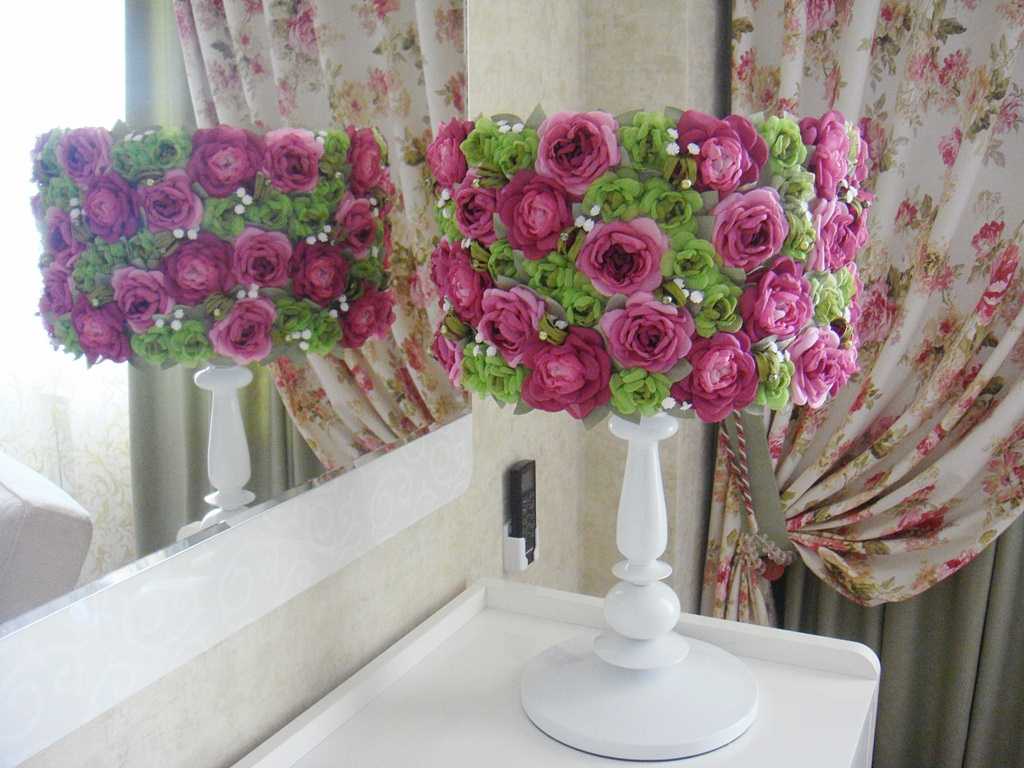
Original lampshade decor
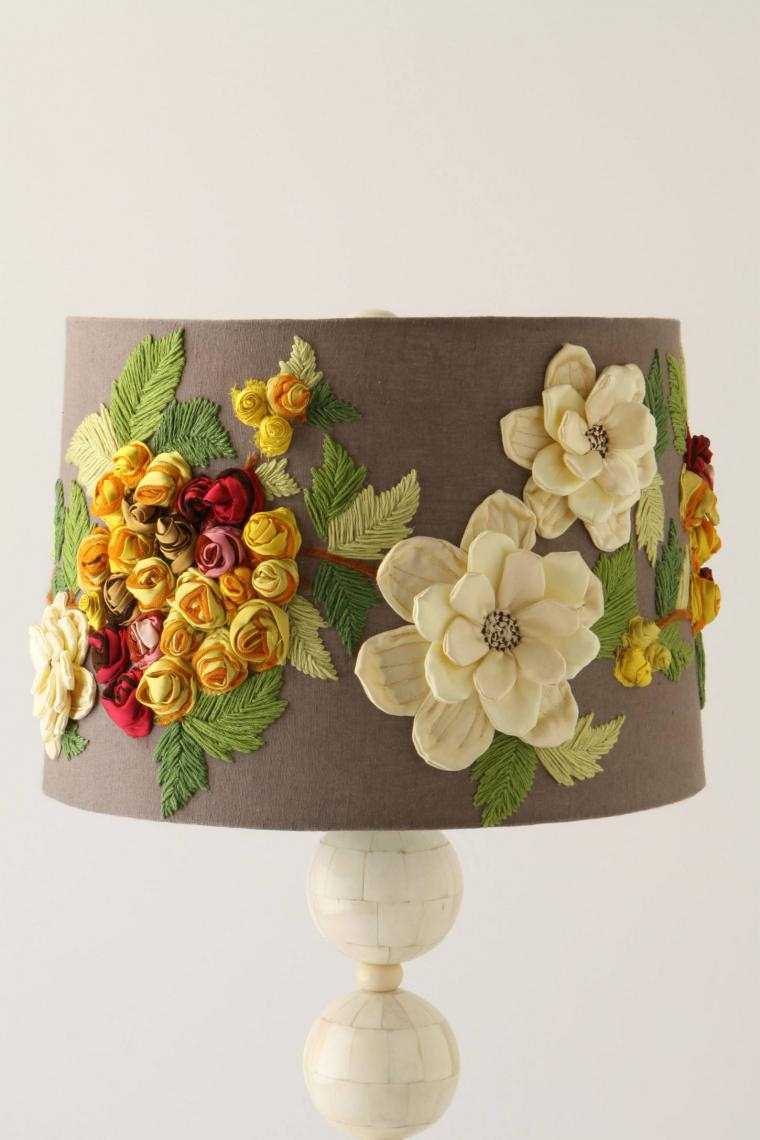
The idea of decorating a lampshade
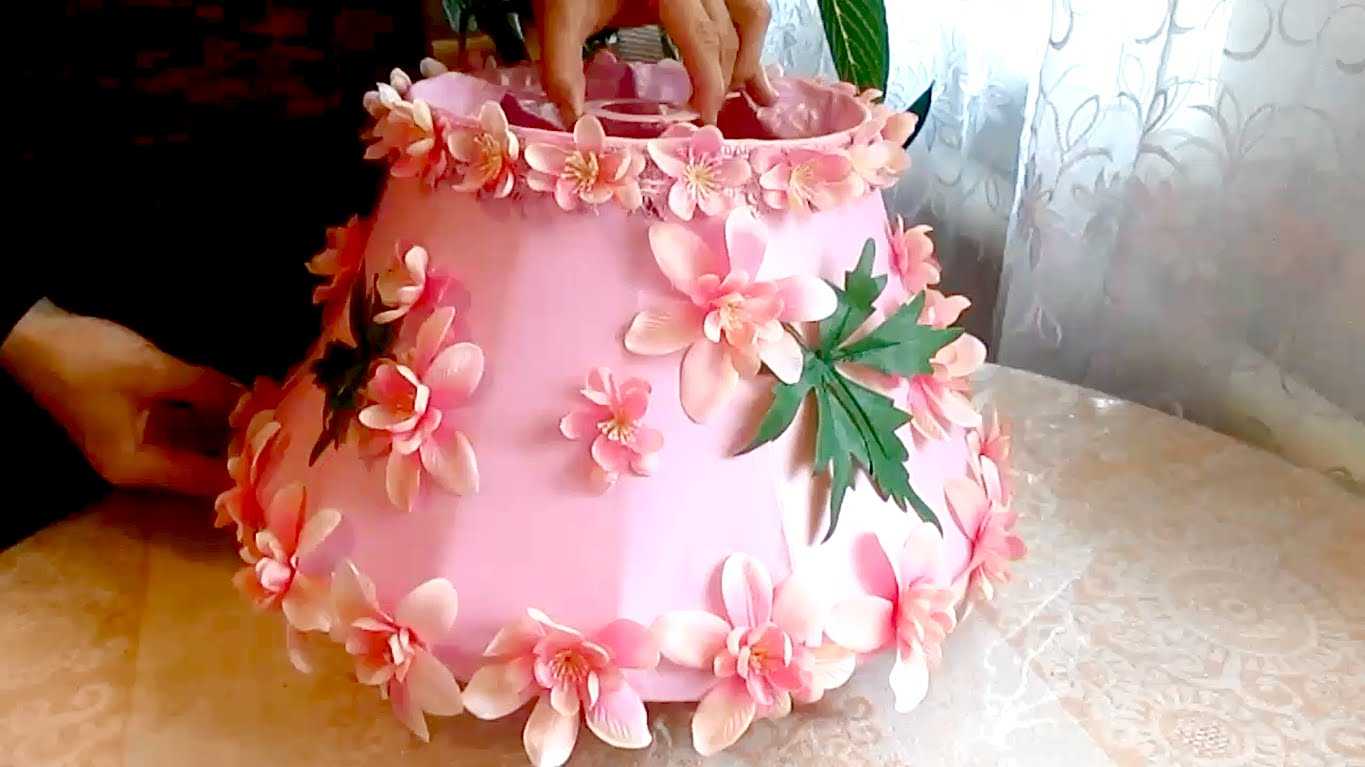
Decoration lampshade accessories
Ideas and their implementation
Creating a paper lampshade is the easiest and most affordable way.Its disadvantage is the fragility of the material. For a longer service life of such a chandelier, cardboard can be used. The following are some examples of creating a lampshade using paper.
Mobile light
To make such a decor, you will need the following materials:
- PVA glue;
- Scissors;
- Thread (it is better to use kapron thread, it is much stronger than usual);
- Beads;
- Colored paper;
- Plastic or wooden round base (diameter is selected individually).
The essence of creating a lampshade is to string various decorative elements on a thread and fasten it to the base. To do this, you need to cut out various details from colored paper. They can be in the form of butterflies, hearts, birds, animals, ballerinas. Such parts are attached to the thread with glue, and several beads of different diameters are strung between them. To create a volumetric element, such as a heart, you need to take 3 identical blanks and glue them together.
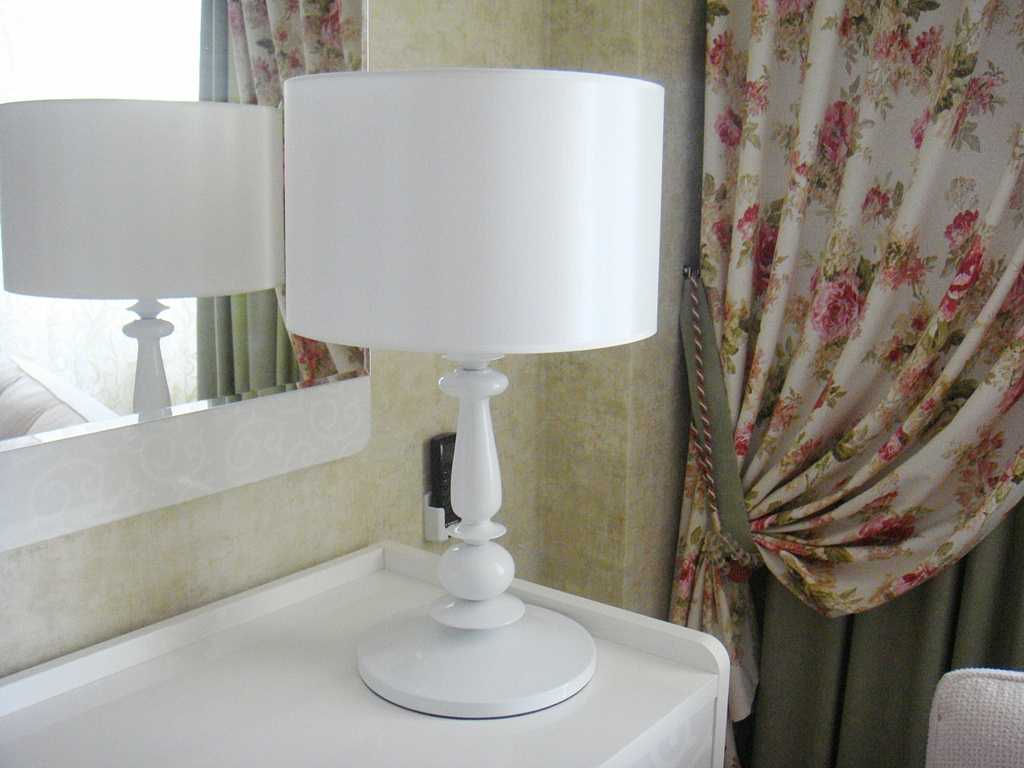
Making a lampshade with ribbons and beads
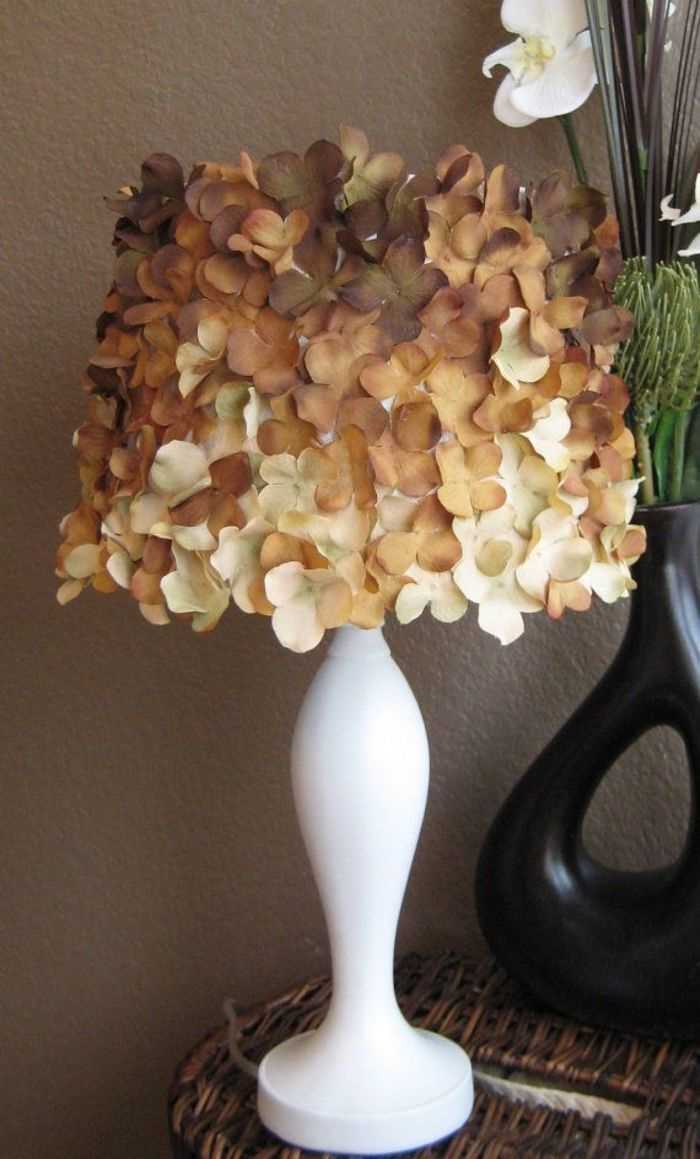
Decor lampshade flowers
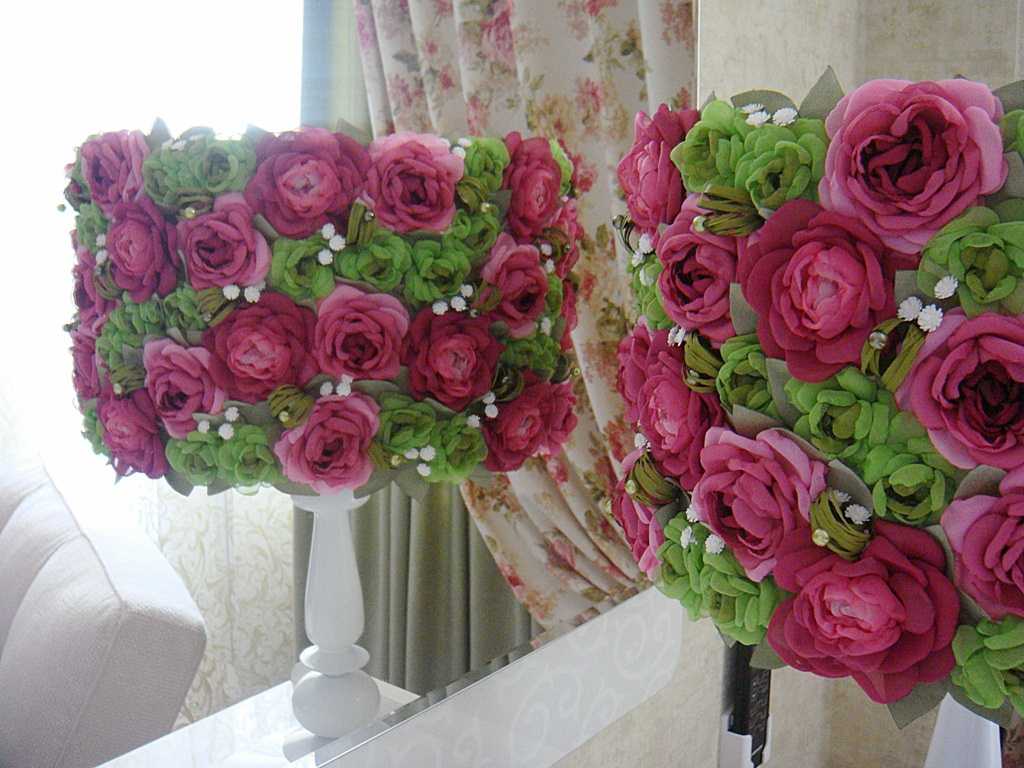
Original lampshade decor
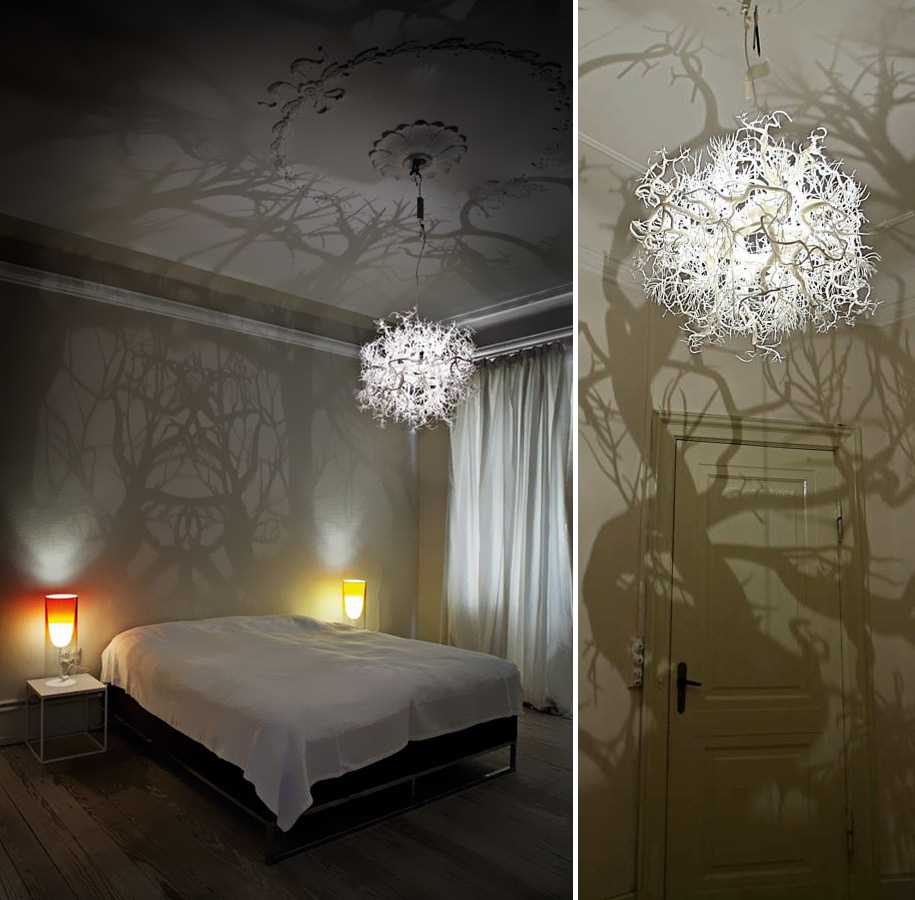
The idea of decorating a lampshade
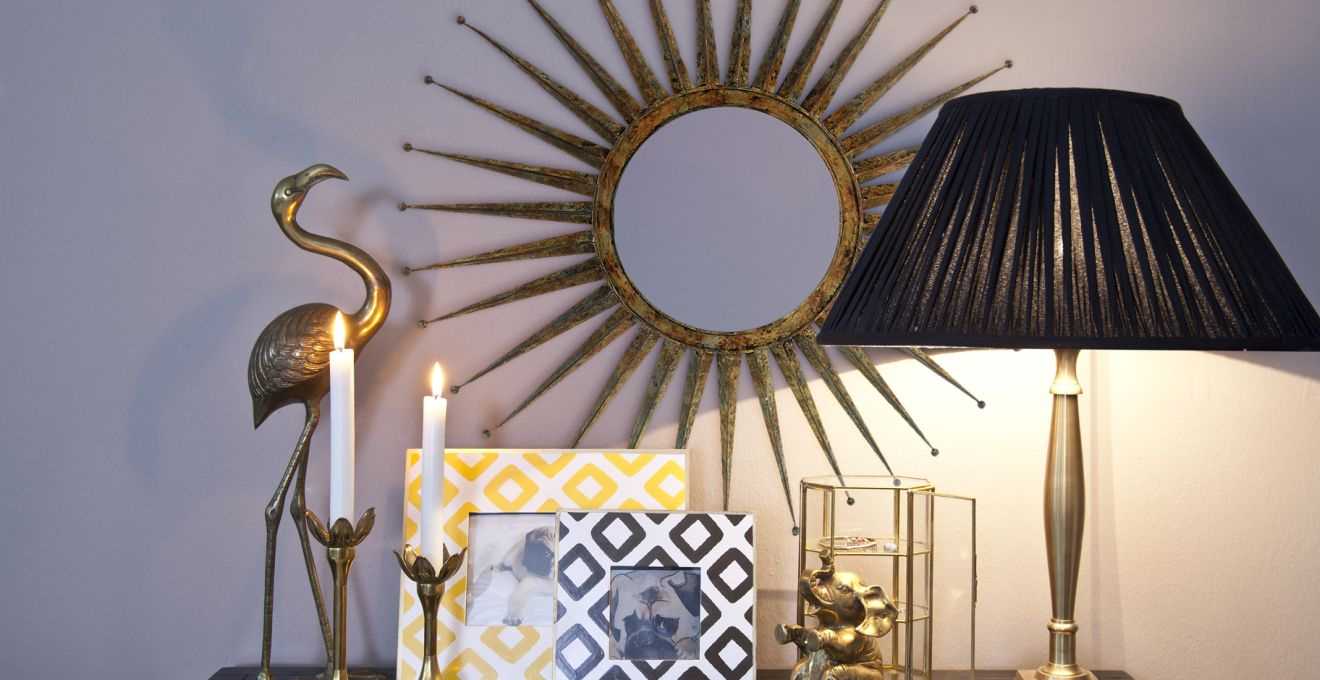
Decoration lampshade accessories
Butterfly Chandelier
Materials required for work:
- Scissors or clerical knife;
- Plain cardboard;
- Glue gun;
- Wire
- Fishing line or thin twine.
If you do not have a thermal gun, you can use silicone rods for it. You can melt them over an ordinary candle.
A wire is needed to create the frame of the ceiling of the chandelier. To do this, take a piece of wire and roll it into a circle, fixing the ends with pliers or round-nose pliers. The fishing line will be a hanging element. It must be cut into 3 identical pieces, the length of which depends on the desired height of the fixture. The fishing line must be attached to the wire base at the same distance from each other.
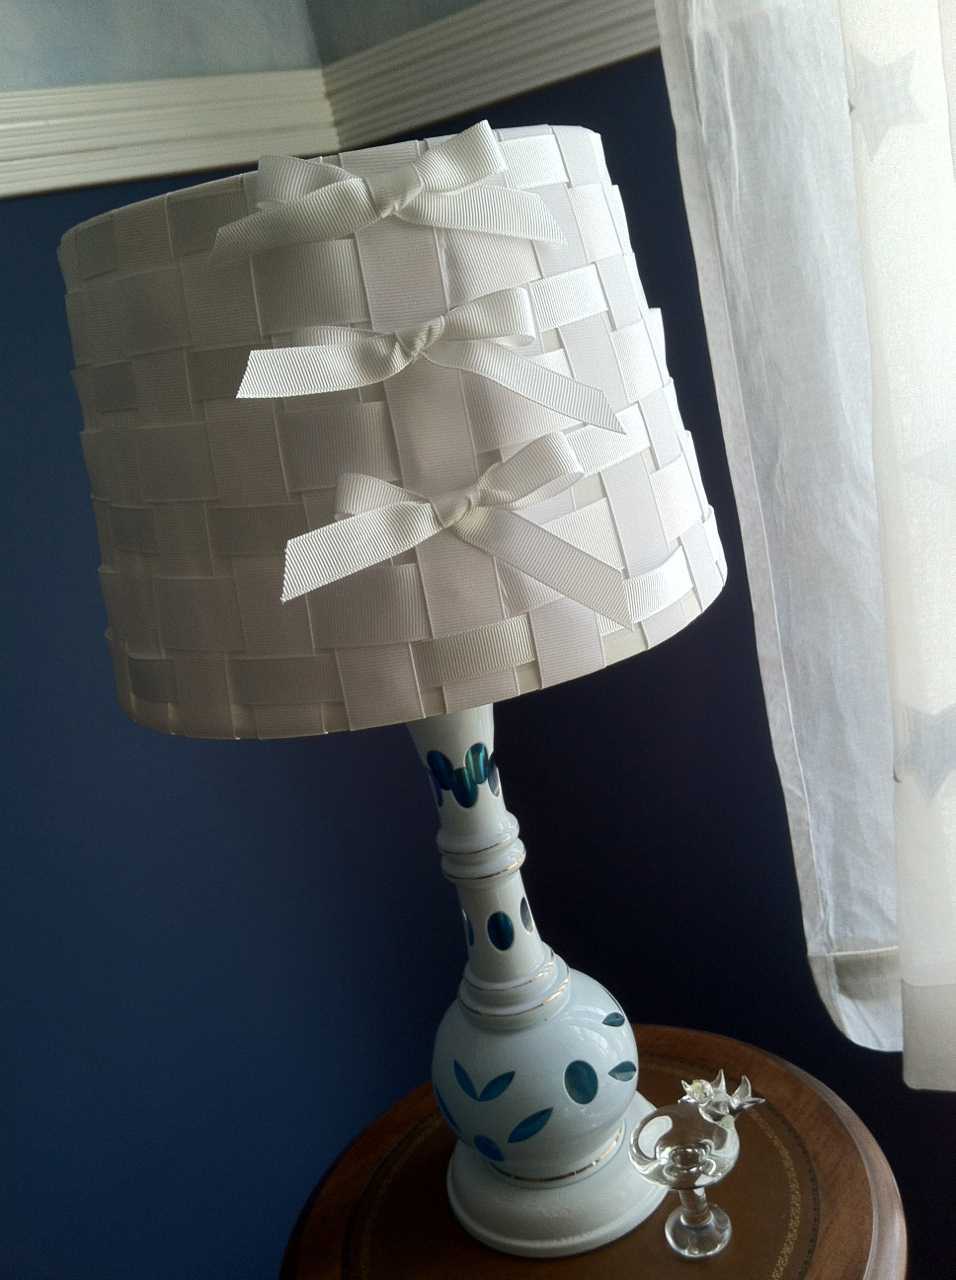
Making a lampshade with ribbons and beads
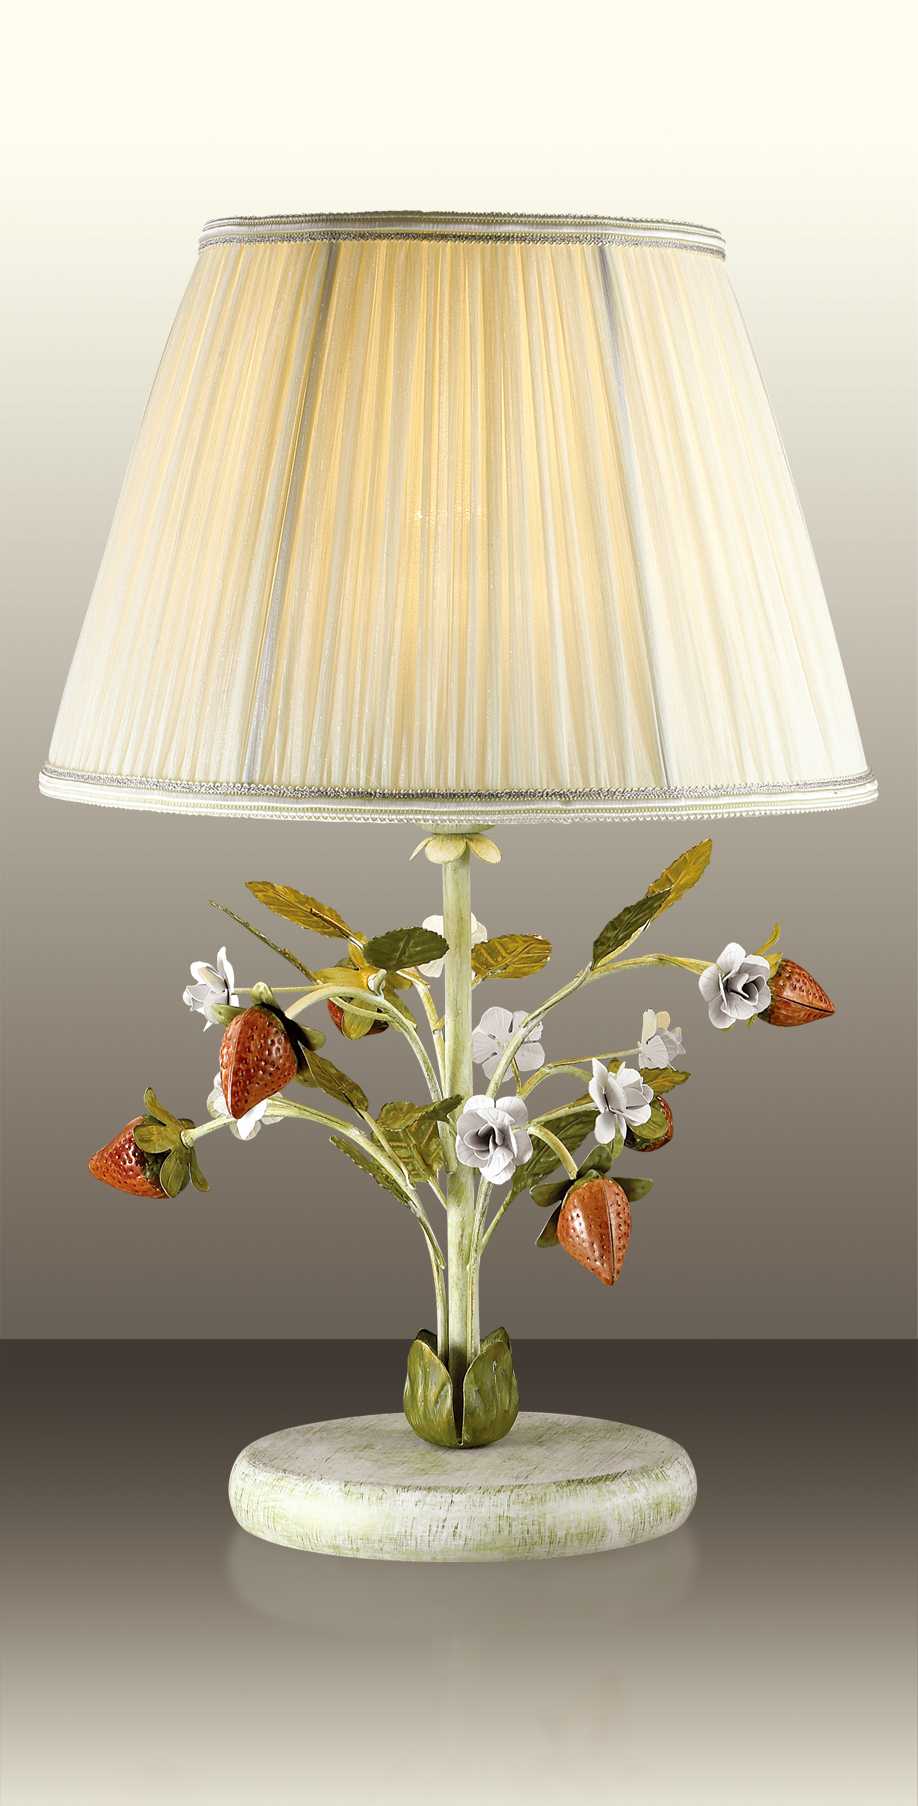
Decor lampshade flowers
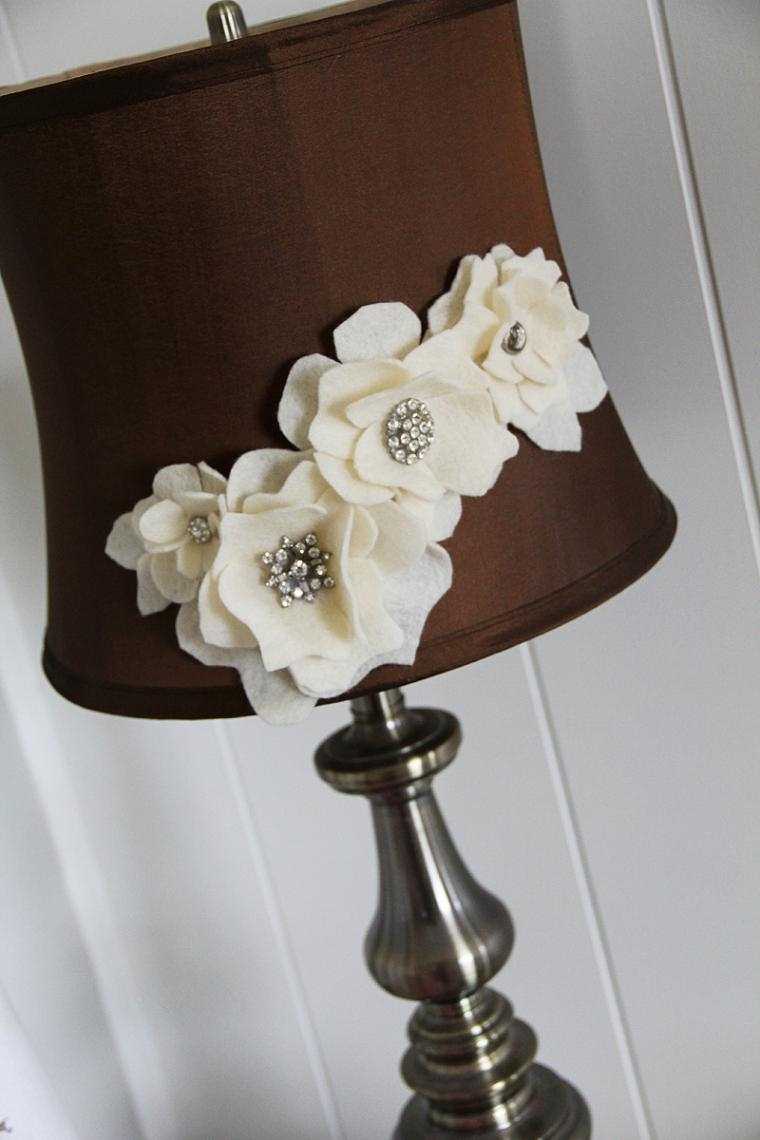
Original lampshade decor
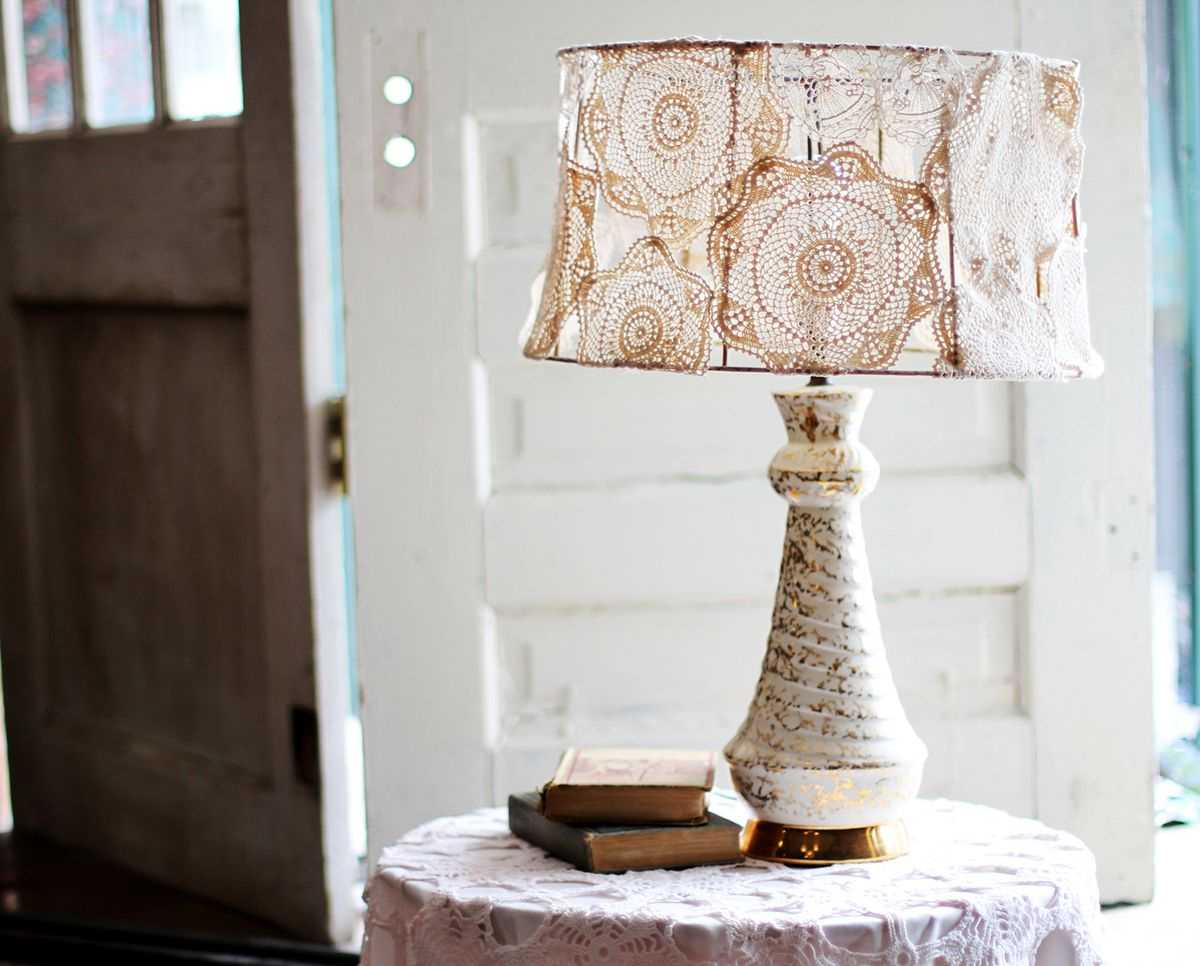
The idea of decorating a lampshade
Decoration lampshade accessories
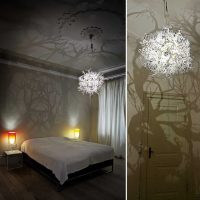
Next, on a piece of cardboard, you need to draw and carefully cut butterflies of various sizes. The lower part of the lampshade can be processed with curly scissors. The cardboard itself is folded into a conical shape, and the joint is glued or fastened with a stapler. Its upper part is attached to the frame. Those butterflies that have been cut can be strung on additional pieces of fishing line, alternating them with various beads, and fixed inside the ceiling. After turning on such a lamp, images of fluttering butterflies will appear on the walls.
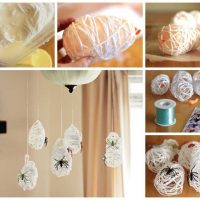
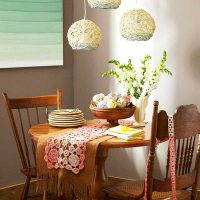
Another easy-to-use decor idea is to create a chandelier from a thick thread or yarn. From the materials for such a handmade you will need:
- Ball of thread;
- A balloon;
- Baby cream;
- PVA glue.
Making a lampshade with ribbons and beads
Decor lampshade flowers
Original lampshade decor
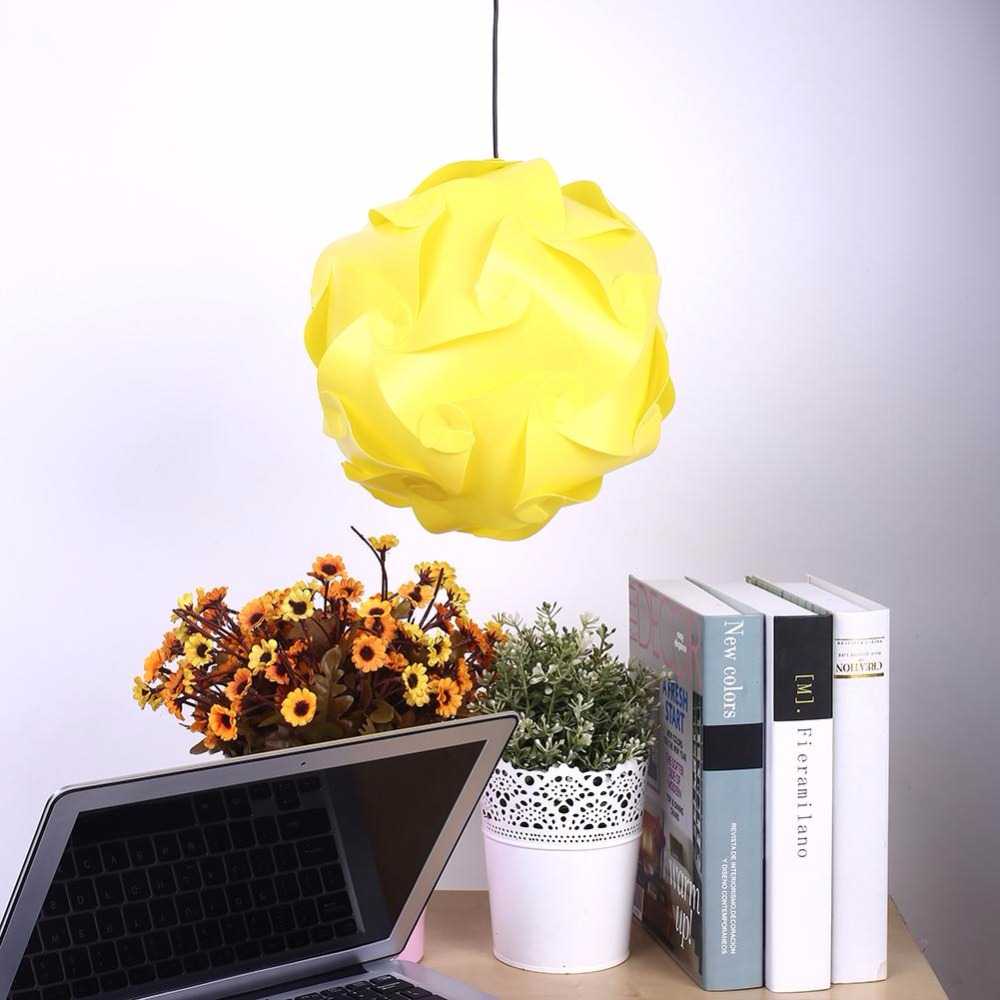
The idea of decorating a lampshade
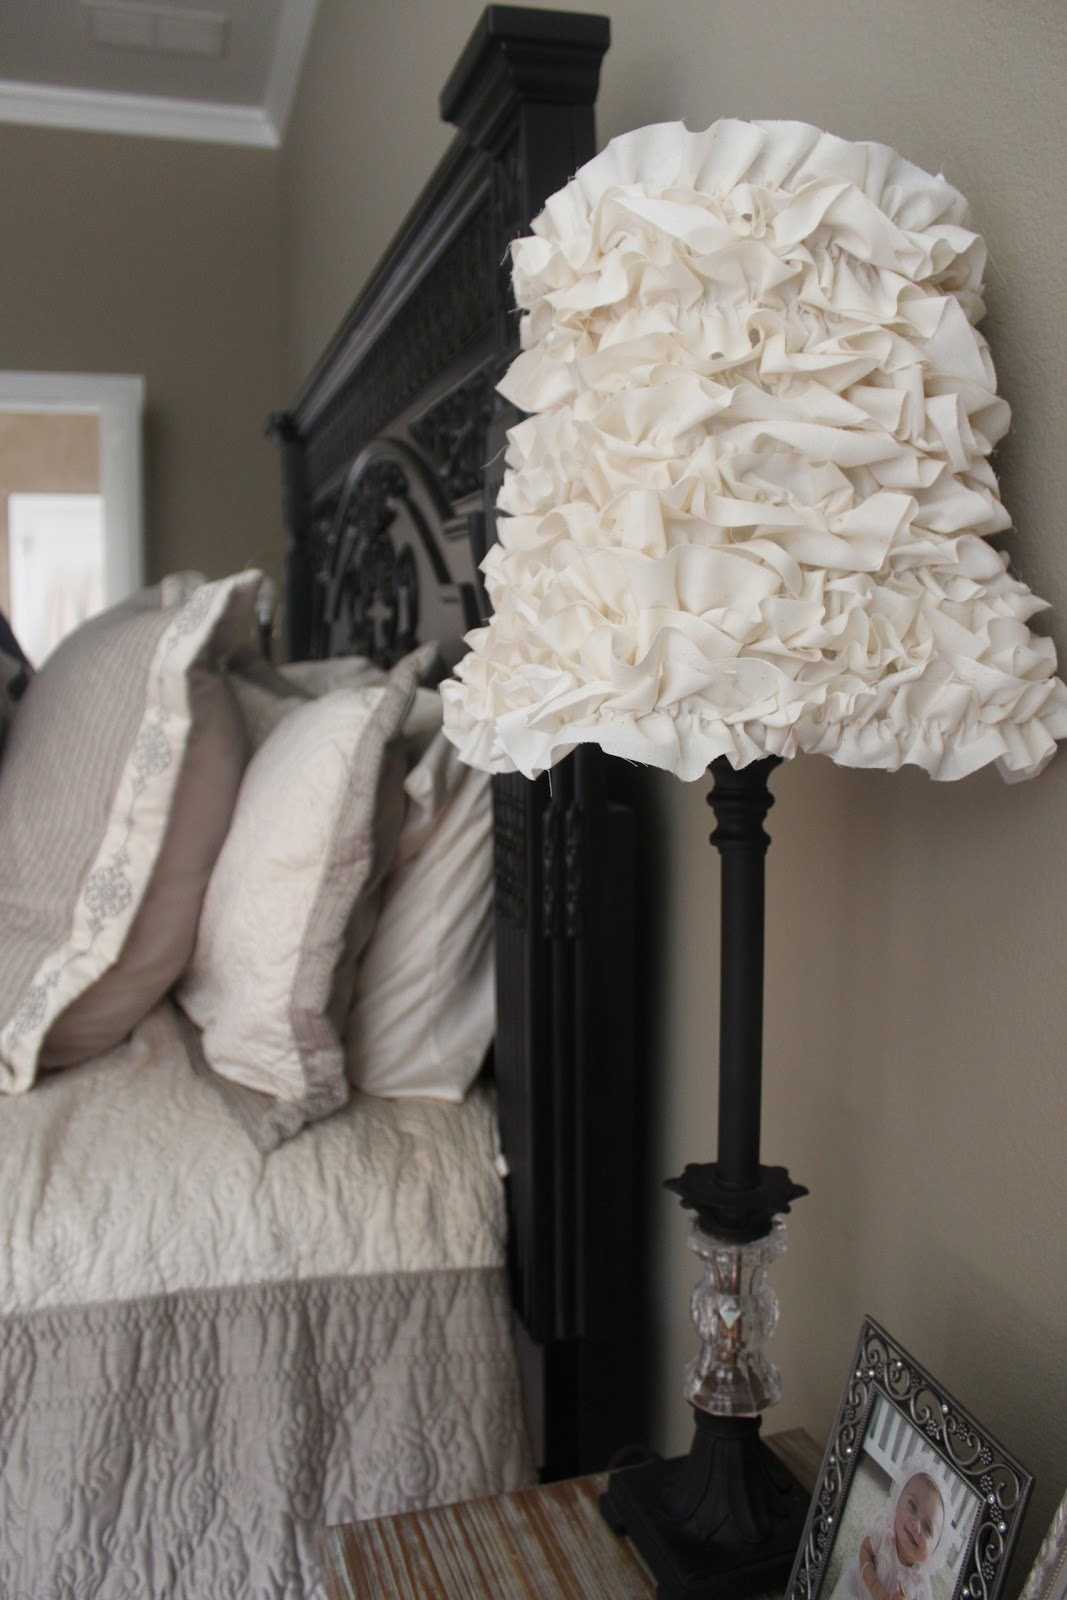
Decoration lampshade accessories
Initially, it is necessary to inflate the ball to the maximum round shape and grease it with a thin layer of baby cream. This is done so that the threads do not stick to the rubber surface of the ball. Next, the thread is wetted in the glue and wound around the ball. The winding is made over the entire surface of the balloon, leaving a small part in order to later put it on the base with a lamp. After the thread is completely dry, you can blow off or burst the ball, and you will have the original round lampshade made of threads in your hands.
You can watch a more detailed and visual performance of the lampshade for the chandelier with your own hands in the video of the master class.
Video: DIY lampshade decor

